1. Киришүү
This manual provides comprehensive instructions for the installation, operation, and maintenance of your GARRISON 119087 Single Stage Programmable Digital Thermostat. This thermostat features a large LCD display and is designed to operate with most 24-volt or millivolt control systems, including gas, oil, electric boiler, and 2-wire air conditioning systems. Please read this manual thoroughly before installation and use to ensure proper function and safety.
2. Коопсуздук маалыматы
Always turn off power to the heating/cooling system at the main fuse or circuit breaker panel before installing or servicing the thermostat. Failure to do so could result in electrical shock or equipment damage.
- Ensure all wiring is compliant with local electrical codes and ordinances.
- Do not short out the terminals on the gas valve or at the heating/cooling system to test the thermostat. This could damage the thermostat and void the warranty.
- Батареяларды балдар жетпеген жерде сактаңыз. Эгерде жутуп алса, дароо медициналык жардамга кайрылыъыз.
- Колдонулган батарейкаларды жергиликтүү эрежелерге ылайык жок кылыңыз.
3. Пакеттин мазмуну
Пакетиңизде бардык буюмдар бар экенин текшериңиз:
- GARRISON 119087 Digital Thermostat Unit
- 1 x AA Батарея
- Орнотуу жабдуулары (бурамалар, дубал анкерлери)
- Колдонуучунун Колдонмосу (бул документ)
4. Продукт бүтүп калдыview
4.1. Thermostat Components
Фронт View
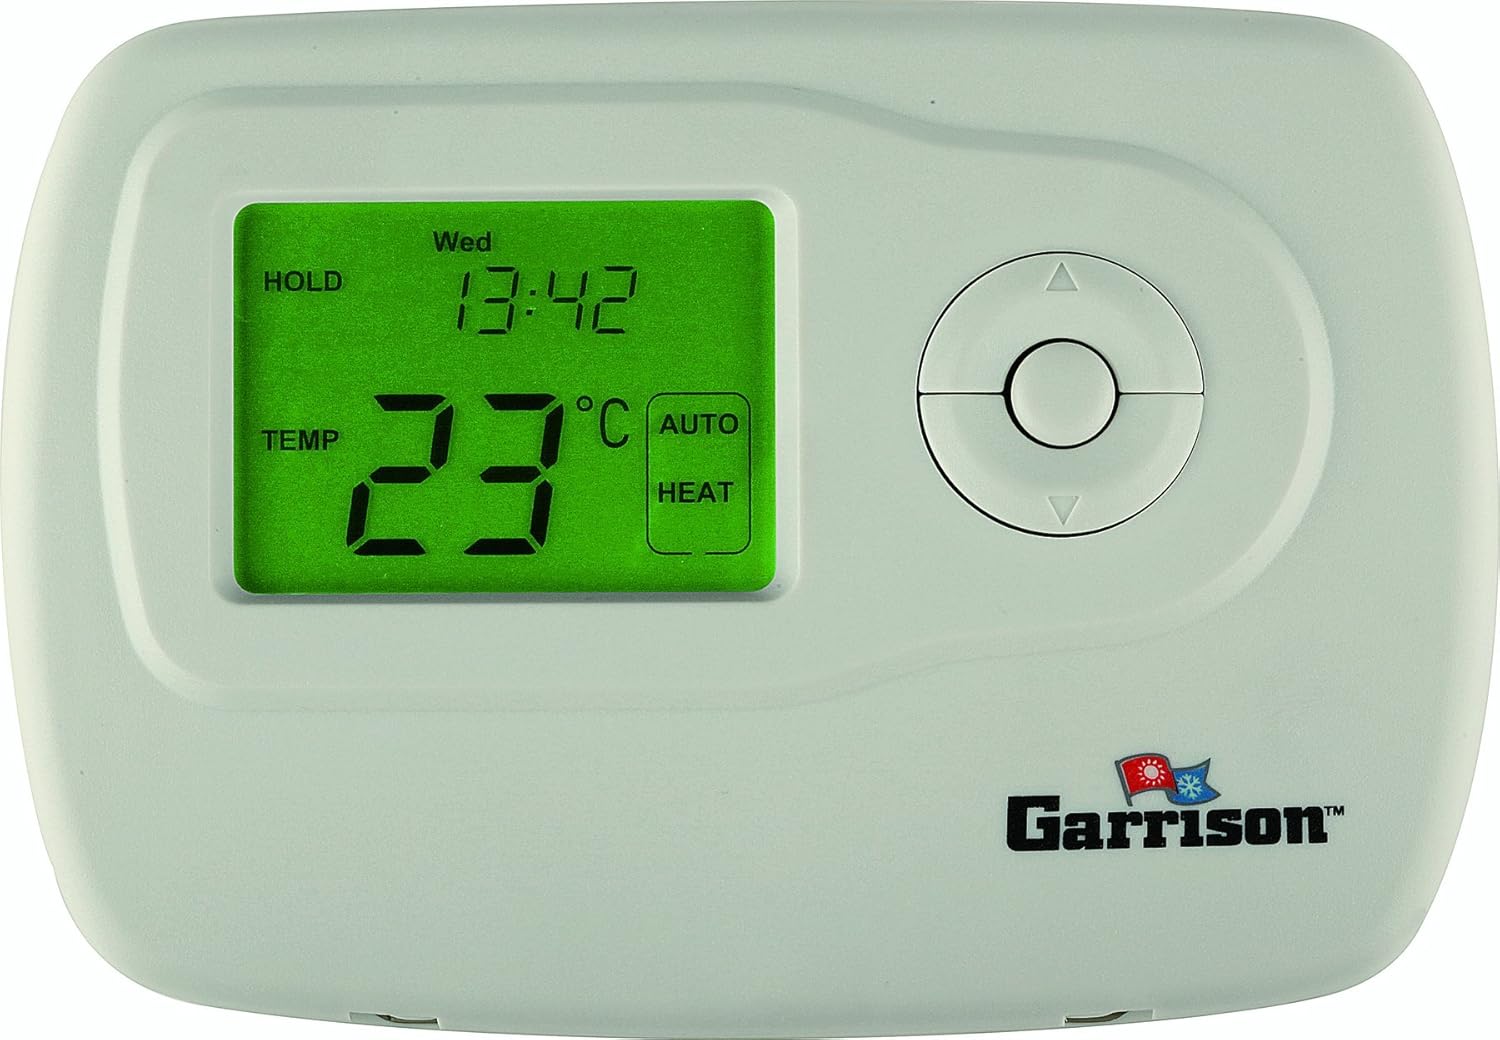
This image shows the front of the GARRISON 119087 thermostat. It features a prominent green backlit LCD screen displaying temperature, time, and operating mode. To the right of the screen are circular navigation buttons for adjusting settings. The GARRISON logo is visible at the bottom right.
Ички View (Cover Open)

This image displays the GARRISON 119087 thermostat with its front cover hinged open. It reveals the internal wiring terminals, the battery compartment, and additional control buttons labeled "hour", "min", "day", "prog", "prog day", and "hold/run". A "Reset" button is also visible. This view is essential for installation and advanced programming.
4.2. LCD дисплей
The large LCD display provides real-time information about your thermostat's status:
- Учурдагы температура: Displays the ambient room temperature.
- Температураны коюу: Керектүү температура жөндөөсүн көрсөтөт.
- Убакыт жана күн: Indicates the current time and day of the week.
- Иштөө режими: Shows the current system mode (e.g., HEAT, COOL, AUTO, OFF).
- Күйөрман режими: Indicates fan operation (e.g., ON, AUTO).
- Батарея көрсөткүчү: A "BATT" icon will flash when batteries are low and need replacement.
- Программанын көрсөткүчү: Shows when a program is active or being set.
4.3. Башкаруу баскычтары
The thermostat features intuitive buttons for easy control:
- Өйдө/төмөн жебелер: Adjust temperature settings, navigate menus.
- Системаны которуу: Selects operating mode (OFF, HEAT, COOL, AUTO).
- Желдетүүчү которгуч: Selects fan operation (AUTO, ON).
- HOUR / MIN / DAY: Used for setting the current time and day.
- PROG / PROG DAY: Used for setting and reviewing programming schedules.
- HOLD / RUN: Toggles between temporary hold and running the programmed schedule.
- КАЛТЫРУУ: Resets the thermostat to factory defaults (located under the front cover).
5. Орнотуу жана орнотуу
Маанилүү: Turn off power to your heating/cooling system at the main circuit breaker before beginning installation.
5.1. Монтаждоо орду
Install the thermostat on an inside wall, approximately 5 feet (1.5 meters) above the floor. Choose a location away from:
- Drafts from windows, doors, or vents.
- Direct sunlight or heat sources (lamps, fireplaces, appliances).
- Жашырылган түтүктөр же морлор.
- Areas with poor air circulation.
5.2. Электр зымдары
This thermostat is compatible with most 24-volt or millivolt control systems, including single-stage gas, oil, electric boiler, and 2-wire air conditioning systems. Refer to your existing thermostat's wiring for guidance. If you are unsure about wiring, consult a qualified HVAC technician.
Типтүү зым терминалдары: (Refer to the internal view image for terminal locations)
- R: 24V AC (common for heating and cooling)
- W: Heat call
- Y: Cool call
- G: Fan call
- C: 24V Common (optional, but recommended for continuous power if available)
After wiring, securely attach the thermostat to the wall plate using the provided screws.
5.3. Батареяны орнотуу
The thermostat requires one (1) AA battery for operation.
- Open the front cover of the thermostat.
- Батарея бөлүкчөсүн табыңыз.
- Insert one new AA alkaline battery, ensuring correct polarity (+/-).
- алдыңкы капкакты жабыңыз.
The thermostat should power on and display information.
6. Иштөө нускамалары
6.1. Учурдагы убакытты жана күндү коюу
- Open the front cover to access the internal buttons.
- басыңыз КҮН аптанын учурдагы күнүн коюу үчүн баскыч.
- басыңыз HOUR учурдагы саатты коюу үчүн баскыч.
- басыңыз MIN учурдагы мүнөттү коюу үчүн баскыч.
- алдыңкы капкакты жабыңыз.
6.2. Basic Operation (System and Fan Modes)
Use the slide switches on the thermostat to select the desired mode:
- Системаны которуу:
- ӨЧҮК: Жылытуу жана муздатуу системасын өчүрөт.
- ЖЫЛУУ: Бөлмөнүн температурасы коюлган температурадан төмөн түшкөндө жылытуу системасын иштетет.
- БАРАКЕЛДЕ: Бөлмөнүн температурасы коюлган температурадан жогору көтөрүлгөндө муздатуу системасын иштетет.
- АВТО: Automatically switches between heating and cooling modes to maintain the set temperature range.
- Желдетүүчү которгуч:
- АВТО: Желдетүүчү жылытуу же муздатуу системасы активдүү болгондо гана иштейт.
- КҮЙҮК: Желдеткич жылытуу же муздатуу чакырыктарына карабастан үзгүлтүксүз иштейт.
6.3. Температураны тууралоо
колдонуу Up or Төмөн arrow buttons on the front of the thermostat to adjust the desired temperature. The display will show the new set temperature.
6.4. Programming Schedule (7-Day or 5+2)
The thermostat allows for programmable schedules with 4 ranges per day, either for 7 individual days or a 5-day (weekday) and 2-day (weekend) schedule.
- Алдыңкы капкакты ачыңыз.
- басыңыз ПРОГ button. The display will show the first programming period (e.g., "MORN").
- колдонуу КҮН button to select the day(s) you wish to program (e.g., MON-FRI, SAT, SUN, or individual days).
- колдонуу HOUR жана MIN buttons to set the start time for the current program period.
- колдонуу Өйдө/Төмөн arrows to set the desired temperature for this period.
- Басыңыз ПРОГ again to advance to the next program period (e.g., "DAY", "EVE", "NITE").
- Repeat steps 3-5 for all 4 periods for the selected day(s).
- Once all periods are set, press the HOLD/RUN button to exit programming and run the schedule.
6.5. Убактылуу жокко чыгаруу
To temporarily change the temperature without affecting the program:
- колдонуу Up or Төмөн arrow buttons to adjust the temperature.
- The new temperature will be maintained until the next programmed period begins.
- To cancel the temporary override, press the HOLD/RUN баскычы.
6.6. Permanent Override (Hold Function)
To maintain a specific temperature indefinitely, overriding the program:
- басыңыз HOLD/RUN button once. "HOLD" will appear on the display.
- колдонуу Up or Төмөн arrow buttons to set the desired temperature.
- The thermostat will maintain this temperature until you press HOLD/RUN again to resume the program.
6.7. Автоматтык алмаштыруу
When the system switch is set to АВТО, the thermostat will automatically switch between heating and cooling modes as needed to maintain the desired temperature range. This feature provides comfort without manual intervention.
7. Техникалык тейлөө
7.1. Батареяны алмаштыруу
When the "BATT" icon flashes on the display, it indicates that the AA battery is low and needs to be replaced.
- Open the front cover of the thermostat.
- Эски AA батарейкасын алып салыңыз.
- Insert a new AA alkaline battery, ensuring correct polarity.
- Close the front cover. The "BATT" icon should disappear.
Replacing batteries within 30 seconds will typically retain your programmed settings.
7.2. Cleaning Your Thermostat
Термостатты тазалоо үчүн сыртын жумшак, г менен акырын сүртүңүзamp кездеме. Абразивдүү тазалоочу каражаттарды, эриткичтерди же химиялык чачыраткычтарды колдонбоңуз, анткени алар түзмөккө зыян келтириши мүмкүн.
7.3. Resetting Filter Reminder
If your thermostat is configured to remind you to change your air filter, a "FILTER" icon may appear. To reset this reminder:
- Алдыңкы капкакты ачыңыз.
- басып, кармап туруңуз RESET button (located near the internal controls) until the filter reminder disappears.
8. Кыйынчылыктарды
If you experience issues with your GARRISON 119087 thermostat, refer to the following common problems and solutions:
| Көйгөй | Мүмкүн себеп | Чечим |
|---|---|---|
| Дисплей жок же бош экран. | Өлүк же туура эмес орнотулган батарея. | Туура полярдуулукту камсыз кылып, AA батарейкасын алмаштырыңыз. |
| Жылытуу/Муздатуу системасы жооп бербейт. | Power off at circuit breaker; incorrect wiring; system switch in OFF position. | Check circuit breaker; verify wiring connections; ensure system switch is set to HEAT, COOL, or AUTO. |
| Температура так эмес. | Термостат жылуулук булагынын/суу агызуучу түтүктүн жанында жайгашкан; ички сенсордогу көйгөй. | Relocate thermostat if possible; ensure no direct drafts or heat sources. If problem persists, contact support. |
| Программалоо иштебей жатат. | Thermostat in HOLD mode; incorrect programming steps. | Press HOLD/RUN to exit HOLD mode; review "Programming Schedule" section (6.4) and re-enter program. |
| "BATT" icon flashing. | Батарея аз. | Replace the AA battery immediately. |
Бул чечимдерди колдонуп көргөндөн кийин көйгөй чечилбесе, кардарларды колдоо менен байланышыңыз.
9. Техникалык шарттар
| Өзгөчөлүк | Деталь |
|---|---|
| Модель номери | 119087 |
| Бренд | GARRISON |
| Шайкештик | Жалгыз С.tage (Heat/Cool), 24V or Millivolt systems (Gas, Oil, Electric Boiler, 2-wire AC) |
| Power Source | 1 x AA батареясы (кошулган) |
| Дисплей түрү | Арткы жарыгы бар санариптик LCD |
| Башкаруу түрү | Control Button |
| Программалоо | 7-day or 5+2 day (4 periods per day) |
| Өзгөчөлүктөр | Programmable, Auto Changeover, Filter Reminder |
| Продукциянын өлчөмдөрү | 5.3 x 3.7 x 0.81 дюйм |
| Элемент Салмагы | 8.8 унция |
10. Кепилдик жана колдоо
For warranty information, please refer to the documentation provided with your purchase or contact the retailer where the product was acquired.
If you require technical assistance or have questions not covered in this manual, please contact GARRISON customer support. Contact details can typically be found on the manufacturer's official webсайтында же продуктунун таңгагында.


