1. Киришүү
The Vivitek D519 is a versatile and portable digital projector designed to deliver high-quality presentations and media experiences. Featuring 3000 lumens of brightness, XGA (1024x768) native resolution, and a 15,000:1 contrast ratio, it ensures clear and vibrant images. This manual will guide you through the setup, operation, and maintenance of your D519 projector.
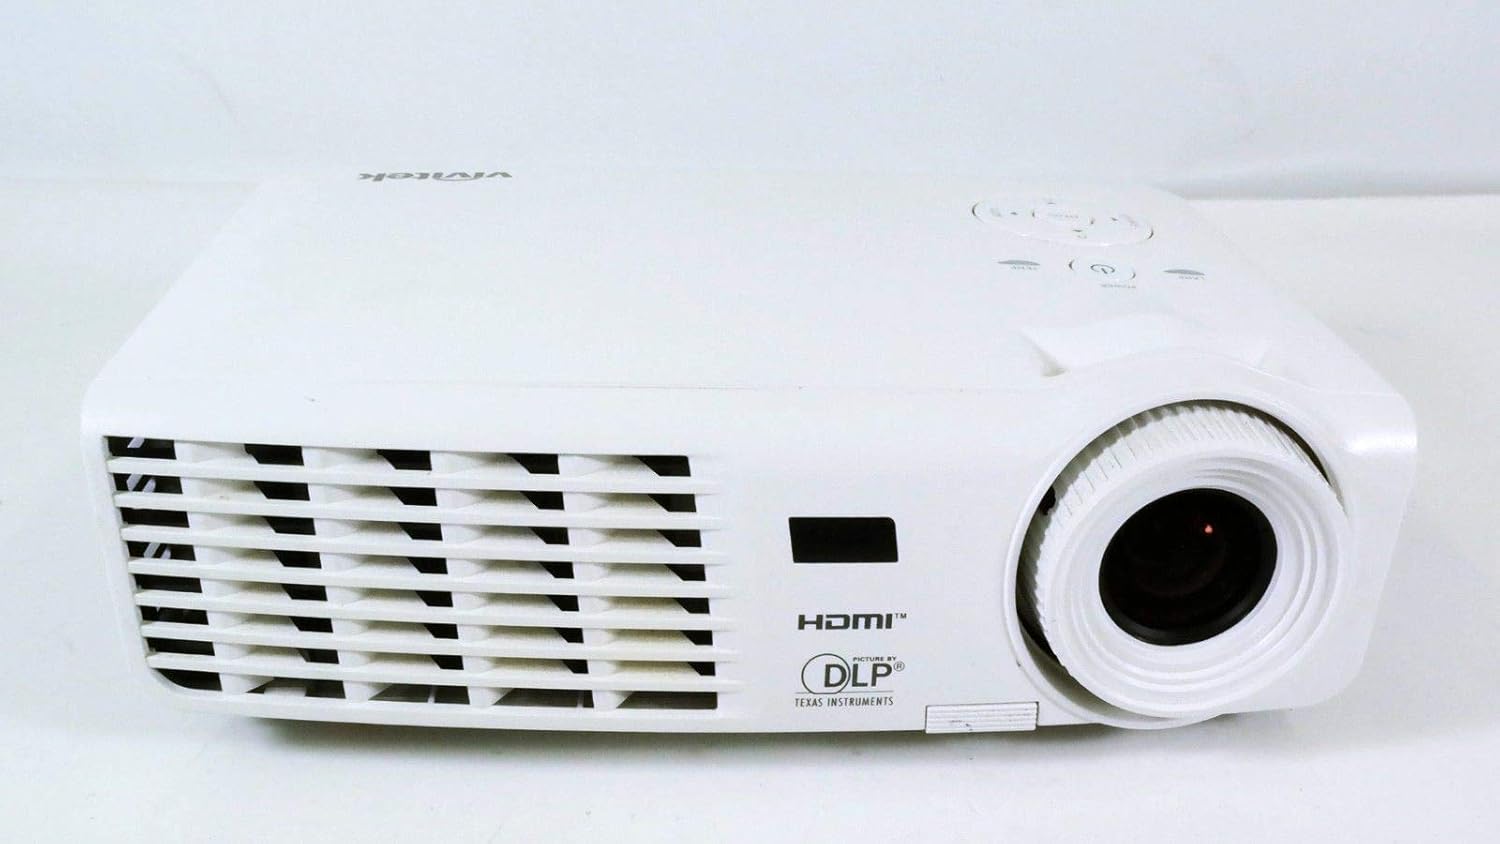
Сүрөт 1.1: Алдыңкы view of the Vivitek D519 Projector, showing the lens and ventilation.
2. Орнотуу
2.1 Unpacking the Projector
Бардык компоненттерди таңгактан кылдаттык менен алып салыңыз. Төмөндө саналып өткөн нерселердин бардыгы бар экенин текшериңиз:
- Vivitek D519 Projector
- AC Power Cord
- VGA кабели
- Алыстан башкаруу (батареялар менен)
- Ташуу кутусу
- User's Manual (CD)
- Объективдин капкагы
- Кепилдик картасы
2.2 Физикалык жайгаштыруу
Place the projector on a stable, flat surface or mount it securely. Ensure adequate ventilation around the projector to prevent overheating. Avoid placing it near heat sources or in direct sunlight.
2.3 Түзмөктөрдү туташтыруу
The D519 offers various connectivity options. Connect your source device (e.g., laptop, DVD player) to the appropriate input port on the projector.

2.1-сүрөт: Арткы view of the Vivitek D519 Projector, highlighting the HDMI, VGA, S-Video, and audio input ports.
- HDMI: For high-definition digital video and audio. Connect an HDMI cable from your source to the projector's HDMI port.
- VGA: For analog computer video. Connect a VGA cable from your computer to the projector's VGA port.
- Аудио кирүү: For analog audio input. Connect audio cables to the L-AUDIO-R or AUDIO IN ports as needed.
- S-Video: Стандарттык сапаттагы видео үчүн.
- RS-232: For projector control via a computer or control system.
2.4 Күйгүзүү
Connect the AC power cord to the projector's power inlet and then to a power outlet. Press the Күч button on the projector's control panel or the remote control to turn on the projector. The power indicator light will illuminate.
3. Проекторду иштетүү
3.1 Башкаруу панелинин үстүнөview
The control panel on top of the projector allows for basic operation without the remote control.

3.1-сүрөт: Жогорку view of the Vivitek D519 Projector, showing the control panel with power, menu, source, and navigation buttons.
- Кубат баскычы: Проекторду күйгүзөт же өчүрөт.
- Булак баскычы: Cycles through available input sources (HDMI, VGA, S-Video, etc.).
- Меню баскычы: Accesses the on-screen display (OSD) menu for advanced settings.
- Чабыттоо баскычтары (өйдө/төмөн/сол/оң): Меню параметрлери аркылуу багыттоо жана жөндөөлөрдү тууралоо үчүн колдонулат.
- Авто баскычы: Automatically adjusts the image for optimal display.
3.2 Сүрөттү тууралоо
Once the projector is powered on and an input source is selected, you may need to adjust the image for clarity and size.
- Фокус шакеги: Сүрөттү курчутуу үчүн фокустук шакекти линзага айландырыңыз.
- Масштабдуу шакек: Rotate the zoom ring to adjust the image size without moving the projector. The D519 has a 1.1:1 zoom ratio.
- Негизги ташты оңдоо: If the image appears trapezoidal, use the keystone correction feature (accessible via the OSD menu) to square the image.
3.3 Using the On-Screen Display (OSD) Menu
басыңыз Меню button on the projector or remote to access the OSD. Use the navigation buttons to browse categories such as Picture, Display, Setup, and Information. Press Кириңиз (or the center button on the navigation pad) to select an option and adjust settings.
4. Техникалык тейлөө
4.1 Лamp Жашоо жана алмаштыруу
Проектор лamp has a rated life of 4000 hours in Standard mode and up to 6000 hours in Economy mode. When the lamp өмүрүнүн акырына жетет, лamp indicator light will illuminate, and a message may appear on screen. Refer to the detailed user manual (on CD) for lamp алмаштыруу көрсөтмөлөрү.
4.2 Проекторду тазалоо
- Объектив: Оптикалык линзалар үчүн атайын жасалган жумшак, түксүз кездемени колдонуңуз. Абразивдүү тазалагычтарды колдонбоңуз.
- Casing: Проекторду сүртүңүз casing жумшак менен, гamp кездеме. Катуу химиялык заттарды же эриткичтерди колдонуудан алыс болуңуз.
- Аба желдеткичтери: Regularly check and clean the air vents to ensure proper airflow and prevent dust buildup, which can lead to overheating. Use a soft brush or compressed air.
5. Кыйынчылыктарды
This section addresses common issues you might encounter with your Vivitek D519 projector.
| Көйгөй | Мүмкүн себеп | Чечим |
|---|---|---|
| Экранда сүрөт жок | Кубат кабели ажыратылган; Туура эмес киргизүү булагы; Булак түзмөгү өчүрүлгөн. | Check power connection; Press 'Source' button to select correct input; Ensure source device is on. |
| Сүрөт бүдөмүк | Линза фокустан чыгып кеткен; Проектор экранга өтө жакын/алыс. | Adjust the focus ring; Adjust projector distance or use zoom ring. |
| Сүрөт трапеция түрүндө | Проектор экранга перпендикуляр эмес. | Adjust keystone correction via OSD menu. |
| Проектор күтүүсүздөн өчүп калат | Overheating; Lamp өмүрүнүн акырына жакындап калган. | Ensure vents are clear; Allow projector to cool; Consider lamp replacement if indicator light is on. |
| Distorted image on startup | Software glitch; Connection issue. | Restart the projector; Check all cable connections; If persistent, consult Vivitek support. |
6. Техникалык шарттар
Key technical specifications for the Vivitek D519 Projector:
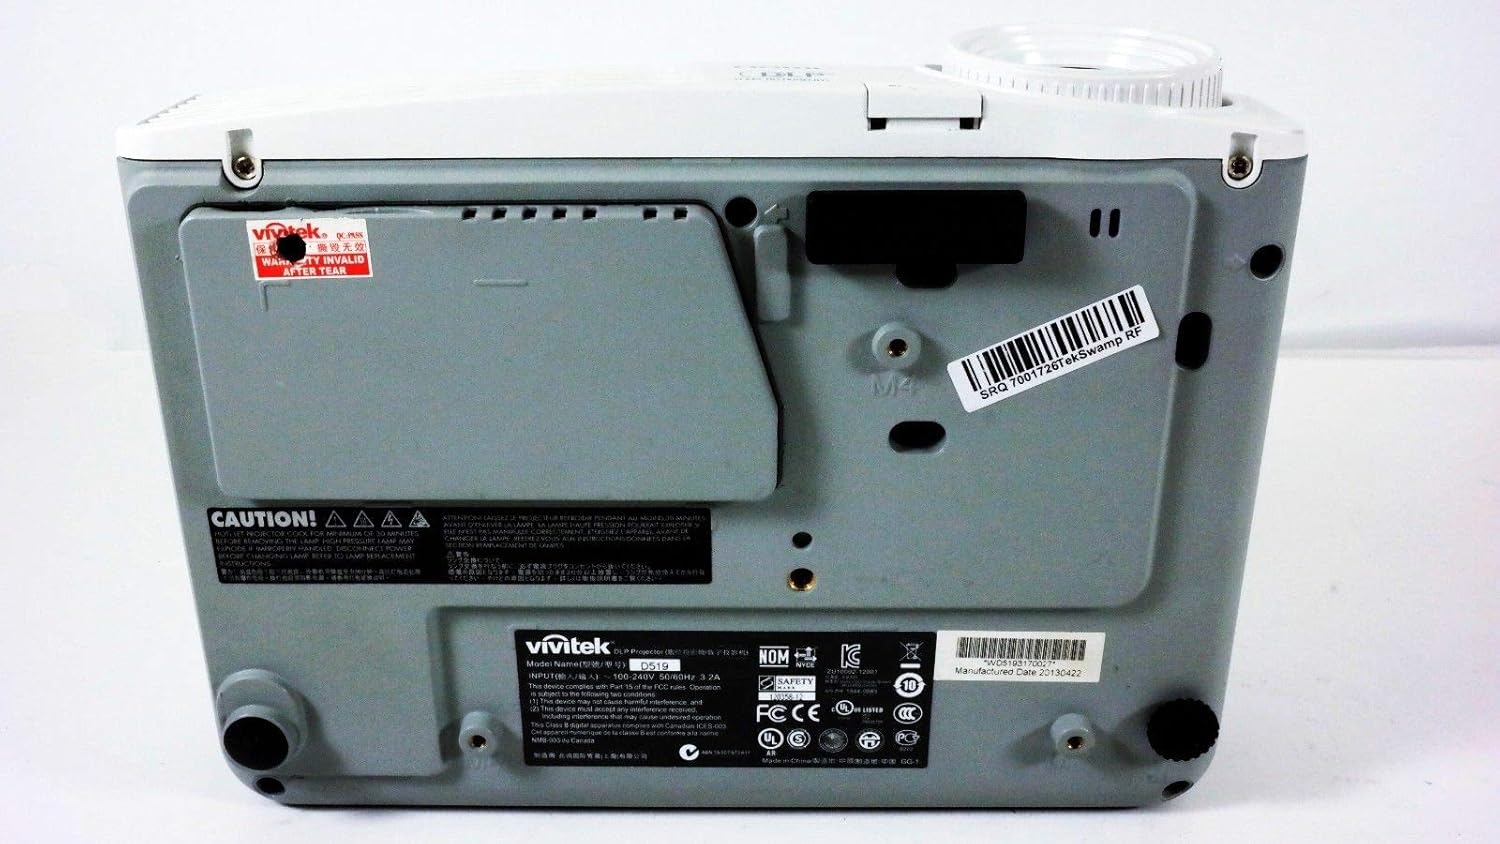
6.1-сүрөт: Төмөнкү view of the Vivitek D519 Projector, showing the product label with model and serial information.
| Өзгөчөлүк | Деталь |
|---|---|
| Модель номери | DPU35-262VVUA |
| Дисплей технологиясы | Single 0.55” DLP Display Technology by Texas Instruments |
| Native Resolution | XGA (1024 x 768) |
| Жарыктык | 3000 Lumens |
| Контраст катышы | 15,000:1 |
| Lamp Жашоо | 4000 hours (Standard) / 6000 hours (Economy) |
| Масштабды көбөйтүү | 1.1:1 (Manual Zoom and Focus) |
| Байланыш | HDMI v1.3, VGA, S-Video, L-Audio-R, Audio In, RS-232 |
| Өзгөчөлүктөр | HD Compatible, 3D-Ready, Screen Size compatibility: 40 - 300 inches |
| Продукциянын өлчөмдөрү | 7.5 x 10.3 x 3.1 дюйм |
| Элемент Салмагы | 4.35 фунт |
7. Кепилдик жана колдоо
Your Vivitek D519 projector comes with a limited warranty. Please refer to the Warranty Card included in your product packaging for detailed terms and conditions. For technical support, service, or warranty claims, please contact Vivitek customer service through their official webсайтты же кепилдик документтериңизде көрсөтүлгөн байланыш маалыматын.
It is recommended to register your product online to receive updates and support.


