1. Киришүү
This manual provides comprehensive instructions for the installation, operation, and maintenance of your Swann SWDVK-163208S-US 3200S 16-Channel 960H DVR Security System. Please read this manual thoroughly before using the product to ensure proper setup and functionality. Keep this manual for future reference.
The system includes a 16-channel 960H Digital Video Recorder (DVR) with a pre-installed 1TB hard drive and eight 700TVL security cameras designed for both indoor and outdoor use. It supports continuous recording, motion detection, and remote viewжөндөмдүүлүктөрүн.
2. Коопсуздук маалыматы
- Бардык кубат туташууларынын коопсуз жана түзмөк үчүн туура бааланганын текшериңиз.
- Do not expose the DVR or cameras to water or excessive moisture.
- DVR түз күн тийген жерге же жылуулук булактарына жакын жайгаштырбаңыз.
- Use only the power adapters supplied with the system.
- Do not attempt to open or service the DVR or cameras yourself. Refer all servicing to qualified personnel.
- Keep cables organized to prevent tripping hazards and ensure proper ventilation.
3. Пакеттин мазмуну
Verify that all items listed below are present in your package. If any items are missing or damaged, contact Swann customer support.
- Swann SWDVK-163208S-US 16-Channel 960H DVR with 1TB HDD
- 8 x 700TVL Security Cameras
- 8 x BNC Cables (60ft/18m)
- DVR жана камералар үчүн кубат адаптерлери
- Ethernet кабели
- HDMI кабели
- USB чычкан
- Монтаждоочу бурамалар жана сайгычтар
- Quick Start Guide
- Уурулукка каршы стикерлер
4. Система бүттүview
4.1 DVR Front Panel
The front panel of the DVR provides access to essential controls and indicators.
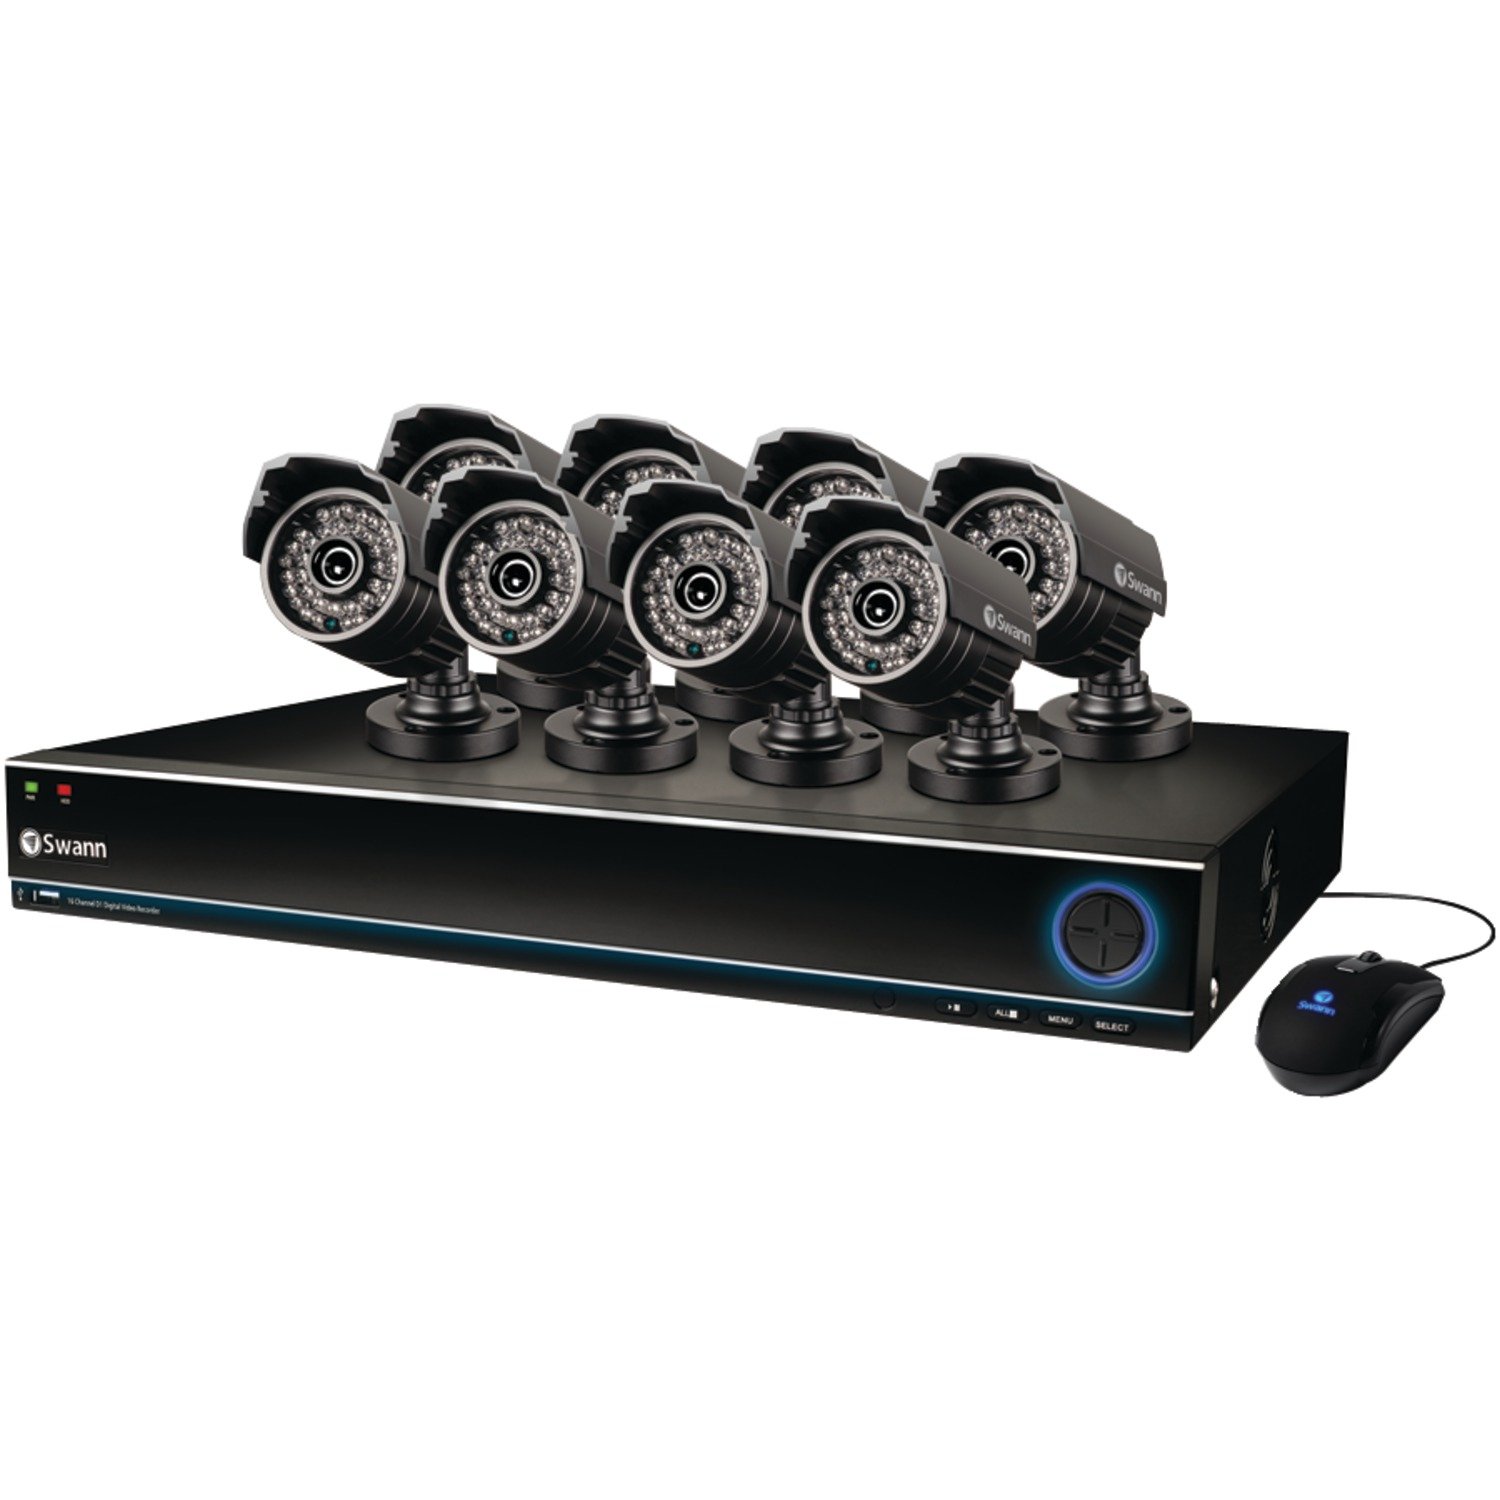
Image: The Swann SWDVK-163208S-US security system, showing the DVR unit and several cameras. The DVR features a blue-lit front panel with control buttons and status indicators.
- Күч көрсөткүчү: Illuminates when the DVR is powered on.
- HDD көрсөткүчү: Катуу диск активдүү болгондо жарк этет.
- Тармак көрсөткүчү: Тармакка туташууну көрсөтөт.
- USB порт: For connecting a USB mouse or for data backup.
- Башкаруу баскычтары: Navigate menus and control playback.
4.2 DVR Rear Panel
The rear panel contains all the necessary ports for connecting cameras, monitors, and network cables.
- Видео киргизүү (BNC): 16 ports for connecting security cameras.
- Video Output (HDMI/VGA): For connecting a monitor or TV.
- Аудио киргизүү/чыгаруу (RCA): For connecting microphones and speakers (if supported).
- Ethernet порту (RJ45): Тармакка туташуу үчүн.
- USB порттору: Перифериялык түзүлүштөр үчүн кошумча USB порттору.
- eSATA порту: For connecting an external hard drive for expanded storage.
- Кубат киргизүү: For connecting the DVR power adapter.
4.3 Камеранын өзгөчөлүктөрү
The included 700TVL cameras offer clear video surveillance with night vision capabilities.
- Чечим: 700TVL (Television Lines) for detailed images.
- Түнкү көрүнүш: Infrared LEDs provide visibility up to 82ft (25m) in low light or complete darkness.
- Аба ырайы: Designed for both indoor and outdoor installation.
- Монтаждоо: Adjustable brackets for flexible positioning.
5. Орнотуу
5.1 DVR туташтыруу
- Берилген USB чычканын DVRдеги USB портторунун бирине туташтырыңыз.
- Connect the HDMI cable from the DVR's HDMI output to an HDMI input on your TV or monitor. Alternatively, use a VGA cable for VGA connections.
- Алыскы үчүн viewing, connect an Ethernet cable from the DVR's Ethernet port to your router or network switch.
5.2 Камераларды туташтыруу
- Mount each camera in your desired location using the provided screws and plugs. Ensure the camera has a clear field of view and is protected from direct impact.
- Connect one end of the BNC cable to the camera's video output.
- Connect the other end of the BNC cable to a video input port on the DVR (e.g., Video In 1, Video In 2, etc.).
- Connect the camera's power input to the power splitter cable, then connect the power adapter to the splitter and a power outlet.
5.3 Күйгүзүү
- DVR кубат адаптерин DVRдин кубат киресине, андан кийин розеткага туташтырыңыз.
- The DVR will power on automatically. The power indicator light on the front panel will illuminate.
- Wait for the system to boot up. The Swann logo will appear on your connected monitor, followed by the live view көрсөтүү.
5.4 Баштапкы конфигурация
Upon first boot-up, the DVR will guide you through an initial setup wizard.
- Тил тандоо: Өзүңүзгө жаккан тилди тандаңыз.
- Дата жана убакыт: Set the correct date, time, and time zone. This is crucial for accurate recording timestamps.
- Тармак орнотуулары: Configure network settings (DHCP is usually sufficient for automatic setup).
- Сырсөздү орнотуу: Create a strong password for the administrator account to secure your system.
- Катуу диск форматы: The system may prompt to format the hard drive. Confirm to proceed.
6. Системаны иштетүү
6.1 Live View
Баштапкы орнотуудан кийин, DVR түз эфирди көрсөтөт view туташкан бардык камералардан. Сиз бир камералуу камералардын ортосунда которула аласыз view, multi-camera grids (e.g., 4-channel, 8-channel, 16-channel), and sequence modes using the on-screen menu or front panel controls.
6.2 Жазуу режимдери
DVR ар кандай жазуу режимдерин колдойт:
- Тынымсыз жаздыруу: Records 24/7, overwriting the oldest footage катуу диск толуп калганда.
- Кыймылды аныктоо жазуусу: Камерада кыймыл аныкталганда гана жаздырат view. This conserves hard drive space. Sensitivity and detection areas can be configured for each camera.
- Пландаштырылган жаздыруу: Күндүн же жуманын белгилүү бир убакыттарындагы жазуулар.
- Кол менен жаздыруу: Start and stop recording manually from the DVR interface.
Access recording settings via the DVR's main menu: Menu > Record > Record Schedule.
6.3 Ойнотуу
Кайраview foo жазылганtage:
- Түз эфирден view, right-click with the mouse to open the main menu.
- Тандоо Ойнотуу.
- Choose the desired date and camera channel(s).
- Use the timeline to navigate through recorded events. Different colors on the timeline indicate different recording types (e.g., continuous, motion).
- Кайра ойнотуу үчүн ойнотуу башкаруу элементтерин (ойнотуу, тындыруу, алдыга тез түрүү, артка түрүү) колдонуңузview footage.
6.4 Камдык көчүрмө
You can back up important video footage to a USB flash drive or external hard drive.
- Insert a USB storage device into a USB port on the DVR.
- барыңыз Menu > Backup.
- Select the camera channel, date, and time range for the footage you wish to back up.
- Choose the backup device and file format (e.g., AVI).
- Click Баштоо to begin the backup process.
6.5 Алыстан Viewing (SwannLink & SwannView)
The SwannLink and SwannView applications allow you to view your cameras remotely from a smartphone or tablet.
- Ensure your DVR is connected to the internet via the Ethernet port.
- Download the SwannView түзмөгүңүздүн колдонмолор дүкөнүнөн колдонмо.
- Open the app and follow the on-screen instructions to add your DVR. This typically involves scanning a QR code displayed on the DVR's monitor (Menu > Network > SwannLink) or manually entering the device ID.
- Enter the DVR's username and password when prompted.
- Сиз азыр ээ болушу керек view жаша фооtage and access playback remotely.
7. Техникалык тейлөө
7.1 Катуу дискти башкаруу
The 1TB hard drive will automatically overwrite the oldest footage when full. To ensure optimal performance, it is recommended to periodically check the hard drive status via Menu > HDD > Disk Manage. You can also connect an external hard drive to the eSATA port for additional storage capacity.
7.2 Камераларды тазалоо
Мезгил-мезгили менен камеранын линзаларын жумшак, гamp тосуп калышы мүмкүн болгон чаңды, кирди же суу тактарын кетирүү үчүн кездемени view. Do not use harsh chemicals or abrasive materials.
7.3 Микропрограмма жаңыртуулары
Swann may release firmware updates to improve system performance or add new features. Check the Swann support website for the latest firmware for your model. Follow the instructions provided with the firmware update carefully to avoid damaging the DVR.
8. Кыйынчылыктарды
| Көйгөй | Мүмкүн себеп | Чечим |
|---|---|---|
| Монитордо сүрөт жок | Видео кабель бошоп калды, монитордо туура эмес киргизүү тандалды, DVR күйгөн жок. | HDMI/VGA кабелинин туташууларын текшериңиз. Монитор туура киргизүүдө экенин текшериңиз. DVR кубатын текшериңиз. |
| Камера сүрөтү жок | Loose BNC cable, camera power issue, faulty camera. | Check BNC and power connections for the specific camera. Test camera with a known working cable/power supply. |
| DVR жаздырбай жатат | Recording schedule not set, hard drive full or faulty, motion detection not configured. | Check recording schedule. Verify hard drive status. Ensure motion detection is enabled and configured correctly. |
| мүмкүн эмес view алыстан | No network connection, incorrect network settings, app configuration error. | Verify DVR has internet access. Check network settings (DHCP). Reconfigure the DVR in the SwannView колдонмо. |
| Purple image on camera | IR filter stuck, camera malfunction. | Power cycle the camera. If the issue persists, the camera may be faulty and require replacement. |
9. Техникалык шарттар
- Модель номери: SWDVK-163208S-US
- Видео киргизүү: 16 Channels BNC
- Видео чыгаруу: Сапаттуу, VGA
- Дисплейдин чечилиши: Up to 1080p (HDMI)
- Токтому жаздыруу: 960H (960x576/960x480)
- Катуу диск: 1TB SATA HDD (expandable via eSATA)
- Кысуу форматы: H.264
- Тармак интерфейси: RJ45 Ethernet порту
- USB интерфейси: 3 x USB 2.0 порттору
- Камеранын чечилиши: 700TVL
- Түнкү көрүү камерасы: 82 фут (25 м) чейин
- Camera Weatherproof Rating: IP66 (сыртта колдонуу үчүн)
- Dimensions (DVR): 22.5 x 15.3 x 8.1 дюйм (болжол менен)
- Weight (DVR): 14 фунт (болжол менен)
- Кубат булагы: DC 12V
10. Кепилдик маалыматы
Swann products are covered by a limited warranty. The specific terms and duration of your warranty may vary by region and product. Please refer to the warranty card included with your product or visit the official Swann webтолук кепилдик маалымат жана каттоо жол-жоболору үчүн сайт. Кепилдик дооматтар үчүн сатып алганыңыздын далилин сактаңыз.
11. Колдоо
For technical assistance, product support, or to download the latest software and manuals, please visit the official Swann support website. You can typically find FAQs, troubleshooting guides, and contact information for customer service there. Have your product model number (SWDVK-163208S-US) ready when contacting support.
Swann колдоо кызматы Webсайт: https://www.swann.com/us/support


