1. Киришүү
The Weintek MT8100iE is a 10.2-inch Human Machine Interface (HMI) designed for industrial automation applications. It features an 800 x 480 TFT industrial-grade LCD and is built to fully support major PLCs such as Rockwell, Siemens, Mitsubishi, and Omron. This manual provides essential information for the proper installation, operation, and maintenance of your MT8100iE HMI.
2. Коопсуздук маалыматы
Please read and understand all safety instructions before operating the device. Failure to comply may result in injury or damage to the equipment.
- Кандайдыр бир орнотууну же техникалык тейлөөнү аткаруудан мурун электр менен жабдуунун өчүрүлгөнүн текшериңиз.
- Бул жабдууну квалификациялуу адистер гана орнотуп жана тейлеши керек.
- Do not expose the device to excessive moisture, dust, or extreme temperatures.
- Verify correct wiring and connections to prevent electrical hazards.
- The front panel is NEMA4/IP65 compliant, but ensure proper sealing during installation to maintain this rating.
3. Пакеттин мазмуну
Пакетте бардык буюмдар бар экенин текшериңиз:
- MT8100iE HMI Unit
- Орнотуу кронштейндери (4x)
- Power Connector
- Колдонуучунун Колдонмосу (бул документ)
- CD-ROM with EasyBuilder Pro Software (or download link)
4. Продукт бүтүп калдыview
Familiarize yourself with the components and interfaces of the MT8100iE HMI.
4.1 Фронт View

Сүрөт 4.1: Алдыңкы view of the MT8100iE HMI, showing the 10.2-inch TFT LCD touchscreen and the power indicator LED at the top left.
4.2 тарап View
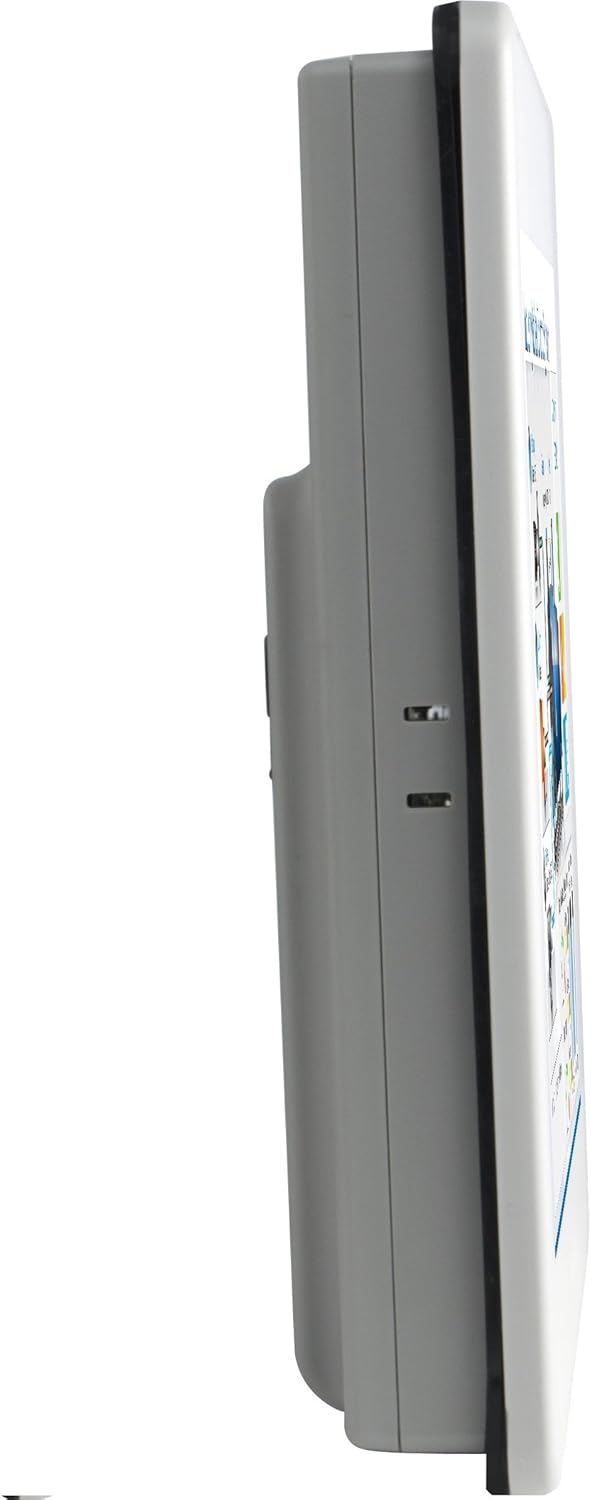
4.2-сүрөт: Side profile of the MT8100iE, illustrating its compact form factor suitable for panel mounting.
4.3 Арткы View

4.3-сүрөт: Арткы view of the MT8100iE, highlighting the mounting holes for panel installation, the fuse holder for power protection, and the system reset button.
4.4 Байланыш порттору

4.4-сүрөт: Төмөнкү view of the MT8100iE, detailing the various communication ports including USB, Ethernet, COM1 (RS-232), and COM2 (RS-485 2W/4W).
5. Орнотуу
5.1 Панелди орнотуу
- Cut an opening in the control panel according to the dimensions provided in the installation guide (refer to the separate installation template for precise measurements).
- Insert the MT8100iE HMI into the cutout from the front.
- From the rear of the panel, insert the four mounting brackets into the slots on the HMI unit.
- Tighten the screws on the mounting brackets evenly until the HMI is securely fastened to the panel. Do not overtighten.
5.2 Кубат туташтыруу
- Connect a 24V DC power supply to the power input terminal block on the rear of the HMI.
- Ensure correct polarity (+ and -).
- Secure the connection firmly.
5.3 Байланыш байланыштары
- Сериялык порттор: Use the COM1 (RS-232) and COM2 (RS-485 2W/4W) ports to connect to PLCs or other serial devices. Refer to your PLC's documentation for specific wiring diagrams.
- Ethernet порту: Connect an Ethernet cable to the RJ45 port for network communication with PLCs or for remote access.
- USB порттору: Use the USB host ports for connecting USB flash drives for project transfers or other peripherals.
6. Иштөө нускамалары
6.1 Күйгүзүү
Once all connections are secure, apply power to the HMI. The power indicator LED will illuminate, and the HMI will boot up, displaying the configured project.
6.2 Project Download
To load a new project or update an existing one:
- Create or modify your HMI project using the EasyBuilder Pro software on a PC.
- Connect the PC to the HMI via Ethernet or USB.
- In EasyBuilder Pro, use the 'Download' function to transfer the project to the HMI.
- The HMI will restart with the new project loaded.
6.3 Сенсордук экрандын иштеши
The MT8100iE features a resistive touchscreen. Use your finger or a non-sharp stylus to interact with the on-screen elements such as buttons, input fields, and displays.
6.4 PLC Communication
The HMI is designed to communicate with various PLCs. Ensure the communication settings (protocol, baud rate, station ID, etc.) configured in your EasyBuilder Pro project match those of your connected PLC.
7. Техникалык тейлөө
Regular maintenance ensures optimal performance and longevity of your HMI.
- Тазалоо: жумшак колдонуу, damp cloth to clean the screen and casing. Do not use abrasive cleaners or solvents. Ensure no liquid enters the device.
- Программалык камсыздоонун жаңыртуулары: Periodically check the Weintek website for firmware updates to ensure your HMI has the latest features and bug fixes.
- Сактагычты алмаштыруу: If the HMI does not power on, check the fuse located on the rear panel. Replace it with a fuse of the same type and rating if necessary. Always disconnect power before replacing the fuse.
- Экологиялык шарттар: Зыяндын алдын алуу үчүн иштөө чөйрөсү белгиленген температуранын жана нымдуулуктун чегинде сакталышын камсыз кылыңыз.
8. Кыйынчылыктарды
Бул бөлүмдө сиз кабылышы мүмкүн болгон жалпы маселелерди чечүү жолдору каралган.
| Көйгөй | Мүмкүн себеп | Чечим |
|---|---|---|
| HMI does not power on. | Электр энергиясы жок, зымдары туура эмес, сактагычы күйүп кеткен. | Check power connection, verify wiring polarity, replace fuse if blown. |
| Сенсордук экран жооп бербей жатат. | Screen calibration issue, hardware fault. | Perform screen calibration (refer to EasyBuilder Pro documentation), contact support if issue persists. |
| Cannot communicate with PLC. | Incorrect communication settings, wrong cable, PLC offline. | Verify communication protocol, baud rate, and station ID in EasyBuilder Pro. Check cable connections. Ensure PLC is powered on and running. |
| Project download fails. | Network issue, incorrect IP address, firewall blocking. | Check network cable, verify HMI and PC IP addresses are in the same subnet. Temporarily disable firewalls for testing. |
9. Техникалык шарттар
| Өзгөчөлүк | Description |
|---|---|
| Модель номери | eMT3070A1WK |
| Screen Size | 10.2 дюйм |
| Резолюция | 800 x 480 |
| Аспект катышы | 1.66:1 |
| Screen Surface | Жылтырак |
| Эс | Камтылган 128 МБ Flash эстутум |
| Реалдуу убакыттагы саат (RTC) | Ооба |
| Алдыңкы панелдин рейтинги | NEMA4/IP65 Compliant |
| Сериялык порттор | COM1 RS-232 / COM2 RS-485 (2W/4W) |
| Электрондук почта билдирүүсү | Status e-Mail notification feature |
10. Кепилдик жана колдоо
Weintek products are manufactured to high quality standards. For warranty information and technical support, please refer to the official Weintek webсайтына кириңиз же ыйгарым укуктуу дистрибьюторуңузга кайрылыңыз. Кепилдик талаптары үчүн сатып алуунун далили катары сатып алуу квитанцияңызды сактап коюңуз.
For software downloads, drivers, and additional resources, visit the official Weintek support portal.


