1. Киришүү
This manual provides detailed instructions for the assembly, operation, and maintenance of your Sharkoon VS4-W Series ATX/MicroATX Mid-Tower PC Case, model SHA-VS4-WBK. Please read this manual thoroughly before beginning installation to ensure proper setup and to maximize the lifespan of your product.
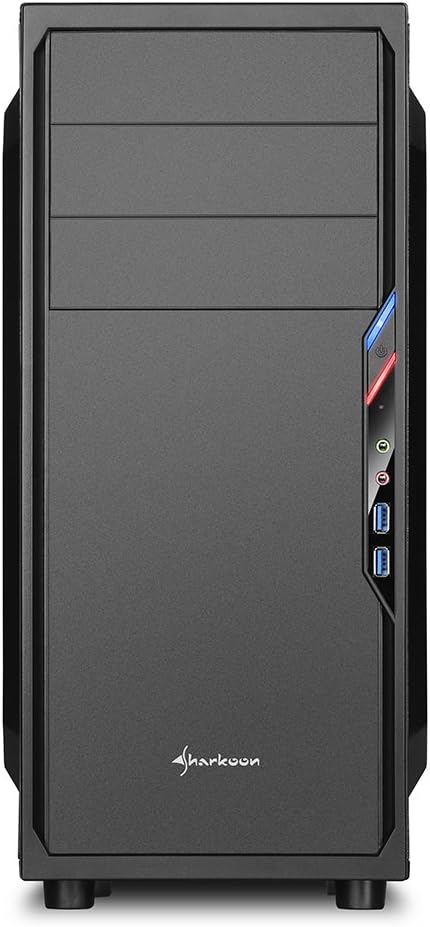
The Sharkoon VS4-W Series is designed for users seeking a cost-effective and functional PC case. It features a full-black aesthetic with an acrylic side window panel, offering a clear view of your internal components. The case supports ATX and Micro-ATX motherboards and provides ample space for various components, including multiple storage drives and long graphics cards.
2. Продукт бүтүп калдыview
2.1. Негизги өзгөчөлүктөрү
- Acrylic side window panel for component visibility.
- Full-black interior and exterior design.
- Support for ATX and Micro-ATX motherboards.
- Three 5.25-inch drive bays, two with tool-less mechanisms.
- Seven drive bays for storage: three 3.5-inch and four 2.5-inch.
- Generous expansion card space, up to 385mm with 2.5-inch cage removed.
- Cable management space behind the motherboard tray due to a bulged side panel design.
- Бийиктиги 160 мм чейинки CPU муздаткычтарын колдойт.
- Front I/O panel with 2x USB 3.0 and 2x USB 2.0 ports, plus HD Audio.
- Pre-installed 120mm front fan and 120mm blue LED rear fan.
2.2. Компонентти идентификациялоо


3. Орнотуу жана орнотуу
3.1. Ишти даярдоо
- Unpack the PC case and remove all packaging materials.
- Корпусту туруктуу, тегиз бетке коюңуз.
- Корпустун арткы жагындагы бурагычтарды бурап алуу менен каптал панелдерди алып салыңыз.
3.2. Motherboard орнотуу
- Install the I/O shield provided with your motherboard into the cutout at the rear of the case.
- Ensure standoffs are correctly aligned for your ATX or Micro-ATX motherboard. Install additional standoffs if necessary.
- Энелик платаны корпустун ичине этияттык менен жайгаштырыңыз, аны тирөөчтөр жана киргизүү/чыгаруу калканы менен тегиздеңиз.
- Аналык платаны бурамалар менен бекитиңиз.
3.3. Электр энергиясы менен жабдууну орнотуу
- Mount the power supply unit (PSU) in the designated area at the bottom rear of the case.
- PSUну корпустун артындагы бурамалар менен бекитиңиз.
- Керектүү электр кабелдерин кабелди башкаруу кесиктери аркылуу өткөрүңүз.
3.4. Дискти орнотуу
- 5.25 дюймдук дисктер: For tool-less bays, slide the drive in until it clicks into place. For other bays, secure with screws.
- 3.5 дюймдук дисктер: Slide the 3.5-inch drives into the designated bays and secure them.
- 2.5 дюймдук дисктер: Mount 2.5-inch SSDs/HDDs onto the dedicated mounting points.
3.5. Кеңейтүү картасын орнотуу
- Remove the necessary PCI slot covers from the rear of the case.
- Insert your graphics card or other expansion cards into the appropriate PCI-E slots on the motherboard.
- Secure the cards with screws. For longer graphics cards, the 2.5-inch drive cage can be removed to provide up to 385mm of space.
3.6. Кабелдик башкаруу
Utilize the space behind the motherboard tray and the various cable routing holes to organize cables. This improves airflow and aesthetics.
4. Иштөө нускамалары
Once all components are installed and connected, replace the side panels and secure them with the thumbscrews. Connect your peripherals (monitor, keyboard, mouse, etc.) to the motherboard's I/O ports. Connect the power cable to the PSU and a wall outlet. Press the power button on the front panel to start your system.
5. Техникалык тейлөө
5.1. Тазалоо
- Regularly clean dust filters (if present) to maintain optimal airflow.
- Use compressed air to remove dust from internal components and fans.
- Корпустун сыртын жумшак менен сүртүңүз, гamp кездеме. Абразивдүү тазалагычтардан алыс болуңуз.
5.2. Желдеткичти тейлөө
Ensure fans are free from obstructions and spinning correctly. If a fan becomes noisy or stops working, consider replacing it to maintain proper cooling.
6. Кыйынчылыктарды
6.1. System Not Powering On
- Check all power connections, including the PSU to the wall, and internal connections to the motherboard and components.
- Корпустун кубат баскычынын кабели эне платасынын алдыңкы панелинин башына туура туташтырылганын текшериңиз.
- PSU которгучу 'ON' абалында экенин текшериңиз.
6.2. Poor Airflow/Overheating
- Clean any dust filters and internal components.
- Ensure fans are operating correctly and oriented for optimal airflow (intake/exhaust).
- Improve cable management to reduce obstructions to airflow.
6.3. Front Panel USB/Audio Not Working
- Verify that the front panel USB and HD Audio cables are securely connected to the corresponding headers on your motherboard.
7. Техникалык шарттар
| Модель аты | VS4-W Series |
| Продукт моделинин номери | SHA-VS4-WBK |
| Иштин түрү | Ара Tower |
| Материал | Болот, Пластик, Акрил |
| Түс | Кара |
| Motherboard шайкештиги | ATX, Micro-ATX |
| 5.25" Айдоочу булуңдар | 3 (2 with tool-less mechanism) |
| 3.5" Internal Drive Bays | 3 |
| 2.5" Айдоочу булуңдар | 4 |
| PCI кеңейтүү Slots | 7 |
| Макс. Графикалык картанын узундугу | 310mm (385mm with 2.5" cage removed) |
| Макс. CPU муздаткычтын бийиктиги | 160мм |
| Макс. PSU узундугу | 260мм |
| Алдыңкы I / O порттору | 2x USB 3.0, 2x USB 2.0, HD Audio (Mic/Headphone) |
| Алдын ала орнотулган күйөрмандар | Front: 1x 120mm, Rear: 1x 120mm Blue LED |
| Муздатуу ыкмасы | Аба муздатуу |
| Продукциянын өлчөмдөрү (L x W x Y) | 44.5 x 20 x 43 см |
| Элемент Салмагы | 3.5 кг |
8. Кепилдик жана колдоо
For warranty information and technical support, please refer to the official Sharkoon webсайтына кириңиз же жергиликтүү сатуучуңузга кайрылыңыз. Кепилдик талаптары үчүн сатып алганыңызды тастыктаган документти сактап коюңуз.
Official Sharkoon Webсайт: www.sharkoon.com


