1. Киришүү
This manual provides essential information for the safe and efficient operation of your InFocus IN112a SVGA DLP Projector. Please read it thoroughly before using the projector and retain it for future reference. The InFocus IN112a is designed to deliver clear and bright projections for various applications, featuring SVGA resolution, HDMI connectivity, and 3D support.
2. Коопсуздук маалыматы
Проекторго зыян келтирбөө жана колдонуучунун коопсуздугун камсыз кылуу үчүн төмөнкү коопсуздук чараларын сактаңыз:
- Do not look directly into the projector lens качан лamp күйүк. Күчтүү жарык көзгө зыян келтириши мүмкүн.
- Туура желдетүүнү камсыз кылыңыз. Вентиляция тешиктерин жаап албаңыз.
- Only qualified service personnel should open the projector casinг. Ичинде колдонуучу тейлей турган бөлүктөр жок.
- Проектор менен берилген кубат шнурын гана колдонуңуз.
- Проекторду суудан же нымдуу чөйрөдөн алыс кармаңыз.
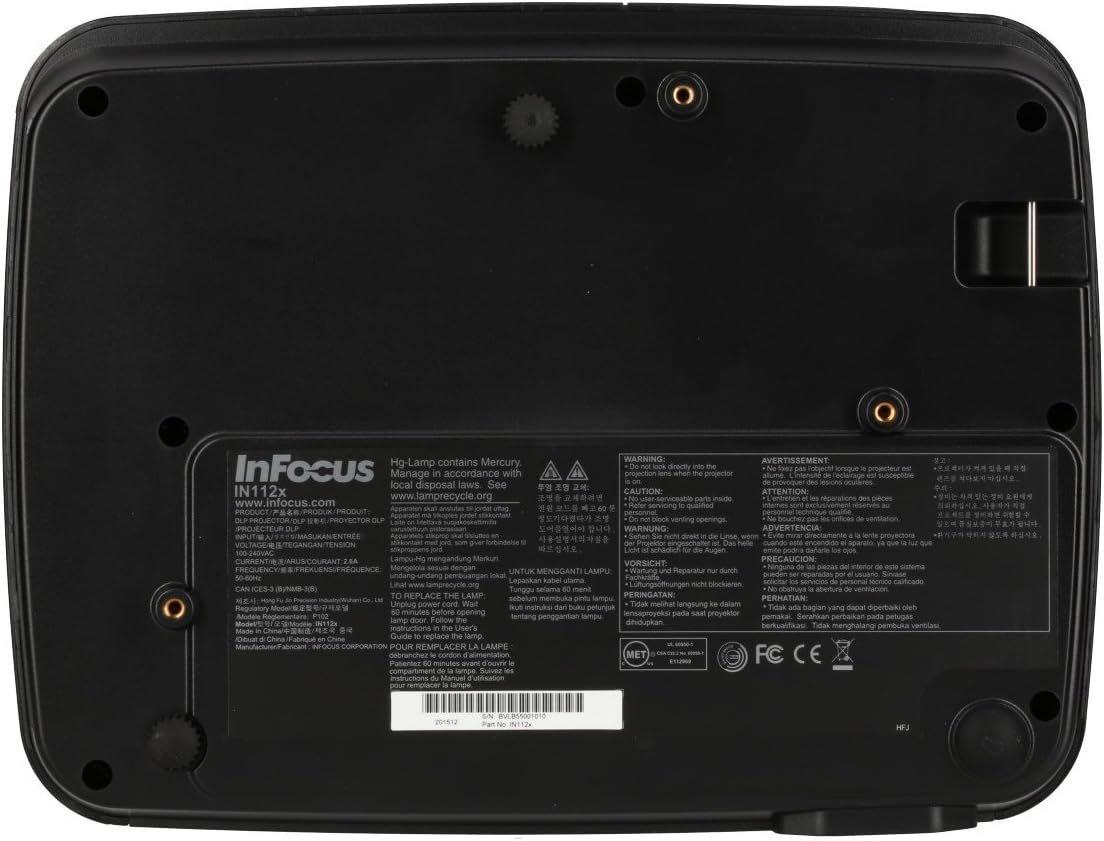
- Проектор лamp сымапты камтыйт. l жок кылыңызamps according to local regulations. Visit www.lamprecycle.org көбүрөөк маалымат алуу үчүн.

Сүрөт: Төмөнкү view of the InFocus IN112a projector, displaying various warning labels, regulatory compliance marks (like CE, FCC), and information regarding the mercury content in the lamp and recycling instructions.
3. Продукт бүтүп калдыview
3.1. Проектордун өлчөмдөрү

Сүрөт: алдыңкы view of the InFocus IN112a projector, illustrating its physical dimensions. The projector measures approximately 292 mm in width, 220 mm in depth, and 108 mm in height.
3.2. Үстүнкү панелдин башкаруу элементтери
Сүрөт: Жогорку view of the InFocus IN112a projector, highlighting the control panel. This panel includes buttons for power, menu access, source selection, and directional navigation for menu adjustments.
The top panel features buttons for power on/off, menu access, input source selection, and navigation arrows for adjusting settings within the on-screen display (OSD) menu. The focus and zoom rings are located near the lens.
3.3. Арткы панелдин туташуулары

Сүрөт: Арткы view of the InFocus IN112a projector, displaying its comprehensive array of connectivity ports. These include HDMI 1.4, two VGA inputs (Computer 1, Computer 2), a VGA monitor output, S-Video, Composite video, two 3.5mm stereo audio inputs, one 3.5mm stereo audio output, an RS232C control port, and a USB-B port.
The rear panel provides a variety of connection options:
- HDMI1.4: For digital video and audio input.
- VGA (Computer 1, Computer 2): Two inputs for analog computer signals.
- VGA Monitor Out: For connecting an external monitor.
- Композиттик видео: Стандарттык сапаттагы видео киргизүү үчүн.
- S-Video: For enhanced standard definition video input.
- Audio In (3.5mm x 2): For stereo audio input.
- Аудио чыгышы (3.5 мм): For stereo audio output to external speakers.
- RS232C: Компьютер же башкаруу системасы аркылуу проекторду башкаруу үчүн.
- USB-B: Кызмат же микропрограммалык камсыздоону жаңыртуу үчүн.
4. Орнотуу
4.1. Жайгаштыруу
Position the projector on a stable, flat surface or mount it securely to a ceiling. Ensure there is adequate space around the projector for ventilation. The distance from the screen will determine the image size. Refer to the specifications section for throw ratio details.
4.2. Кубатты туташтыруу
Connect the supplied power cord to the projector's power inlet and then to a grounded electrical outlet. The power LED will illuminate, indicating standby mode.
4.3. Видео булактарын туташтыруу
Connect your video source (e.g., computer, Blu-ray player, cable box) to the appropriate input port on the projector's rear panel using a compatible cable. For best quality, use the HDMI input.
- HDMI: Connect an HDMI cable from your source to the projector's HDMI port.
- VGA: Connect a VGA cable from your computer to either the Computer 1 or Computer 2 port.
- Composite/S-Video: Connect the respective cable for older video sources.
4.4. Аудиону туташтыруу
If using VGA, Composite, or S-Video inputs, connect an audio cable from your source's audio output to one of the projector's 3.5mm Audio In ports. HDMI carries both video and audio, so a separate audio connection is not typically needed for HDMI sources.
4.5. Adjusting Focus and Zoom
After powering on the projector and displaying an image, rotate the Фокус шакеги around the lens until the image is sharp and clear. Use the Масштабдуу шакек to adjust the image size to fit your screen.
5. Операция
5.1. Күйгүзүү / Өчүрүү
- Күйгүзүү үчүн: Press the Power button on the projector's top panel or the remote control. The power indicator will turn green.
- Өчүрүү үчүн: Press the Power button twice. The projector will enter a cooling cycle, and the power indicator will turn red (standby) once complete.
5.2. Киргизүү булагын тандоо
Press the "Source" button on the projector or remote control repeatedly to cycle through available input sources (HDMI, VGA1, VGA2, S-Video, Video). The projector will automatically detect an active signal if "Auto Source" is enabled in the menu.
5.3. Меню навигациясы
Press the "Menu" button to access the On-Screen Display (OSD) menu. Use the directional arrows to navigate through menu options and the "Enter" button to select. Press "Menu" again to exit.
5.4. 3D Content Playback
The IN112a supports 3D content from Blu-ray players, cable boxes, dish services (over HDMI), and PC-based 3D content at 120Hz. To view 3D content, you will need 144 Hz DLP Link 3D glasses (sold separately).
- Ensure your 3D source is connected via HDMI.
- Play 3D content from your source.
- Turn on your 144 Hz DLP Link 3D glasses. The projector should automatically detect the 3D signal.
6. Техникалык тейлөө
6.1. Cleaning the Projector Lens
Линзаны оптикалык беттер үчүн атайын иштелип чыккан жумшак, мамыксыз чүпүрөк менен акырын сүртүңүз. Абразивдүү тазалоочу каражаттарды же ашыкча күч колдонбоңуз, анткени бул линзаны чийип алышы мүмкүн.
6.2. Лamp Алмаштыруу
Проектор лamp 10 000 саатка чейин иштөө мөөнөтү бар.amp жашоо акырына жакындап калды, эскертүүчү билдирүү пайда болушу мүмкүн, жеamp indicator LED may illuminate. Refer to the full service manual for detailed lamp алмаштыруу көрсөтмөлөрү. Эскертүү: lamp сымап бар. Колдонулганды жок кылуу лamps according to local environmental regulations.
6.3. Аба чыпкаларын тазалоо
Regularly clean the air filters to ensure proper ventilation and prevent overheating. Dust and debris can accumulate, reducing cooling efficiency. Gently remove the filter cover and clean the filter with a soft brush or vacuum cleaner. Replace the filter cover securely.
7. Кыйынчылыктарды
| Көйгөй | Мүмкүн себеп | Чечим |
|---|---|---|
| Сүрөт көрсөтүлгөн жок |
|
|
| Сүрөт бүдөмүк |
|
|
| Аудио жок |
|
|
| Проектор ысып, өчүп калат |
|
|
8. Техникалык шарттар
| Өзгөчөлүк | Деталь |
|---|---|
| Модель номери | IN112X |
| Дисплей технологиясы | DLP |
| Native Resolution | SVGA (800 x 600) |
| Жарыктык | 3200 люменге чейин |
| Контраст катышы | 15,000:1 |
| Lamp Жашоо | 10,000 саатка чейин |
| Байланыш | HDMI 1.4, VGA x 2, Composite video, S-Video, 3.5 mm stereo in x 2, 3.5mm stereo out, VGA monitor out, RS232C, USB-B |
| 3D колдоо | Yes (requires 144 Hz DLP Link 3D glasses) |
| Ыргытуу катышы | 1.9 - 2.09 |
| Продукциянын өлчөмдөрү | 14.25 x 12 x 7.75 дюйм (болжол менен 36.2 x 30.5 x 19.7 см) |
| Элемент Салмагы | 5.4 фунт (болжол менен 2.45 кг) |
| Сунушталган колдонуу | Ички/тышкы |
| Өзгөчө өзгөчөлүк | Камтылган динамиктер |
9. Кепилдик жана колдоо
For warranty information and technical support, please refer to the documentation included with your purchase or visit the official InFocus webсайт. Кепилдик дооматтар үчүн сатып алганыңыздын далилин сактаңыз.


