Introduction
Welcome to the user manual for your new MODSTER Helix 150 Flybarless RC Helicopter. The Helix 150 is designed for beginners, offering extremely stable flight behavior thanks to its sophisticated 6-axis stabilization sensor. This manual provides essential information for setting up, operating, maintaining, and troubleshooting your helicopter to ensure a safe and enjoyable experience.
Коопсуздук маалыматы
Please read and understand all safety warnings before operating the MODSTER Helix 150. Failure to do so may result in injury or damage to the product.
- Тышкы колдонуу үчүн гана. Do not operate indoors in confined spaces where damage to property or injury to persons may occur.
- Көзгө тийбеңиз. Keep the helicopter and its components away from your face, especially during operation.
- Ачык оттон жана түз жылуулук булактарынан алыс болуңуз. This applies to the helicopter, battery, and charger.
- Чоңдордун көзөмөлү сунушталат for users under the age of 14.
- Өзгөртпө the helicopter or its components.
- Батарея толук заряддалганын текшериңиз before each flight and disconnect it after use.
- Operate in open areas free from obstacles, people, and animals.
Пакеттин мазмуну
Carefully unpack all items and check against the list below. If any items are missing or damaged, please contact customer support.
- MODSTER Helix 150 Helicopter
- Алыстан башкаруу (өткөргүч)
- 300 mAh LiPo Battery
- USB заряддоо кабели
- Spare Main Rotor Blades (Set)
- Spare Tail Rotor Blades (Set)
- Spare Swashplate Linkage Rod
- Филлипс баш бурагычы
- Аллен Wrench
- User Manual (German/English)
Продукт бүттүview
The MODSTER Helix 150 is a compact and stable RC helicopter, perfect for learning to fly. Its design incorporates features for ease of use and durability.

1-сүрөт: The MODSTER Helix 150 Flybarless RC Helicopter. This image shows the complete helicopter with its main rotor blades, tail rotor, landing skids, and sleek body design.

2-сүрөт: The MODSTER Helix 150 helicopter alongside its remote control. This image highlights the "Flybarless Heli for Everyone" concept, emphasizing ease of use for beginners with features like auto start/landing and stabilization.

3-сүрөт: Visual representation of key features including 6-axis stabilization, RTF (Ready-To-Fly) out of the box, Gyro stabilization, and a length of 268 mm.
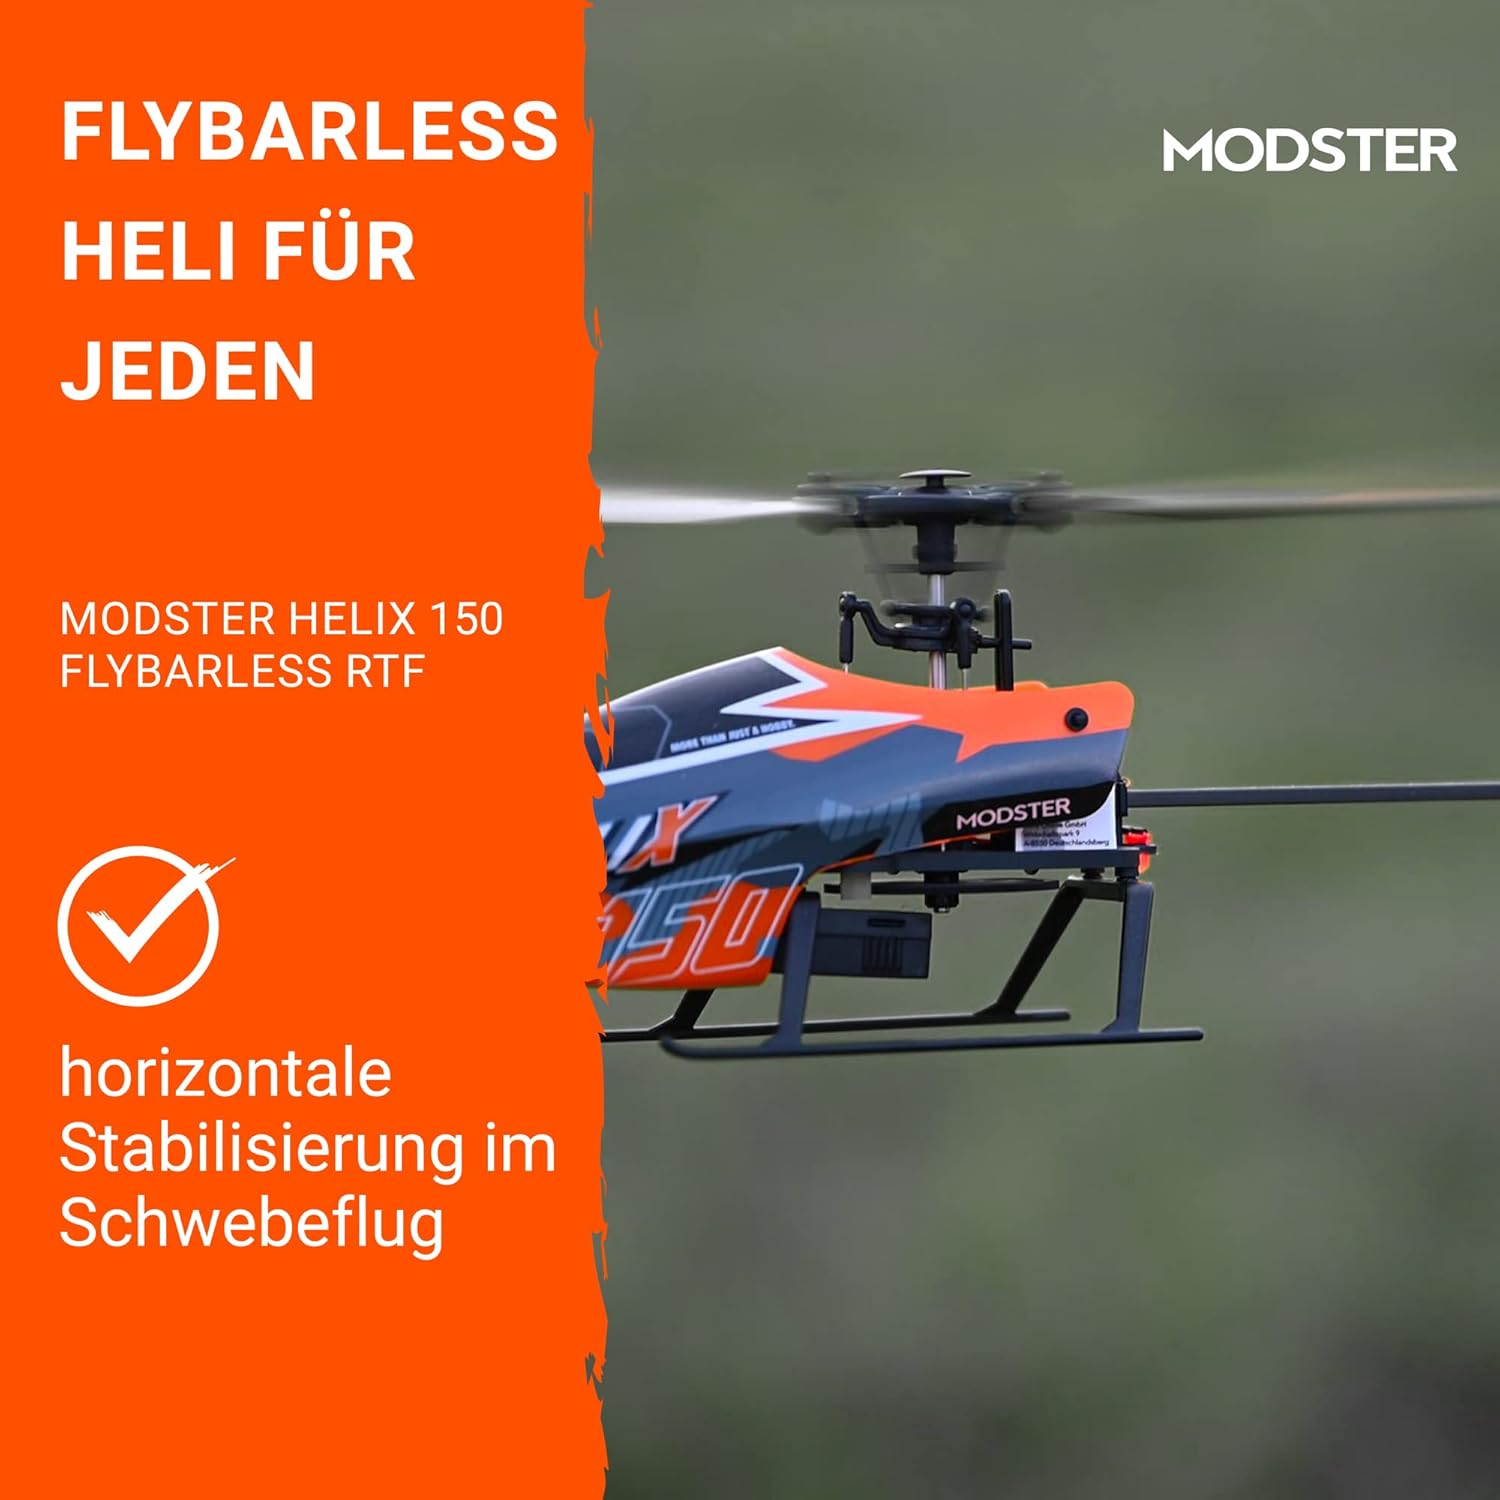
4-сүрөт: The helicopter demonstrating horizontal stabilization during hover flight, a key feature for beginner pilots.
Жайгашуу
1. Учуунун батареясын кубаттоо
- Connect the included USB charging cable to a USB power source (e.g., computer USB port, USB wall adapter).
- Connect the 300 mAh LiPo battery to the USB charging cable.
- The charging indicator light on the USB cable will show the charging status (e.g., red for charging, green for fully charged).
- Charging typically takes approximately 30-60 minutes. Do not overcharge the battery.
2. Алыстан башкаруу пультуна батареяларды орнотуу
- Пульттун артындагы батарея бөлүкчөсүн ачыңыз.
- Insert the required batteries (typically 4x AAA, not included) ensuring correct polarity (+/-).
- Батарея отсегин бекем жабыңыз.
3. Binding the Helicopter and Remote Control
- Ensure the helicopter's battery is disconnected and the remote control is turned off.
- Алыстан башкарууну күйгүзүңүз.
- Connect the flight battery to the helicopter. Place the helicopter on a flat, stable surface.
- The helicopter's indicator light will flash, and the remote control will beep.
- Move the throttle stick (left stick for Mode 2) all the way up, then all the way down.
- The indicator lights on both the helicopter and remote control should become solid, indicating a successful binding.
Иштөө нускамалары
1. Учуу алдындагы текшерүүлөр
- Ensure the flight battery is fully charged.
- Check that the remote control batteries are sufficient.
- Inspect rotor blades for any damage or cracks.
- Ensure all linkages are securely connected.
- Choose an open, clear area for flight, away from people, animals, and obstacles.
2. Take-off (Auto Start)
After binding, place the helicopter on a flat surface. Press the "Auto Take-off" button (often marked with an arrow pointing up or a take-off icon) on the remote control. The helicopter will automatically ascend to a stable hover height.
3. Basic Flight Controls (Mode 2)
The remote control supports both Mode 1 and Mode 2. This manual describes Mode 2, which is common for RC helicopters. Refer to your remote control's specific instructions for switching modes if needed.
- Сол таякча (дроссель/жаңгак):
- Өйдө/төмөн: Controls altitude (throttle).
- Сол оң: Controls yaw (rotation around its vertical axis).
- Оң таякча (Тепкич/Толгоо):
- Өйдө/төмөн: Controls pitch (forward/backward movement).
- Сол оң: Controls roll (sideways movement).
4. Landing (Auto Landing)
To land the helicopter, press the "Auto Landing" button (often marked with an arrow pointing down or a landing icon) on the remote control. The helicopter will automatically descend and land gently.
Alternatively, you can manually land by slowly lowering the throttle stick until the helicopter gently touches down. Once landed, immediately pull the throttle stick all the way down and hold for a few seconds to stop the rotors.
Техникалык тейлөө
- Тазалоо: Use a soft, dry cloth to wipe down the helicopter after each flight. Avoid using water or solvents.
- Ротордун бычагын текшерүү: Regularly check main and tail rotor blades for any signs of damage (cracks, bends, chips). Replace damaged blades immediately using the included spare parts and screwdriver.
- Батареяга кам көрүү:
- Always disconnect the battery from the helicopter after use.
- Батареяны салкын, кургак жерде, тике күн нурунан жана экстремалдык температурадан алыс сактаңыз.
- Do not store fully charged or fully discharged for extended periods. For long-term storage, charge to approximately 50%.
- Байланышты текшерүү: Periodically check all control linkages for looseness or damage. Use the provided tools for adjustments or replacements.
Проблемаларды чечүү
| Көйгөй | Мүмкүн себеп | Чечим |
|---|---|---|
| Helicopter does not respond to remote control. | Not bound, low remote control battery, helicopter battery low. | Re-bind the helicopter and remote. Replace remote control batteries. Charge helicopter battery. |
| Тик учак абада калкып турганда кыймылдайт. | Trim settings incorrect, minor damage to blades, strong wind. | Adjust trim buttons on remote. Inspect and replace damaged blades. Fly in calm conditions. |
| Роторлор айланат, бирок тик учак көтөрүлбөйт. | Low helicopter battery, damaged main rotor blades, motor issue. | Charge helicopter battery. Replace main rotor blades. Contact support if motor issue suspected. |
| Кыска учуу убактысы. | Battery not fully charged, aging battery, aggressive flying. | Ensure full charge. Battery life decreases over time; consider replacement. Practice smoother flying. |
Техникалык шарттар
| Өзгөчөлүк | Деталь |
|---|---|
| Модель аты | Helix 150 |
| Модель номери | HeliX 150 Flybarless 1S RTF |
| Ротор диаметри | 245 мм |
| Узундук | 268 мм |
| Салмагы | 52 г |
| Учууларды турукташтыруу | 6-Axis Gyro Stabilization |
| Учуу убактысы | 15 мүнөткө чейин |
| Батарея | 300 мАч LiPo |
| Башкаруу түрү | Radio Control (Mode 1 & Mode 2 switchable) |
| Өзгөчөлүктөр | Auto Start/Landing, Horizontal Hover Stabilization |
| Сунушталган Жаш | 14 жаш жана андан жогору |
| Негизги материал | Пластик |
| Түс | Бордо |
Кепилдик жана колдоо
For warranty information, please refer to the documentation provided at the time of purchase or visit the official MODSTER webсайт.
If you encounter any issues not covered in this manual or require further assistance, please contact MODSTER customer support. You can typically find contact details on the product packaging or the official MODSTER website. When contacting support, please have your product model number (HeliX 150 Flybarless 1S RTF) and purchase information ready.


