1. Продукт бүтүп калдыview
The Volteck TEM-8 Digital Timer is designed to automate the power supply to electrical appliances, allowing for precise scheduling of on/off cycles. This device features 8 programmable events per day, offering flexibility for various applications.

Сүрөт 1: Алдыңкы view of the Volteck TEM-8 Digital Timer, showing the LCD display, control buttons, and power outlet.
Негизги өзгөчөлүктөрү:
- 8 Programmable Events: Set up to 8 distinct ON/OFF programs daily.
- Ийкемдүү график: Programs can be set for specific days of the week or daily.
- LCD дисплей: Clear digital display for time and program settings.
- Интегралдык кайра заряддалуучу батарея: Maintains program settings during power outages.
- Туруктуу курулуш: Made from polycarbonate for longevity.

Figure 2: Key features of the timer, including the LCD screen, integrated rechargeable battery, and polycarbonate construction.
2. Орнотуу жана баштапкы конфигурация
2.1 Таңгактан чыгаруу жана баштапкы төлөм
Remove the timer from its packaging. Before first use, plug the timer into a standard electrical outlet for at least 30 minutes to charge the internal rechargeable battery. This ensures that the timer retains its settings even if unplugged or during a power interruption.
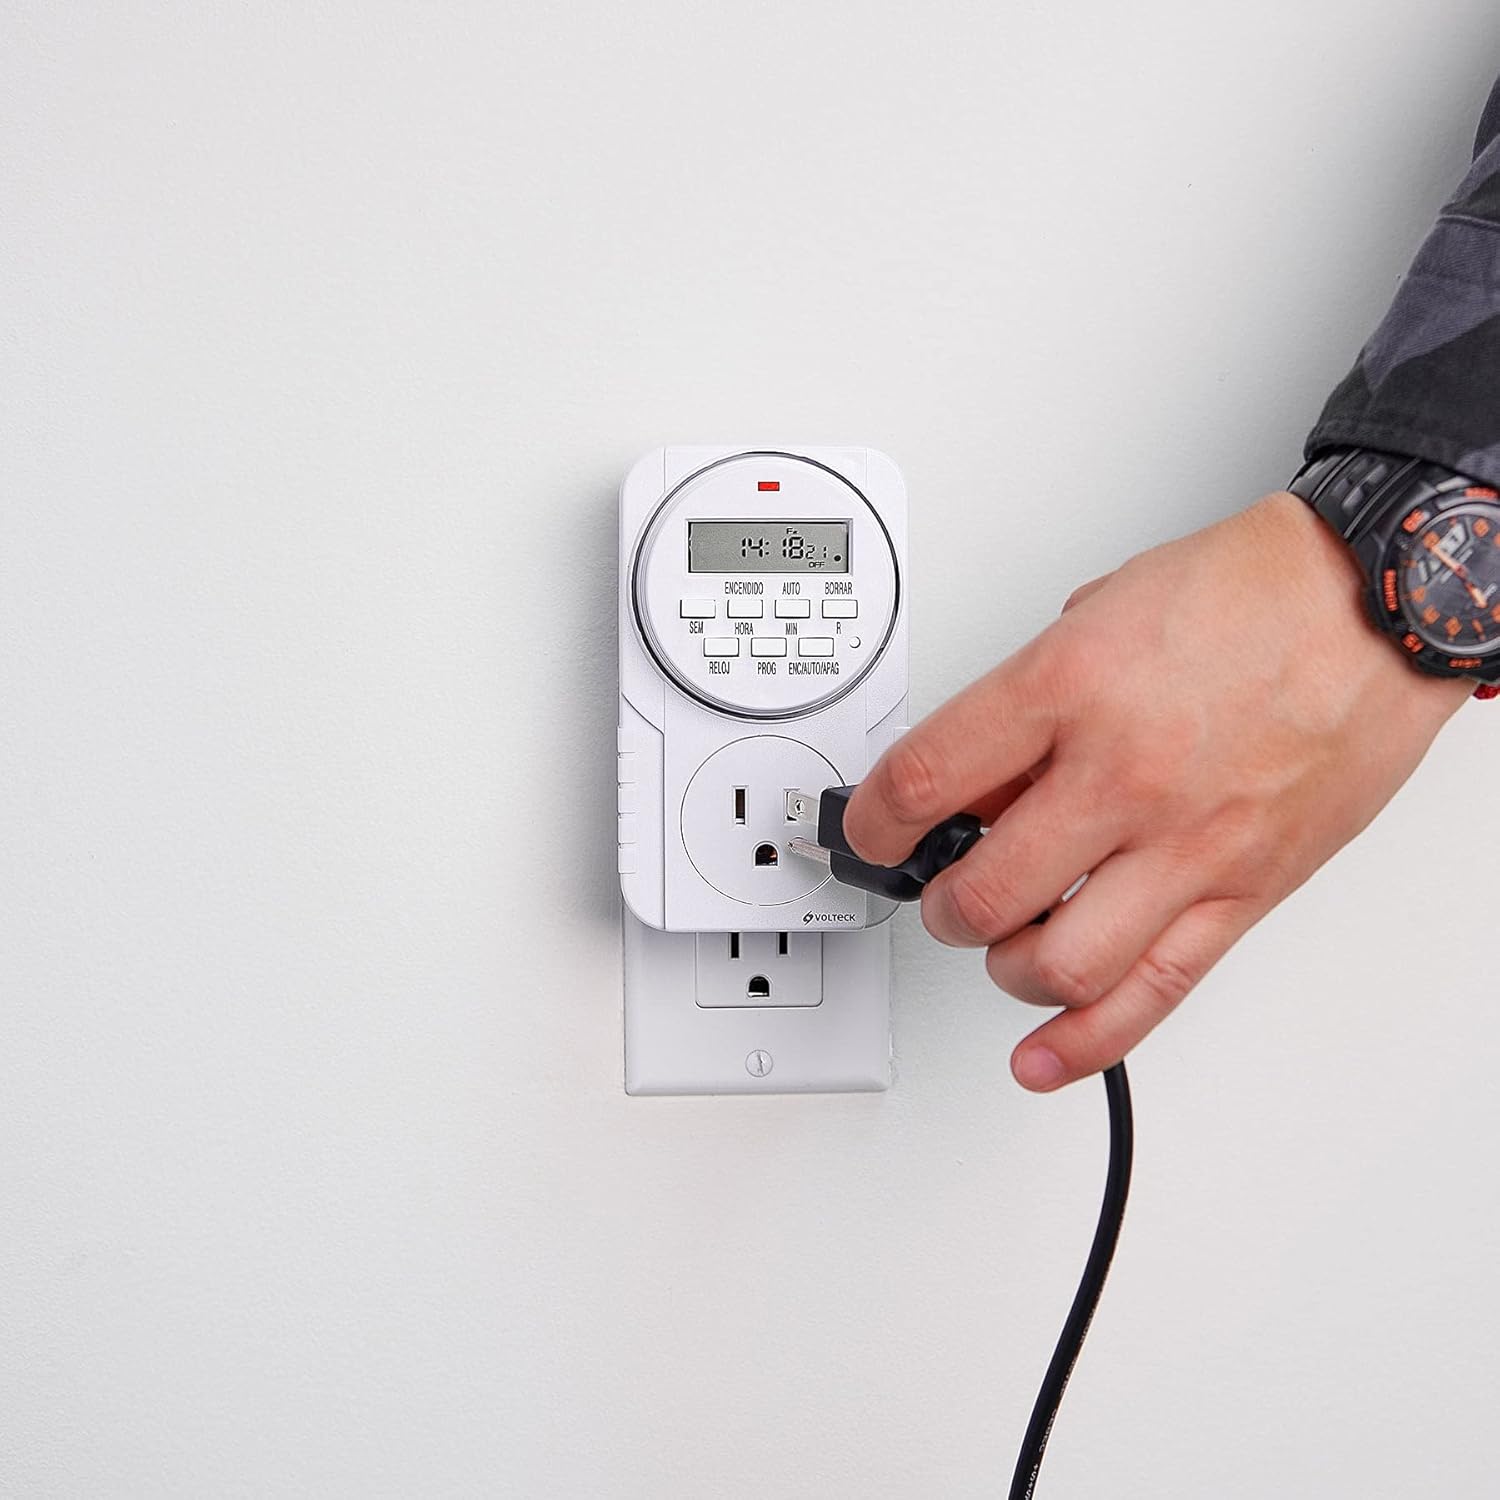
Figure 3: The Volteck TEM-8 Digital Timer plugged into a wall outlet for initial charging and operation.
2.2 Учурдагы убакытты орнотуу
- басыңыз СААТ button. The display will show the current time.
- кармап жатканда СААТ баскычын басыңыз ЖУМА button to select the current day of the week (e.g., MO, TU, WE, TH, FR, SA, SU).
- кармап жатканда СААТ баскычын басыңыз HOUR учурдагы саатты коюу үчүн баскыч.
- кармап жатканда СААТ баскычын басыңыз MIN учурдагы мүнөттү коюу үчүн баскыч.
- бошотуңуз СААТ баскычын басыңыз. Убакыт эми коюлду.
3. Иштөө нускамалары
3.1 Иш-чараларды программалоону күйгүзүү/өчүрүү
The TEM-8 timer allows for up to 8 ON/OFF programs. Each program consists of an ON time and an OFF time.
- басыңыз ПРОГ button once. The display will show "1 ON". This is for setting the first ON time.
- басыңыз ЖУМА button to select the desired day(s) for this program. Options include individual days, weekdays, weekends, or all days.
- басыңыз HOUR button to set the desired hour for the ON time.
- басыңыз MIN button to set the desired minute for the ON time.
- басыңыз ПРОГ button again. The display will show "1 OFF". This is for setting the first OFF time.
- Repeat steps 2-4 to set the desired day(s), hour, and minute for the OFF time. Ensure the OFF time is after the ON time for the same program.
- Баскычын баса бериңиз ПРОГ button to cycle through "2 ON", "2 OFF", up to "8 ON", "8 OFF", setting each program as needed.
- Бардык керектүү программаларды орноткондон кийин, баскычын басыңыз СААТ Учурдагы убакытты көрсөтүүгө кайтуу үчүн баскычты басыңыз.

Figure 4: A user pressing buttons on the timer to set programs or adjust settings.
3.2 Manual Override (ON/AUTO/OFF)
The ON/AUTO/OFF button allows you to manually control the timer's output, overriding programmed settings temporarily.
- үчүн бир жолу басыңыз ON: The connected appliance will turn ON immediately and stay ON, ignoring all programs.
- үчүн кайра басыңыз АВТО: The timer will follow the programmed ON/OFF events. This is the standard operating mode.
- үчүн үчүнчү жолу басыңыз ӨЧҮРҮҮ: The connected appliance will turn OFF immediately and stay OFF, ignoring all programs.

Figure 5: A power cord being plugged into the timer's outlet, ready for automated control.
3.3 Clearing Programs
To clear a specific program, navigate to the desired "ON" or "OFF" setting using the ПРОГ баскычын, андан кийин басыңыз АЧЫК (Clear) button. This will reset the time for that specific event to "--:--". To clear all programs, a full reset may be required (see Troubleshooting).
4. Техникалык тейлөө
4.1 Тазалоо
To clean the timer, first unplug it from the wall outlet. Use a soft, dry cloth to wipe the exterior. Do not use liquid cleaners, abrasive materials, or immerse the device in water.
4.2 Батарея маалыматы
The Volteck TEM-8 features an integrated rechargeable Ni-MH battery. This battery is designed to maintain the time and program settings during power interruptions or when the timer is unplugged. The battery is not user-replaceable. If the display becomes dim or settings are lost frequently, ensure the timer is plugged into a live outlet for sufficient charging time.
5. Кыйынчылыктарды
| Көйгөй | Мүмкүн себеп | Чечим |
|---|---|---|
| Дисплей бош же күңүрт. | Ички батареянын заряды аз же түгөндү. | Plug the timer into a live electrical outlet for at least 30 minutes to charge the internal battery. |
| Программалар ишке ашпай жатат. | Timer is not in AUTO mode. Incorrect program settings. | камсыз кылуу ON/AUTO/OFF баскычы коюлган АВТО. Review program settings for correct ON/OFF times and days. Ensure OFF time is after ON time. |
| Time or programs are lost after unplugging. | Internal battery is not sufficiently charged. | Plug the timer into a live outlet for an extended period (e.g., 4 hours) to fully charge the internal battery. |
| Timer is unresponsive. | Убактылуу электрондук мүчүлүштүк. | Perform a full reset by pressing the recessed R (Reset) button using a pointed object (e.g., a pen tip). This will clear all settings, and you will need to re-set the time and programs. |
6. Техникалык шарттар
- Модел: TEM-8
- Бренд: Volteck
- Түсү: Кара
- Материал: Поликарбонат
- Орнотуулардын саны: 8 (ON/OFF events)
- Элемент Салмагы: 0.26 килограмм (болжол менен 9.2 унция)
- Продукциянын өлчөмдөрү: Approximately 7 cm (width) x 12 cm (height) x 4 cm (depth). Note: Product packaging dimensions may vary.
- Ички батарея: Rechargeable Ni-MH (non-user replaceable)
- Биринчи жеткиликтүү: 8-декабрь, 2015-жыл

Figure 6: Dimensions of the Volteck TEM-8 Digital Timer (approximately 7 cm width, 12 cm height, 4 cm depth).
7. Кепилдик жана колдоо
7.1 Кепилдик маалыматы
Based on product packaging, the Volteck TEM-8 Digital Timer typically includes a 1 жылдык кепилдик from the date of purchase. Please retain your proof of purchase for warranty claims. The warranty covers manufacturing defects under normal use. It does not cover damage caused by misuse, accidents, unauthorized modifications, or improper installation.
7.2 Кардарларды колдоо
For further assistance, technical support, or warranty inquiries, please contact Volteck customer service. Refer to the product packaging or the official Volteck webакыркы байланыш маалыматы үчүн сайт.


