1. Киришүү
This manual provides essential information for the setup, operation, and maintenance of your Epson SureColor P400 Wireless Color Photo Printer. Please read this manual thoroughly before using the printer to ensure optimal performance and longevity.
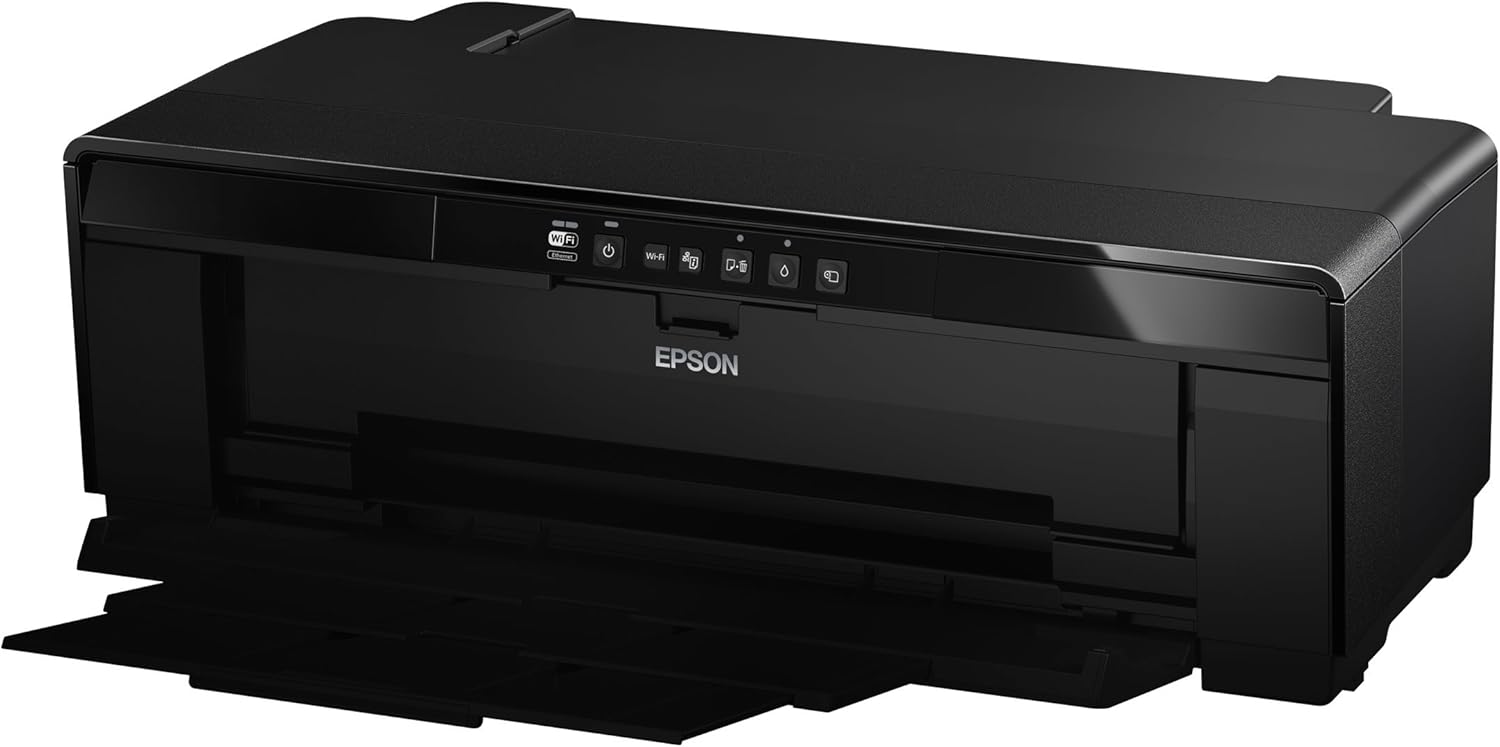
Сүрөт 1: Алдыңкы view of the Epson SureColor P400 Wireless Color Photo Printer.
2. Негизги өзгөчөлүктөрү
- UltraChrome HG2 Ink: Utilizes an 8-color pigment ink set, including Red and Orange inks, for vibrant, true-to-life color and deep blacks.
- Gloss Optimizer: Provides a smooth, professional finish to prints.
- Ар тараптуу маалымат каражаттары менен иштөө: Supports 13-inch wide cut-sheet and roll paper, fine art paper, and art board up to 1.3 mm thick.
- Байланыш: Features Wireless (Wi-Fi), Ethernet, and USB 2.0 for flexible printing options.
- Individual Ink Cartridges: High-capacity 14 mL cartridges allow for replacement of only the color needed.

Сүрөт 2: Бүттүview of the Epson SureColor P400 highlighting advanced paper handling, versatile connectivity, and the MicroPiezo printhead.
3. Орнотуу колдонмосу
3.1 Пакеттен чыгаруу жана жайгаштыруу
- Принтерди таңгагынан этияттык менен чыгарыңыз.
- Принтерди туруктуу, тегиз бетке коюңуз, анын айланасында иштөө жана желдетүү үчүн жетиштүү орун бар.
- Принтерден бардык коргоочу ленталарды жана таңгактоочу материалдарды алып салыңыз.
3.2 Сыя картридждерин орнотуу
- Open the printer cover to access the ink cartridge slots.
- Unpack each 14 mL ink cartridge (Cyan, Gloss Optimizer, Magenta, Matte Black, Orange, Photo Black, Red, Yellow).
- Ар бир картриджди тиешелүү түстүү коддолгон уячага ал ордуна чыкылдаган үн чыкканга чейин салыңыз.
- Принтердин капкагын жабыңыз.
Video 1: Official Epson SureColor P400 overview, demonstrating key features and ink installation. This video provides a visual guide to the printer's capabilities and how to manage ink cartridges.
3.3 Кубат туташтыруу
- Кубат шнурун принтерге, андан кийин розеткага туташтырыңыз.
- Принтерди иштетүү үчүн кубат баскычын басыңыз.
3.4 Программаны орнотуу жана туташуу
- Install the printer software on your computer (PC or Mac) from the provided CD or Epson's official webсайт.
- Follow the on-screen instructions to set up your preferred connection method:
- Зымсыз (Wi-Fi): Принтерди зымсыз тармакка туташтырыңыз.
- Ethernet: Connect an Ethernet cable from the printer to your router or network hub.
- USB 2.0: Connect a USB cable (not included) from the printer to your computer.

Image 3: Illustration of the Epson SureColor P400's compatibility and connectivity features, showing various devices and connection types.
4. Иштөө нускамалары
4.1 Кагазды жүктөө
The SureColor P400 offers multiple paper loading options:
- Auto Sheet Feeder: For photo, matte, and plain papers. Load paper into the top rear slot.
- Rear Single Sheet Fine Art Paper Path: For heavier fine art papers and specialty media.
- Roll Paper Holder: For 8.3-inch or 13-inch wide roll paper, ideal for panoramas up to 129 inches long.
- Front Straight-Through Path: Handles art board up to 1.3 mm thick.

Image 4: Diagram illustrating the three media feed options available on the Epson SureColor P400, including the top-loading auto-sheet feeder, front fine-art media feed, and roll media feed.

Image 5: The Epson SureColor P400 is capable of printing on a wide range of media, including various types of Epson Legacy Papers, Velvet Fine Art, Premium Photo Paper Luster, and Exhibition Canvas Gloss.
4.2 Басып чыгаруу
- Принтер күйгүзүлгөнүн жана түзмөгүңүзгө туташканын текшериңиз.
- Компьютериңизде басып чыгаргыңыз келген документти же сүрөттү ачыңыз.
- Колдонмоңуздун менюсунан "Басып чыгарууну" тандаңыз.
- Принтериңиз катары Epson SureColor P400 тандаңыз.
- Adjust print settings such as paper type, size, and quality in the printer driver dialog box.
- Басып чыгаруу процессин баштоо үчүн "Басып чыгаруу" баскычын чыкылдатыңыз.
5. Техникалык тейлөө
5.1 Сыя картридждерин алмаштыруу
- When an ink cartridge is low or empty, a notification may appear on your computer or the printer's indicator light will signal.
- Press the ink droplet button on the printer's control panel to move the print head to the replacement position.
- Сия картриджинин капкагын ачыңыз.
- Бош картриджди чыгаруу үчүн анын өтмөгүн басыңыз, андан кийин түз сууруп алыңыз.
- Unpack a new genuine Epson ink cartridge and insert it firmly into the correct slot until it clicks.
- Close the ink cartridge cover and press the ink droplet button again to return the print head to its home position.
5.2 Басып чыгаруу башын тазалоо
If print quality declines or you notice missing lines or incorrect colors, perform a print head cleaning:
- Access the printer utility software on your computer.
- Select "Head Cleaning" or "Nozzle Check" to initiate the cleaning cycle.
- Follow the on-screen prompts. Repeat if necessary.
5.3 Cleaning the Paper Path
If you experience streaks on your prints, the paper path may need cleaning. Refer to the user guide for detailed instructions on how to clean the internal components, such as the pad that collects excess ink.
6. Кыйынчылыктарды
- Принтер жооп бербей жатат:
- Электр тармагына туташууну текшерип, принтердин күйүк экенин текшериңиз.
- Verify network or USB cable connection.
- Принтерди жана компьютериңизди өчүрүп күйгүзүңүз.
- Басып чыгаруу сапаты начар (сызыктар, өңү өчүп баратат):
- Сыя деңгээлин текшерип, бош картридждерди алмаштырыңыз.
- Perform a print head cleaning and nozzle check.
- Басма каражатыңыздын түрүнө ылайыктуу кагаз жөндөөлөрүн колдонуп жатканыңызды текшериңиз.
- Clean the paper path if streaks persist.
- Кагаз тыгылыштары:
- Turn off the printer and carefully remove any jammed paper from the input or output trays.
- Refer to the user guide for instructions on clearing internal paper jams.
7. Техникалык шарттар
| Өзгөчөлүк | Деталь |
|---|---|
| Модель номери | C11CE85201 |
| Продукциянын өлчөмдөрү (D x W x Y) | 12.8" x 24.5" x 8.6" |
| Элемент Салмагы | 27.1 фунт |
| Басма технологиясы | Inkjet (Pigment-based ink) |
| Принтердин чыгышы | Түс |
| Максималдуу басып чыгаруу чечими | 5760 x 1440 dpi |
| Ink Түстөр | Cyan, Magenta, Yellow, Photo Black, Matte Black, Red, Orange, Gloss Optimizer |
| Байланыш технологиясы | USB 2.0, Wireless (Wi-Fi), Ethernet |
| Колдоого алынган медиа өлчөмдөрү | Up to 13" x 129" (roll paper), 13" x 19" (sheet) |
| Максималдуу киргизүү барагынын сыйымдуулугу | 1 (single sheet feed for specialty media) |
| Эки тараптуу басып чыгаруу (Дуплекс) | Ооба |
| Энергияны керектөө | Printing: Approx. 20 W; Sleep mode: Approx. 1.4 W; Power off: Approx. 0.15 W |
| Шайкеш түзмөктөр | PC, Mac |

Image 6: Contents of the Epson SureColor P400 box, including the printer, ink cartridges, power cord, and user guide. Note that the USB cable is not included.
8. Кепилдик маалыматы
Specific warranty details for the Epson SureColor P400 are not provided in this manual. Please refer to the warranty card included with your product or visit the official Epson website for the most current and comprehensive warranty information.
9. Кардарларды колдоо кызматы
For technical assistance, troubleshooting, or further inquiries, please visit the official Epson support website or contact Epson customer service. Support resources often include FAQs, driver downloads, and contact information for live assistance.
кире аласыз Amazon'догу Epson дүкөнү кошумча продукт маалымат жана аксессуарлар үчүн.


