1. Киришүү
This manual provides comprehensive instructions for the assembly, operation, and maintenance of your Ariens Snow Cab Enclosure Kit (Model 72102600). This kit is designed to enhance your snow-clearing experience by providing protection from harsh winter elements.
Негизги өзгөчөлүктөрү:
- Шайкештик: Designed to fit select 2-stage Ariens models, including CLASSIC, COMPACT, DELUXE, PLATINUM, SNO-TEK, and POWER BRUSH.
- Аба ырайын коргоо: Shields operators from snow, wind, and blowback during operation in cold winter conditions.
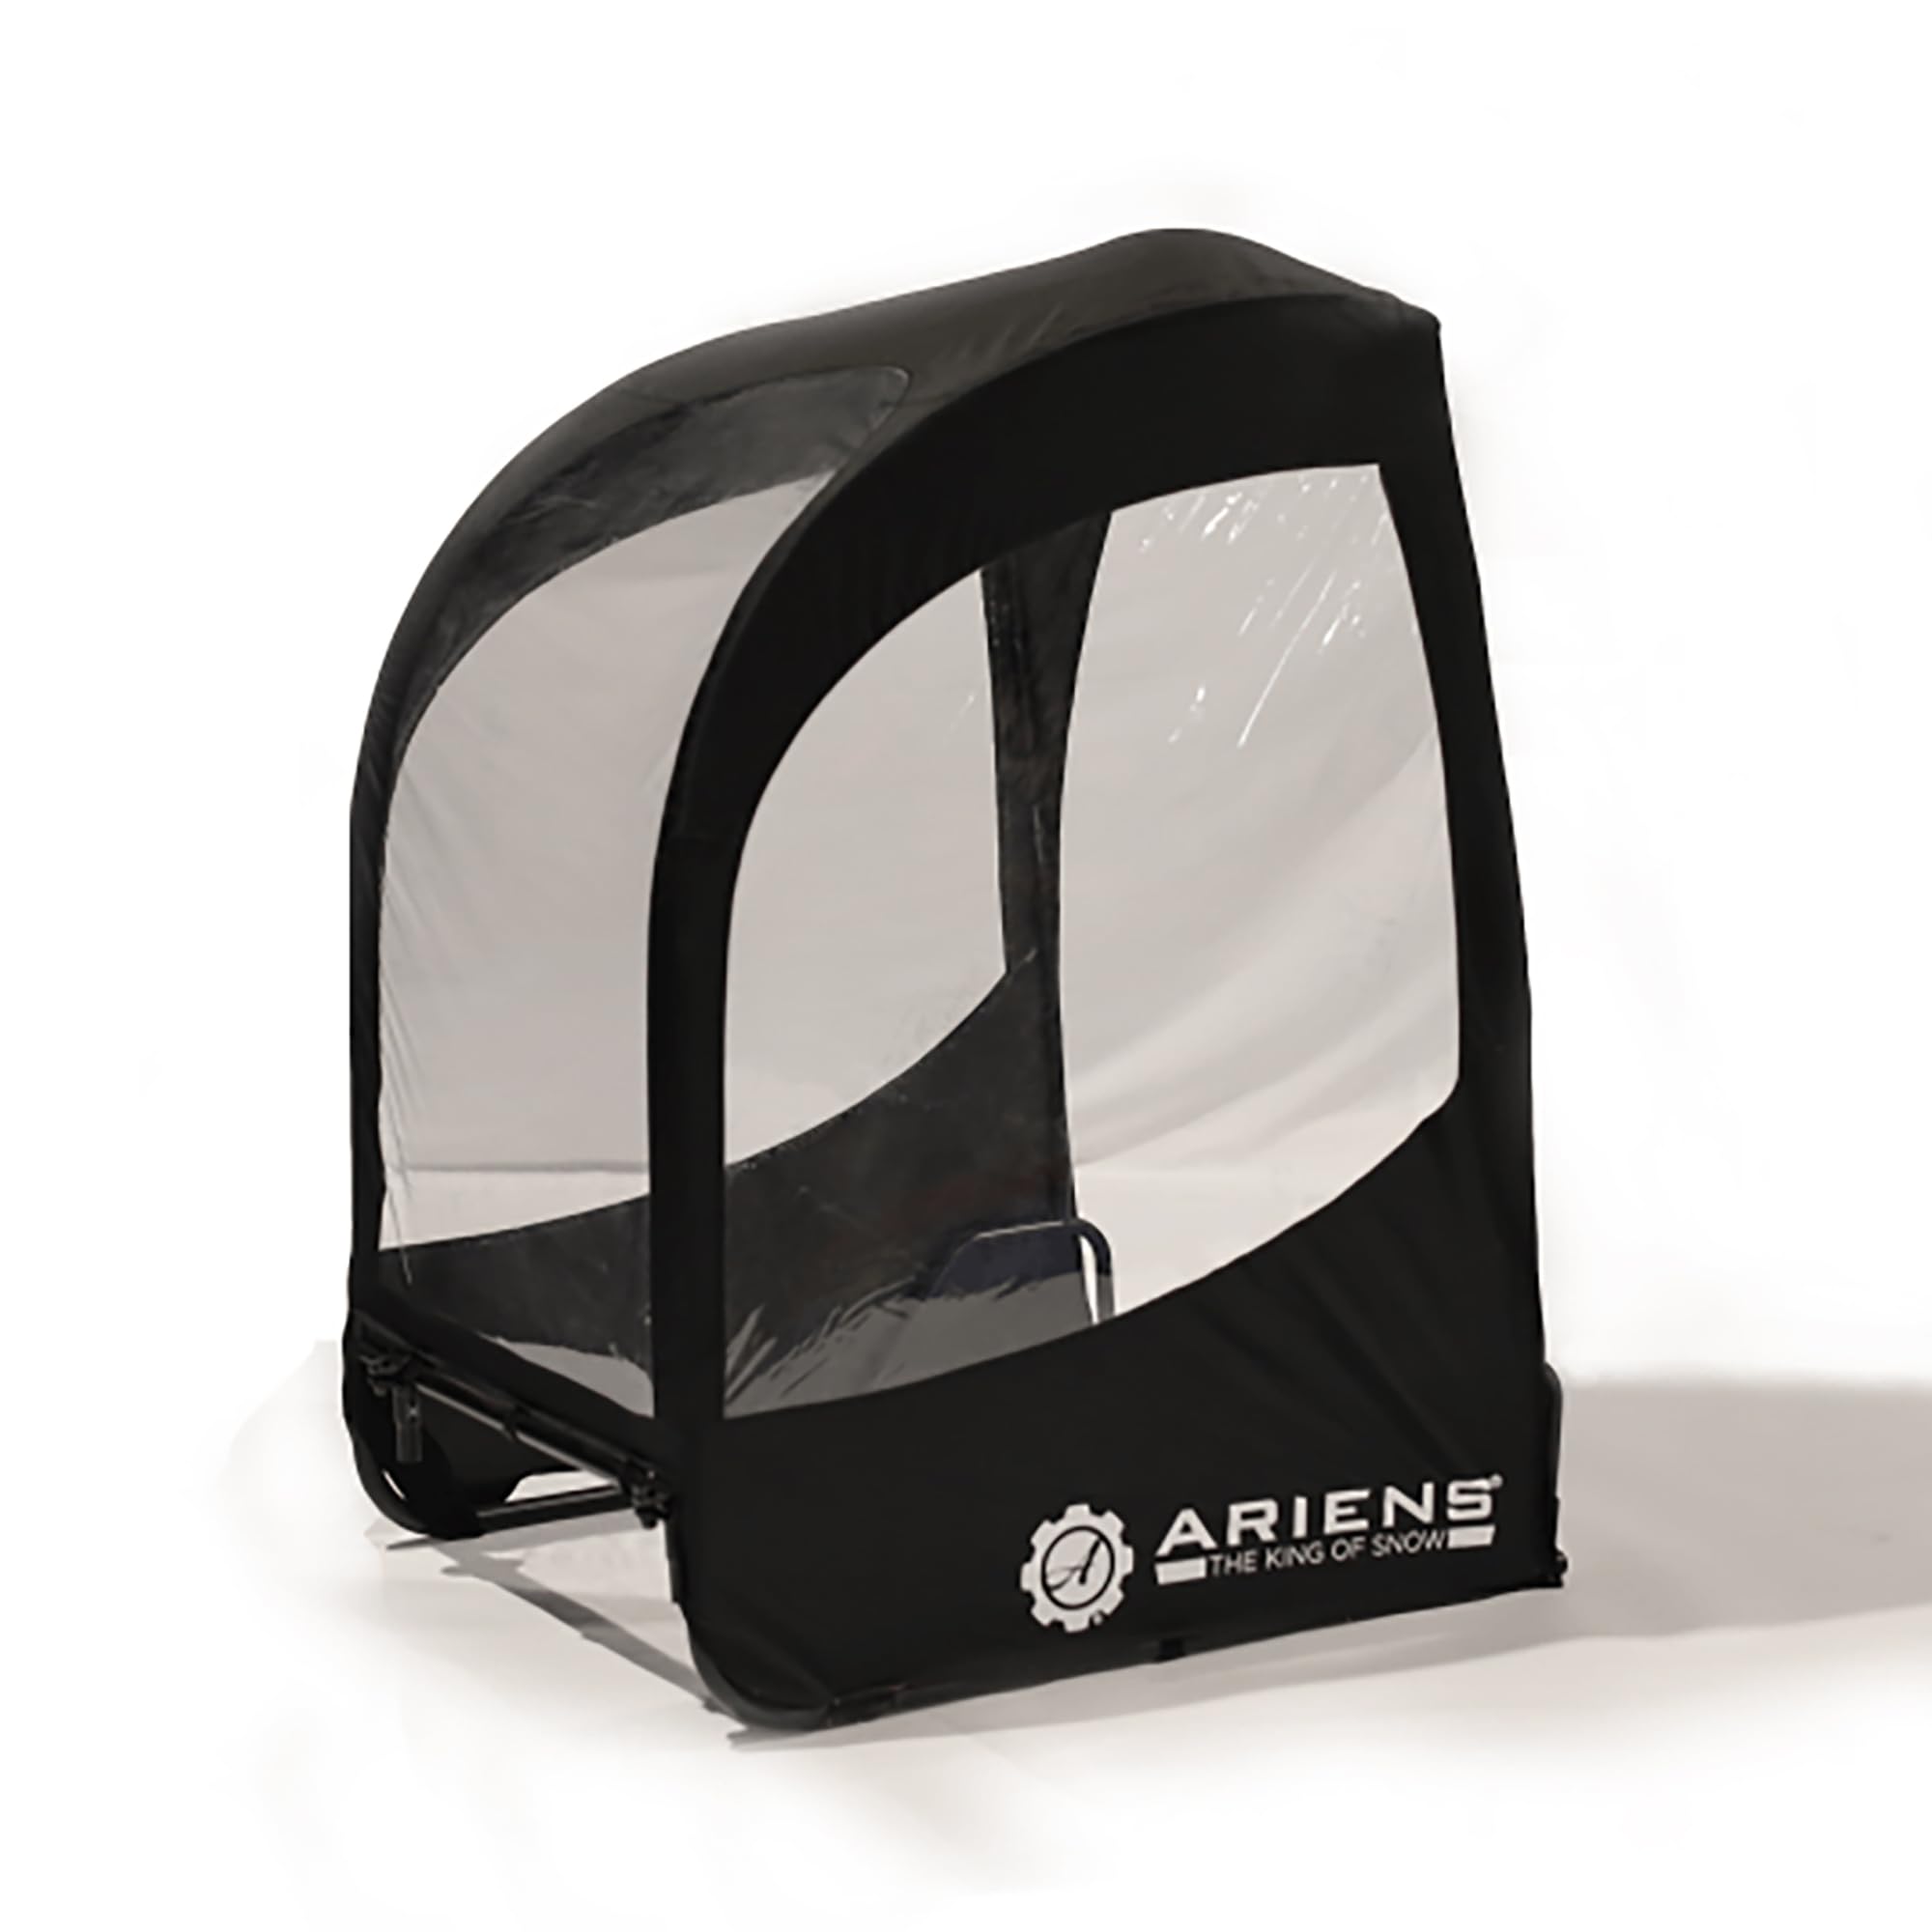
- Туруктуу курулуш: Features a powder-coated steel base and a tough weatherproof fabric shell for long-lasting outdoor performance.
- Таза көрүнүш: Equipped with clear vinyl windows that offer strong visibility while resisting clouding and icing.
- Оңой орнотуу: Includes mounting frame, fabric shell, hardware, and instructions. A trigger adapter is required for right-handlebar trigger models.
2. Коопсуздук маалыматы
Always read and understand the complete operator's manual for your snowblower before installing or using this accessory. Adhere to all safety instructions provided with your snowblower and this enclosure kit.
- Көздү коргоо: Always wear appropriate eye protection during assembly and operation to prevent injury from flying debris or accidental contact.
- Туруктуу чөйрө: Assemble the cab on a flat, stable surface.
- Коопсуз бекиткичтер: Ensure all bolts, nuts, and set screws are securely tightened to prevent components from loosening during operation.
- Тазалоо: Verify that no part of the cab fabric or frame interferes with the snowblower's moving parts, engine, or exhaust system. Fabric should not touch hot engine components.
- Көрүнүш: Maintain clear visibility through the vinyl windows. Clean them as needed.
- Жардам: It is recommended to have an additional person assist during the installation process, especially when positioning the cab.
3. Пакеттин мазмуну
Before beginning assembly, ensure all parts listed below are present. Refer to the included parts diagram for visual identification.
- Mounting Frame Components (labeled A, B, J, F, G)
- Flexible Rods (labeled H, I)
- Fabric Shell / Cover
- Clamps (labeled K, L, M)
- Hardware (nuts, bolts, washers, set screws)
- Аллен Wrench
- Instruction Manual
4. Керектүү куралдар
чогултуу үчүн төмөнкү аспаптар талап кылынат:
- 1/2 inch wrench or socket
- 9/16 inch wrench or socket
- Scissors (for opening packaging)
- Allen wrench (provided in kit)
- Коопсуздук көз айнек
5. Орнотуу жана монтаждоо нускамалары
Follow these steps carefully to assemble your Ariens Snow Cab Enclosure Kit.
1-кадам: Негизги алкакты чогултуңуз
- Slide each set of bars labeled 'A' and 'B' together. Secure them finger-tight using a set screw.
- Attach bar 'J' into the 'B' end of the 'A' and 'B' assemblies. Ensure the nut faces the inside of the frame.
- Insert poles 'F' into each end of bar 'J', with the narrow end facing up.
- Insert poles 'G' into the ends of the 'A' and 'B' assemblies, with the narrow end facing up.
- Assemble the curved bars 'D', 'C', and 'D'. The 'C' bar should be in the middle. Use the arrows for alignment and tighten using the provided Allen wrench.
- Install the curved rod assembly on top of the 'G' poles.
- Use the Allen wrench to tighten all set screws on the base frame.
Step 2: Assemble the Flexible Rods and Cover
- Use two of the 'H' flexible rods and insert them into the inside sleeve of the open cab cover.
- Insert both 'H' rods into the sleeves and place the steel collared ends of the 'H' rods into poles 'F'.
- Абайлаңыз: Wear eye protection when bending flexible rods. Insert the remaining two 'H' rods over the mounted 'H' rods.
- Insert rod 'I' over the ends of the 'H' rods by carefully bending it.
- Pull the cab cover up and over the flexible rod assembly. Slide the rods into the inside pocket of the cover.
- Take the top of the cover and pull it back. Place bar 'A' into the elastic straps of the cover.
- Using the hook-and-loop straps, fasten the cab to the assembly.
- Remove the 'J' bar from the assembly.
Step 3: Mount the Cab to the Snowblower
- Depending on your snowblower model, the 'L' clamp may be horizontal or vertical. Clamp 'K' will always be horizontal. Pre-assemble parts 'M', 'L', and 'K' but do not tighten.
- With assistance, determine the best location for your enclosure to be secured to your snowblower. Hold the crossbar 'J' to determine the best placement on the frame.
- Mount the pre-assembled parts 'M', 'L', and 'K' to the snowblower frame and tighten using the provided nuts, bolts, and washers.
- Center the 'J' crossbar and secure it using the 'M' clamps. Ensure the 'J' bar uprights are level.
- Tighten the 'L' and 'K' set screws.
- Insert the cab assembly into the crossbar. Secure the cab to the 'J' bar uprights with two set screws, tightening them with a wrench.
- Hold the cab assembly horizontal to the ground and tighten all bolts and set screws.
- Check that all hook-and-loop straps are fastened and that no fabric is touching the engine or exhaust.

6. Иштөө нускамалары
Once installed, the Ariens Snow Cab Enclosure provides a protected environment for operating your snowblower.
- Коргоо: The cab shields you from snow, wind, and blowback, enhancing comfort during operation.
- Көрүнүш: The clear vinyl windows are designed to resist clouding and icing, ensuring good visibility. Regularly check and clean the windows for optimal sightlines.
- Controls Access: The design allows for free movement of snowblower controls. Adjust the cab's position and straps as needed to ensure full access and operation of all levers and buttons.
- Dash Light Access: You can reveal your dash light by using the zipper in the front of the cab. Use the hook-and-loop straps to properly secure the cover after accessing.

7. Техникалык тейлөө
Proper maintenance will extend the life of your snow cab enclosure.
- Тазалоо: Clean the vinyl windows and fabric with a mild soap and water solution. Avoid abrasive cleaners that could scratch the vinyl or damage the fabric. Rinse thoroughly and allow to air dry.
- Текшерүү: Periodically inspect the frame, fabric, and all fasteners for any signs of wear, damage, or loosening. Tighten any loose bolts or screws. Replace damaged components immediately.
- Сактагыч: When not in use, especially during off-season, remove the cab enclosure from the snowblower. Clean and dry it completely before folding and storing it in a cool, dry place away from direct sunlight to prevent material degradation.
- Кездемеге кам көрүү: Avoid hauling your snowblower in a trailer or pickup with the cab installed, as wind can quickly shred the cover.
8. Кыйынчылыктарды
This section addresses common issues you might encounter with your snow cab enclosure.
| Көйгөй | Мүмкүн себеп | Чечим |
|---|---|---|
| Cab is not stable or tips down. | Loose fasteners; incorrect installation; lack of lower support. | Ensure all bolts, nuts, and set screws are fully tightened. Verify correct assembly according to instructions. Consider adding a crossbar attached to the bottom of the handlebars for additional support if needed (refer to snowblower manual for suitable attachment points). |
| Fabric tears or wears prematurely. | Exposure to excessive wind during transport; contact with hot engine/exhaust parts; sharp edges on snowblower. | Remove cab before transporting snowblower. Ensure fabric does not touch hot engine or exhaust. Inspect snowblower for any sharp edges that could abrade the fabric and pad them if necessary. |
| Poor visibility through vinyl windows. | Dirt/debris; icing/clouding. | Clean windows with mild soap and water. The vinyl is designed to resist icing and clouding, but extreme conditions may still affect it. Ensure proper ventilation if possible. |
If you encounter issues not covered here, or if your product is more than 10 years old or has been used for more than 100 hours, it is recommended to have it inspected annually by an authorized service dealer.
9. Техникалык шарттар
- Модель номери: 72102600
- Продукциянын өлчөмдөрү: 36"L x 32"W x 50"H
- Элемент Салмагы: Approximately 0.01 Ounces (Note: This weight seems incorrect based on typical product weights for such items, please refer to packaging for accurate weight.)
- Түсү: Кара
- Материал: Weatherproof fabric shell, powder-coated steel frame, clear vinyl windows.
- Шайкештик: Fits select 2-stage Ariens models (CLASSIC, COMPACT, DELUXE, PLATINUM, SNO-TEK, POWER BRUSH).

10. Кепилдик жана колдоо
For specific warranty details, please refer to the warranty card included with your product or visit the official Ariens webсайт. Ар кандай кепилдик дооматтары үчүн сатып алганыңыздын далилин сактаңыз.
For technical assistance, replacement parts, or service inquiries, please contact an authorized Ariens Service Dealer or visit the Ariens Store or official Ariens support channels.


