1. Коопсуздук боюнча маанилүү маалымат
Before using the HMS Magnetic Bike M2218, please read and understand all instructions in this manual. Keep this manual for future reference.
- Ар кандай көнүгүү программасын баштоодон мурун, айрыкча, мурдатан эле ден соолугуңуз начарлап кетсе, дарыгериңиз менен кеңешиңиз.
- Ensure all parts are securely fastened and in good working condition before each use. Do not use the bike if any parts are damaged or missing.
- Иш учурунда балдарды жана үй жаныбарларын жабдуулардан алыс кармаңыз.
- Велосипедди тегиз, туруктуу бетке, анын айланасында жетиштүү боштук бар жерге коюңуз.
- Кыймылдуу бөлүктөргө илинип калышы мүмкүн болгон кенен кийимдерден алыс болуңуз.
- Бул түзмөктүн колдонуучусунун максималдуу салмагы 125 кг.
- Эгер алсырап, башыңыз айланса же ооруса, көнүгүүлөрдү дароо токтотуңуз.
- Бул продукт тиричилик үчүн гана иштелип чыккан.
2. Монтаждоо боюнча нускамалар
Carefully unpack all components and ensure you have all parts listed in the packing list (not provided in this document). Assembly typically requires two people.
2.1 Base Stabilizers Installation
Attach the front and rear stabilizer bars to the main frame using the provided bolts and washers. Ensure they are tightened securely to provide a stable base for the bike.

1-сүрөт: Каптал view of the assembled bike, illustrating the stable base provided by the front and rear stabilizers.
2.2 Педал орнотуу
Identify the left (L) and right (R) pedals. The right pedal screws in clockwise, and the left pedal screws in counter-clockwise. Ensure the pedal straps are correctly oriented for foot placement.
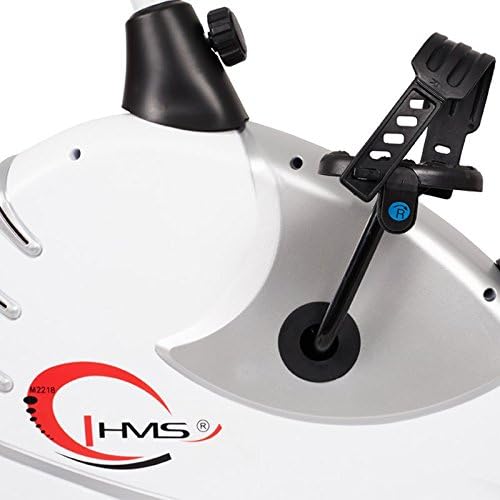
Figure 2: Detail of the pedal with adjustable strap, ensuring secure foot placement during exercise.
2.3 Seat Post and Seat Installation
Insert the seat post into the main frame. Adjust the height to your preference and secure it with the adjustment knob. Attach the ergonomic seat to the top of the seat post.
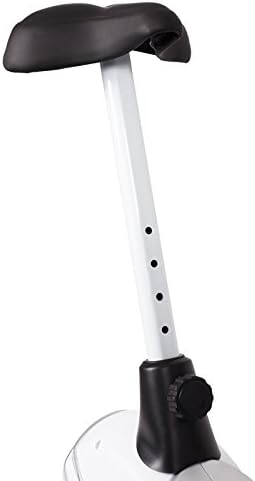
Figure 3: The seat post features multiple adjustment holes for vertical height customization, secured by a knob.

Figure 4: The comfortable, ergonomic seat designed for extended use.
2.4 Handlebar and Console Installation
Attach the handlebar post to the main frame. Secure the handlebars to the post. Finally, connect the console wires and mount the console onto the handlebar post. Ensure all connections are firm.
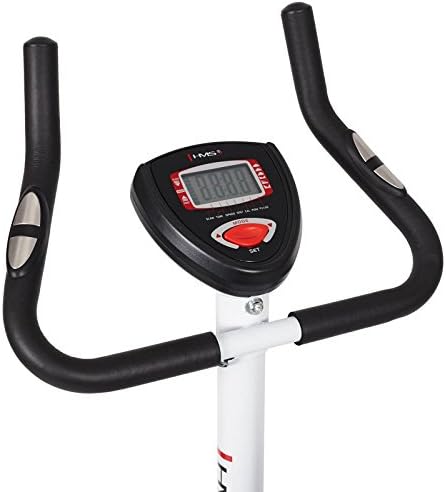
Figure 5: The handlebars provide multiple grip positions, and the central console displays workout data.

Figure 6: The console features a clear digital display and control buttons for mode and settings.
3. Иштөө нускамалары
3.1 Отургучту жана рульдү тууралоо
Adjust the seat height so that your leg is slightly bent at the knee when the pedal is at its lowest point. The handlebars can also be adjusted for comfort and proper posture during your workout.
3.2 Каршылыкты жөндөө
The HMS M2218 features an automatic magnetic resistance system. Use the resistance adjustment knob, typically located below the console, to increase or decrease the workout intensity. Turn clockwise to increase resistance and counter-clockwise to decrease it.
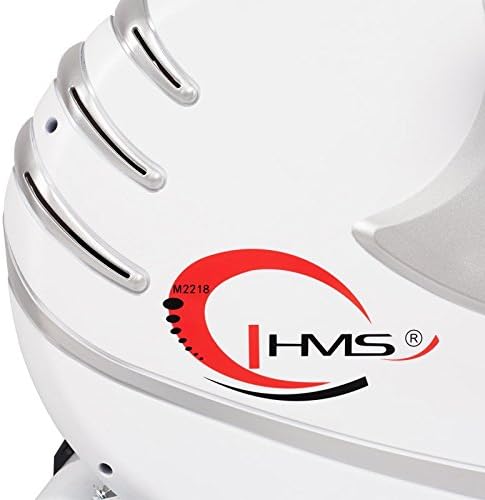
Figure 7: The main body housing the magnetic resistance system, with the HMS logo and model identifier.
3.3 Консолду колдонуу
The console displays various workout metrics to help you track your progress:
- Убакыт: Машыгуунун узактыгы.
- Ылдамдыгы: Учурдагы велосипед ылдамдыгы.
- Аралык: Машыгуу учурунда басып өткөн жалпы аралык.
- Калориялар: Болжолдуу күйгөн калория.
- Импульс: Heart rate reading from the integrated sensors on the handlebars.
- Скандоо: Бардык дисплей функцияларын автоматтык түрдө айлантат.
Use the 'MODE' and 'SET' buttons to navigate through display options and set workout targets if available.
4. Техникалык тейлөө
Regular maintenance ensures the longevity and safe operation of your HMS Magnetic Bike M2218.
- Тазалоо: Велосипедди жарнама менен сүртүңүзamp cloth after each use to remove sweat and dust. Avoid abrasive cleaners or solvents. The plastic elements are easy to clean.
- Байланыштарды текшерүү: Periodically check all bolts, nuts, and screws to ensure they are tight. Tighten any loose connections.
- Кыймылдуу бөлүктөрүн текшерүү: Check pedals, crank arms, and the resistance mechanism for any signs of wear or damage.
- Батареяны алмаштыруу: The console requires 4 AA batteries. Replace them when the display becomes dim or unresponsive.
5. Кыйынчылыктарды
If you encounter issues with your HMS Magnetic Bike M2218, refer to the following common problems and solutions:
| Көйгөй | Мүмкүн себеп | Чечим |
|---|---|---|
| Консоль дайындарды көрсөтпөйт | Dead batteries; Loose sensor connection | Replace AA batteries; Check all console cable connections. |
| Каршылык жок же туруксуз каршылык | Resistance mechanism issue; Loose adjustment knob | Ensure resistance knob is properly engaged; Inspect internal resistance mechanism (contact support if issue persists). |
| Иш учурунда адаттан тыш үндөр | Loose bolts/nuts; Worn moving parts | Check and tighten all assembly bolts; Inspect pedals and crank for wear. |
| Так эмес пульс көрсөткүчү | Сенсорлорго бекем кармалбаган колдор; Кургак колдор | Ensure firm contact with both hand pulse sensors; Lightly moisten hands if too dry. |
6. Продукттун спецификациялары
Key technical details for the HMS Magnetic Bike M2218:
| Өзгөчөлүк | Деталь |
|---|---|
| Модель аты | M2218 |
| Каршылык түрү | Magnetic, Automatic Adjustment |
| Flywheel Салмагы | 6.2 кг |
| Өлчөмдөрү (L x W x Y) | 89 x 55 x 131 cm (Product); 89 x 55 x 126 cm (Shipping) |
| Продукт Салмагы | 26 кг |
| Maximum User Load | 125 кг |
| Console Functions | Убакыт, ылдамдык, аралык, калория, импульс, сканерлөө |
| Орундукту тууралоо | Вертикалдуу |
| Кубат булагы (консол) | 4 AA батарейка (кошулган) |
| Түс | Ак/Күмүш |
7. Кепилдик жана колдоо
For warranty information, technical support, or to order replacement parts, please contact HMS customer service. Refer to your purchase documentation for specific warranty terms and contact details.
Ар кандай кепилдик дооматтары үчүн сатып алганыңыздын далилин сактаңыз.


