1. Киришүү
Welcome to the user manual for your Brother KE14S Little Angel Sewing Machine. This machine is designed to be user-friendly, making it ideal for beginners and those looking to explore creative sewing projects. It features 14 built-in stitches, a finger guard for safety, and an LED light for optimal illumination of the sewing area. Please read this manual thoroughly before operating your machine to ensure safe and efficient use.
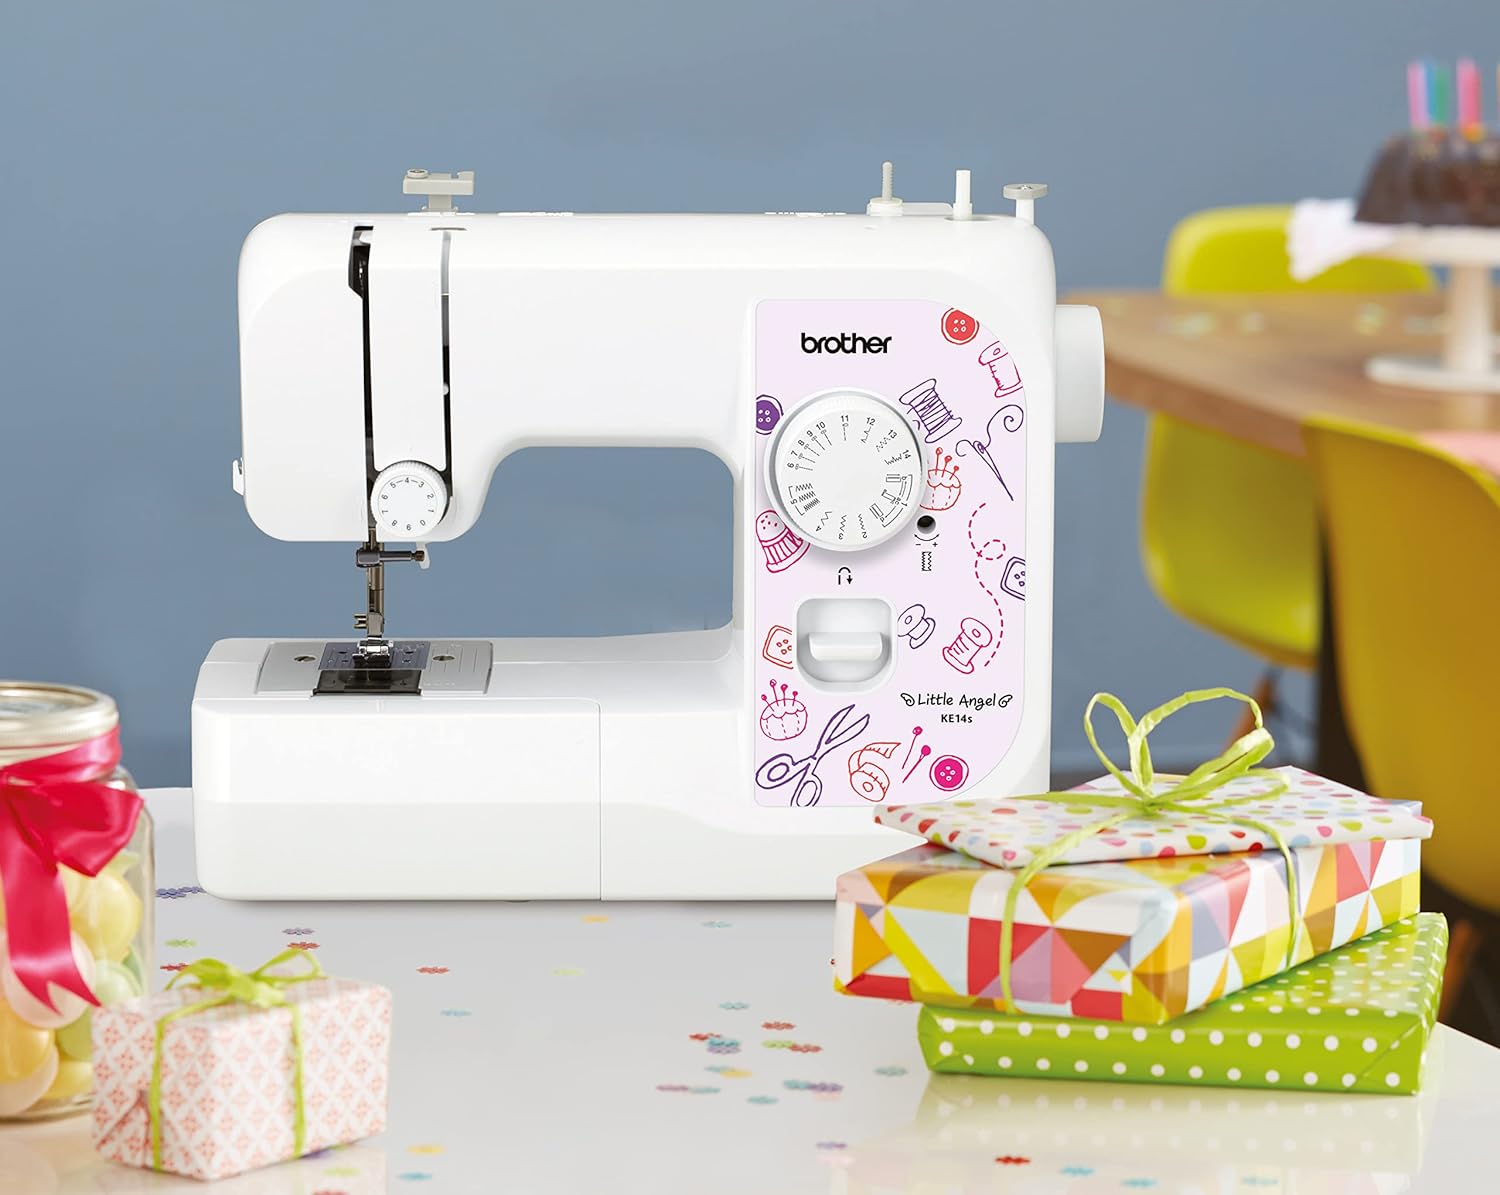
The Brother KE14S sewing machine is shown on a table with crafting supplies, illustrating its suitability for home use and its compact size.
2. Коопсуздук маалыматы
ЭСКЕРТҮҮ:
- The sewing machine must only be used for the purposes described in this manual.
- Бул машина тиричиликте гана колдонууга арналган.
- Өндүрүүчүлөр көрсөткөн аксессуарларды гана колдонуңуз.
- Always disconnect the machine from the power supply before cleaning, servicing, or when not in use.
- Keep fingers away from the needle, presser foot, and handwheel during operation.
- Ensure the finger guard is properly installed when operating the machine, especially for new users.
3. Продукт бүтүп калдыview
3.1 Негизги өзгөчөлүктөрү
- 14 камтылган тигүү: A selection of utility and decorative stitches for various sewing needs.
- Манжа коргоочу: Provides protection by preventing accidental contact with the needle.
- 4-Step Automatic Buttonhole: Simplifies the process of creating precise buttonholes.
- Акысыз кол тигүү: Easily convert the machine to free arm mode for sewing tubular items like sleeves and pant hems.
- LED жарыктандыруу: Bright and eye-friendly illumination of the entire sewing area.
- 6-Point Feed Dog: Ensures smooth fabric feeding for various material types, from light silk to thick cotton.
- Reverse Sewing Function: Secures the beginning and end of seams.
- Adjustable Thread Tension: Allows for uniform stitching across different fabrics.
- Stitch Display and Functional Wheel: Clear display and easy adjustment of desired stitches.
- Тигүү ылдамдыгы: Up to 750 stitches per minute.
3.2 Компоненттер
Familiarize yourself with the main components of your sewing machine:

This image displays the Brother KE14S Little Angel Sewing Machine from the front, highlighting its compact design and the stitch selection dial.

А деталдуу view of the needle plate, presser foot, and the transparent bobbin cover, showing the lower thread mechanism.

This image shows the stitch selection dial with 14 different stitch patterns, including utility and decorative stitches, and the 4-step buttonhole.

A close-up of the reverse sewing lever, used to secure the beginning and end of seams.
4. Орнотуу
4.1 Пакеттен чыгаруу жана жайгаштыруу
- Машинаны таңгагынан кылдаттык менен чыгарыңыз.
- Машинаны туруктуу, тегиз бетке коюңуз.
- Ensure adequate lighting and space for comfortable operation.
4.2 Кубат туташтыруу
- Кубат шнурун машинага, андан кийин тиешелүү электр розеткасына туташтырыңыз.
- Turn on the power switch, usually located on the side of the machine. The LED light will illuminate the sewing area.
4.3 Бобинди ороо
- Спулдун төөнөгүчтүн үстүнө жиптин катушкасын коюңуз.
- Follow the winding path indicated on the machine to guide the thread to the bobbin winder.
- Бош шпильканы шпильканын спиралына салып, аны оңго түртүңүз.
- Start the machine; the bobbin will wind automatically. Stop when the bobbin is full.
- Жипти кесип, бобинди алып салыңыз.
4.4 Машинага жип салуу
- Басуу бутунун рычагын көтөрүңүз.
- Жиптин спулун катушка төөнөгүчкө коюңуз.
- Follow the numbered threading path marked on the machine, ensuring the thread passes through all guides and the take-up lever.
- Ийнени алдыдан артка сайлаңыз.
- Insert the wound bobbin into the bobbin case under the needle plate, ensuring the thread feeds correctly.
- Bring the bobbin thread up through the needle plate opening using the upper thread.
5. Иштөө нускамалары
5.1 Тигүүнү тандоо
Turn the stitch selection dial to choose one of the 14 available stitches. The selected stitch will be displayed clearly on the dial.
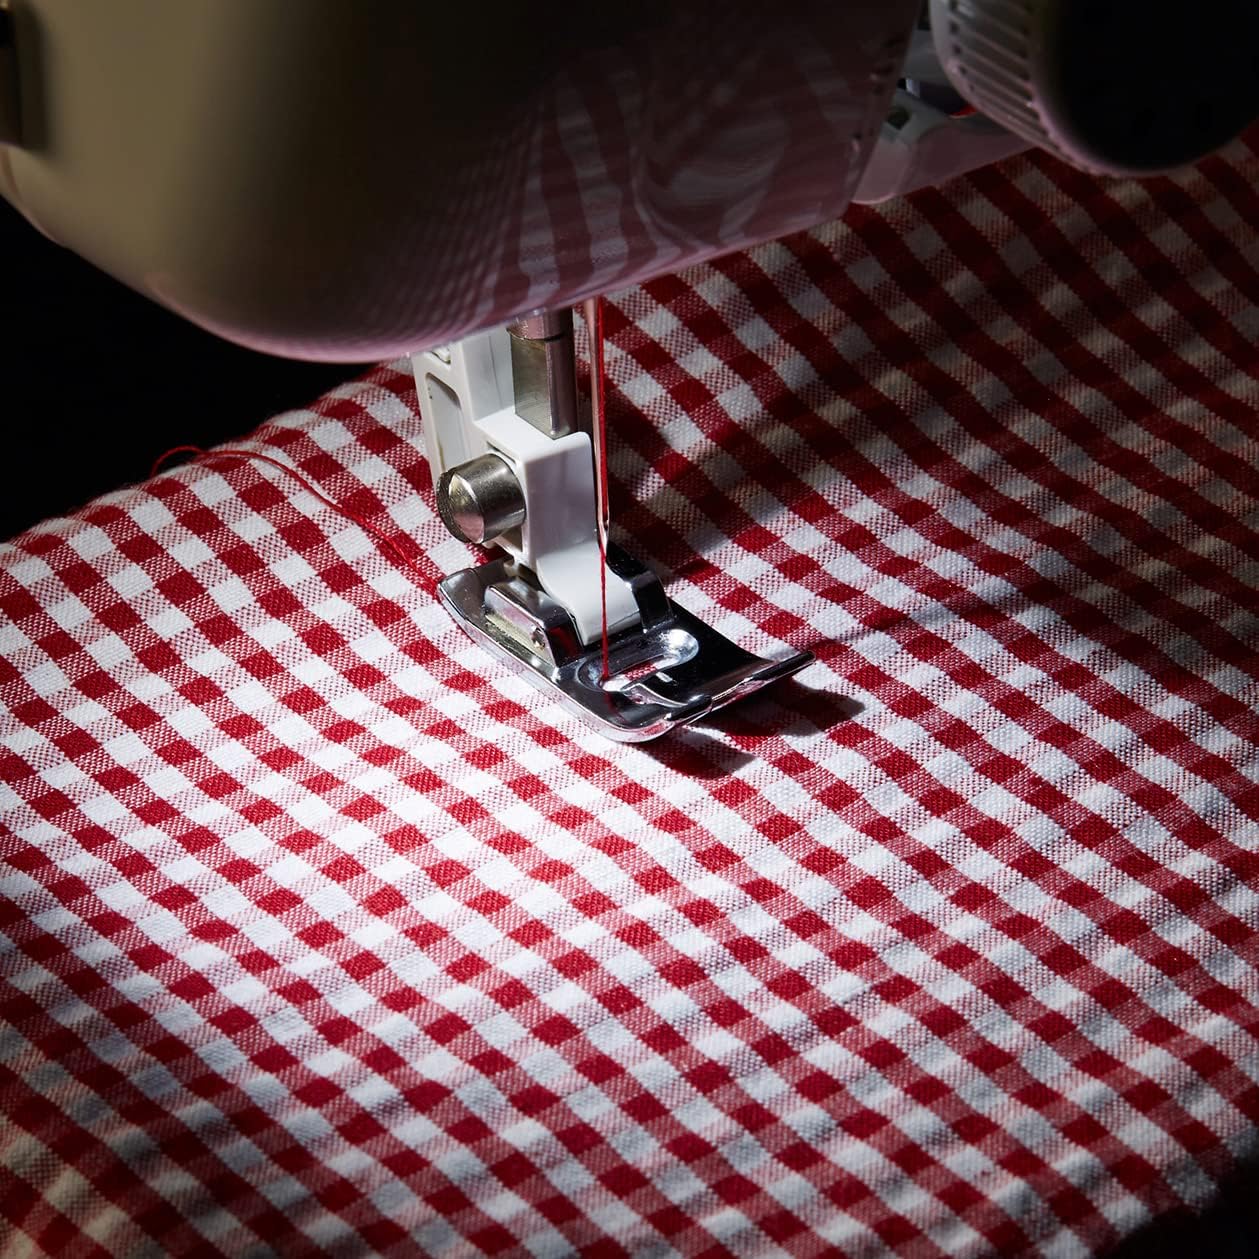
The sewing machine is actively stitching red and white checkered fabric, demonstrating the finger guard in place for user safety.
5.2 Тигүү иштерин баштоо жана токтотуу
- Кездемени басуучу буттун астына кой.
- Басуу бутунун рычагын түшүрүңүз.
- Gently press the foot controller to start sewing. The sewing speed is controlled by the pressure applied to the foot controller.
- To stop, release the foot controller.
5.3 Тескери тигүү
To secure the beginning and end of a seam, press and hold the reverse sewing lever while sewing. The machine will sew backward. Release the lever to resume forward sewing.
5.4 Кол менен эркин тигүү
To convert the machine to free arm mode, simply slide off the accessory compartment. This allows for easy sewing of cylindrical items such as cuffs, sleeves, and pant legs.

Жакын план view of the metal finger guard accessory, designed to prevent accidental contact with the needle during operation.
5.5 Топчу тешиктерин түзүү
The Brother KE14S features a 4-step automatic buttonhole function. Attach the specialized buttonhole foot and follow the markings on the dial for each step to create precise buttonholes.

The machine is shown with the specialized buttonhole foot attached, demonstrating the process of creating a precise 4-step buttonhole on fabric.
6. Техникалык тейлөө
6.1 Тазалоо
- Тазалоодон мурун ар дайым машинаны розеткадан ажыратыңыз.
- Жумшак щетканы колдонуңуз, бобин аянтындагы түктөрдү жана чаңды тазалаңыз жана иттерге тамак бериңиз.
- Машинанын сыртын жумшак, кургак чүпүрөк менен сүртүңүз. Суюк тазалоочу каражаттарды же катуу химиялык заттарды колдонбоңуз.
6.2 Ийне алмаштыруу
- Машинаны өчүрүп, розеткадан ажыратыңыз.
- Ийне клинасын бошотуңузamp бурап, эски ийнени алып салыңыз.
- Жаңы ийнени жалпак тарабын машинанын артына каратып, мүмкүн болушунча өйдө түртүңүз.
- Ийне clamp коопсуз бураңыз.
7. Кыйынчылыктарды
Бул бөлүмдө сиз кездешиши мүмкүн болгон кеңири таралган көйгөйлөр каралат. Татаалыраак көйгөйлөр үчүн квалификациялуу техникке кайрылыңыз.
7.1 Өткөрүлгөн тигүү
- Мүмкүн болгон себеп: Incorrectly inserted needle.
- Чечим: Reinsert the needle correctly, ensuring the flat side faces the back and it is pushed up completely.
- Мүмкүн болгон себеп: Bent or dull needle.
- Чечим: Replace the needle with a new, sharp one.
- Мүмкүн болгон себеп: Incorrect needle type for fabric.
- Чечим: Use the appropriate needle type and size for your fabric.
7.2 Жиптин үзүлүшү
- Мүмкүн болгон себеп: Incorrect upper threading.
- Чечим: Re-thread the machine carefully, following all guides.
- Мүмкүн болгон себеп: Жиптин чыңалышы өтө эле катуу.
- Чечим: Adjust the upper thread tension to a lower setting.
- Мүмкүн болгон себеп: Сапатсыз жип.
- Чечим: Use good quality sewing thread.
7.3 Машина иштебей жатат
- Мүмкүн болгон себеп: Электр шнуру туура эмес туташтырылган.
- Чечим: Бардык электр байланыштарын текшериңиз.
- Мүмкүн болгон себеп: Bobbin winder spindle is engaged.
- Чечим: Push the bobbin winder spindle to the left (sewing position).
8. Техникалык шарттар
| Өзгөчөлүк | Спецификация |
|---|---|
| Бренд | Байке, ини |
| Модель номери | KE14S |
| Түс | Ак/Кызыл |
| Продукциянын өлчөмдөрү (L x W x Y) | 40 x 15 x 31 см (15.7 x 5.9 x 12.2 дюйм) |
| Элемент Салмагы | 5.5 килограмм (12.1 фунт) |
| Материал | Пластик, металл |
| Power Source | Электр зымдары |
| Тигиштердин саны | 14 |
| Топчу тешик түрү | 4-Step Automatic |
| Жарыктандыруу | LED |
| Келип чыккан өлкө | Кытай |
9. Кепилдик жана колдоо
For information regarding warranty coverage, terms, and conditions, please refer to the warranty card included with your product or contact your retailer. For technical support or service inquiries, please visit the official Brother webсайтка же кардарларды тейлөө бөлүмүнө кайрылыңыз.


