1. Киришүү
The AUTOPHIX OM126 is a versatile On-Board Diagnostics II (OBD2) scanner designed to help vehicle owners and technicians diagnose engine-related issues. This tool allows you to read and clear Diagnostic Trouble Codes (DTCs), view live data, and check I/M readiness status, providing essential information for maintaining your vehicle's performance and emissions compliance. This manual provides detailed instructions for the proper use and maintenance of your OM126 scanner.
2. Коопсуздук маалыматы
Always observe safety precautions when working on a vehicle. Improper use of diagnostic tools can lead to personal injury or damage to the vehicle. Read and follow all instructions carefully.
- Унаа тегиз жерде токтоп турганына, токтоочу тормозду иштетиңиз.
- Turn off the ignition before connecting or disconnecting the scanner.
- Коргоочу көз айнек сыяктуу тиешелүү жеке коргонуу шаймандарын кийиңиз.
- Ысык кыймылдаткычтын компоненттерине же кыймылдаткычтын кыймылдаткыч бөлүктөрүнө тийүүдөн алыс болуңуз.
- Айдап бара жатканда сканерди иштетпеңиз.
- Keep the scanner away from water, oil, and extreme temperatures.
3. Продукт бүтүп калдыview
The AUTOPHIX OM126 is a compact and user-friendly diagnostic tool. It features a clear display and intuitive buttons for easy navigation through its functions.
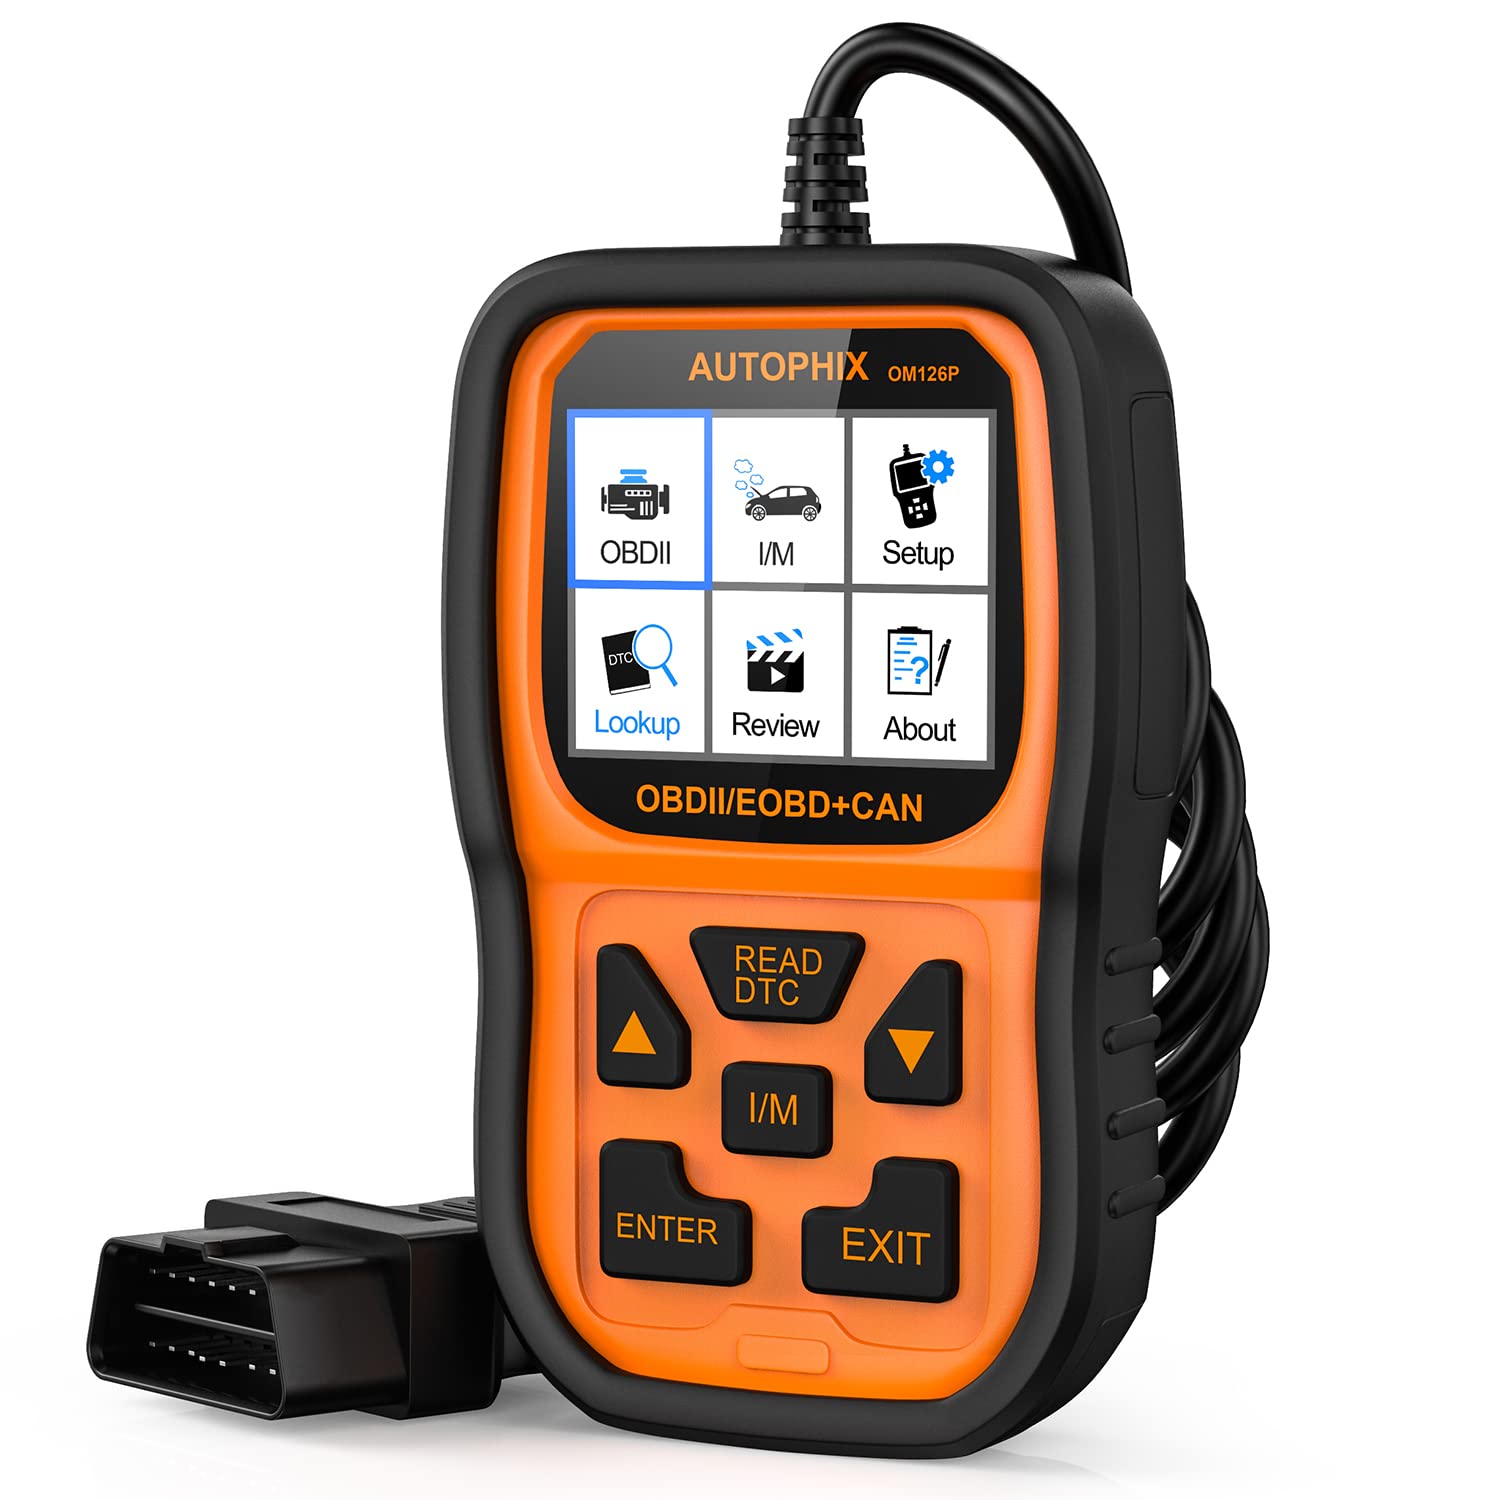
Сүрөт 3.1: Алдыңкы view of the AUTOPHIX OM126 OBD2 Scanner, showing the display screen and control buttons.
Негизги өзгөчөлүктөрү:
- Reads and clears generic and manufacturer-specific Diagnostic Trouble Codes (DTCs).
- Turns off Check Engine Light (MIL).
- Displays I/M readiness status.
- Унаа маалыматын чыгарат (VIN, CIN, CVN).
- Бир нече тилди колдойт.
- Plug-and-play operation.
4. Орнотуу
4.1 Initial Software Update (Recommended)
Before first use, it is recommended to update the scanner's software to ensure compatibility with the latest vehicle models and diagnostic protocols. Visit the official AUTOPHIX website to download the update tool and follow the provided instructions. This typically involves connecting the scanner to a computer via a USB cable.
4.2 Унаага туташтыруу
- Locate the vehicle's 16-pin Data Link Connector (DLC). This port is usually found under the dashboard on the driver's side. Refer to your vehicle's owner's manual for the exact location.
- Унаанын от алдыруу системасы "OFF" абалында экенин текшериңиз.
- Plug the OM126 scanner's OBD2 cable into the vehicle's DLC. Ensure a firm connection.
- Turn the vehicle's ignition to the ON position (engine off). The scanner will automatically power on and establish communication with the vehicle's onboard computer.
5. Иштөө нускамалары
5.1 Меню Навигациясы
Use the UP/DOWN arrow buttons to scroll through menu options. Press the ENTER button to select an option or confirm an action. The ESC/BACK button is used to return to the previous screen or cancel an operation.
5.2 Диагностикалык көйгөй коддорун (DTC) окуу
- From the main menu, select "Read Codes" and press ENTER.
- The scanner will communicate with the vehicle and display any stored DTCs. Each code will typically include a numerical identifier and a brief description.
- Use the UP/DOWN buttons to scroll through multiple codes if present.
5.3 Диагностикалык көйгөй коддорун (DTC) тазалоо
Clearing DTCs will turn off the Check Engine Light (MIL) and erase all diagnostic data. Only clear codes after addressing the underlying issue, as they will reappear if the fault persists.
- From the main menu, select "Erase Codes" and press ENTER.
- A confirmation message will appear. Select "Yes" and press ENTER to proceed.
- The scanner will confirm that the codes have been cleared.
5.4 I/M Даярдык абалы
The I/M Readiness function checks if the various emissions-related systems on the vehicle are operating correctly and have completed their self-tests. This is useful for emissions inspections.
- From the main menu, select "I/M Readiness" and press ENTER.
- The display will show the status of various monitors (e.g., O2 Sensor, Catalyst, EVAP System) as either "OK" (complete) or "INC" (incomplete).
5.5 ViewТранспорт каражаттары жөнүндө маалымат
This function allows you to retrieve the Vehicle Identification Number (VIN), Calibration ID (CIN), and Calibration Verification Number (CVN).
- From the main menu, select "Vehicle Info" and press ENTER.
- Сканер унаа жөнүндө жеткиликтүү маалыматты көрсөтөт.
6. Техникалык тейлөө
- Тазалоо: Сканердин сканерин тазалоо үчүн жумшак, кургак чүпүрөктү колдонуңузasing and screen. Do not use abrasive cleaners or solvents.
- Сактагыч: Store the scanner in a clean, dry environment, away from direct sunlight and extreme temperatures. Keep it in its original packaging or a protective case when not in use.
- Программалык камсыздоо жаңыртуулары: Periodically check the AUTOPHIX official webоптималдуу иштөөнү жана шайкештикти камсыз кылуу үчүн программалык камсыздоону жаңыртуу сайты.
7. Кыйынчылыктарды
If you encounter issues while using the AUTOPHIX OM126, refer to the following common troubleshooting steps:
- Сканер күйбөйт:
- OBD2 кабели унаанын DLCсине бекем туташтырылганын текшериңиз.
- Унаанын от алдыруу системасы "КҮЙҮК" абалында экенин текшериңиз (кыймылдаткыч өчүрүлгөн).
- Унаанын OBD2 портунун сактагычын текшериңиз (унааңыздын колдонмосун караңыз).
- Унаа менен байланыш катасы:
- Confirm the vehicle supports the OBD2 protocol (most vehicles manufactured after 1996 in the US, 2001 in EU gasoline, 2004 in EU diesel).
- Ensure the ignition is ON and the engine is OFF.
- Try connecting the scanner to a different OBD2-compliant vehicle to rule out scanner malfunction.
- Check for any loose connections in the OBD2 cable.
- Codes cannot be cleared:
- Ensure the ignition is ON and the engine is OFF.
- If the underlying fault is still present, codes will not clear or will reappear immediately. Address the vehicle's issue first.
- Screen is blank after update:
- This can sometimes occur during the update process. Ensure the update process is completed fully as per the instructions on the AUTOPHIX webсайт.
- Түзмөктү ажыратып, кайра туташтырыңыз.
8. Техникалык шарттар
| Өзгөчөлүк | Спецификация |
|---|---|
| Модел | OM126 |
| Элемент Салмагы | 11.2 унция |
| Продукциянын өлчөмдөрү | 9 x 5 x 2.6 дюйм |
| Тtage | 12 вольт |
| Screen Size | 2.4 дюйм |
| Операция системасы | Windows 7 (for update software) |
| Power Source | Battery Powered (via vehicle OBD2 port) |


