1. Киришүү
The Audio-Technica PRO24CM is a lightweight, compact stereo condenser microphone designed for digital recording with high-fidelity stereo sound. It is optimized for use with camcorders that feature an accessory shoe and a stereo microphone input. The microphone utilizes a pair of cardioid elements in an X-Y configuration to capture the spatial impact and realism of a live sound field.
This manual provides essential information for the proper setup, operation, and maintenance of your PRO24CM microphone.
2. Пакеттин мазмуну
Төмөнкү нерселердин баары пакетиңизге камтылганын текшериңиз:
- PRO24CM Stereo Condenser Microphone with permanently attached 6-12 inch coiled cable and right-angle 3.5 mm stereo mini plug
- Video-camera shoe mount
- LR44 battery (1.5V)
- Айнек
- Жумшак коргоочу баштык

Image: Included accessories for the PRO24CM microphone.
3. Орнотуу
3.1 Батареяны орнотуу
The PRO24CM can operate on a 1.5V LR44 battery or via plug-in power from your camcorder. If your camcorder does not provide plug-in power, battery installation is required.
- Locate the battery compartment on the microphone body.
- Бөлүмдү этияттык менен ачыңыз.
- Insert one LR44 battery, ensuring correct polarity (+/-).
- Батарея отсегин бекем жабыңыз.
Image: The LR44 battery for microphone power.
3.2 Микрофонду орнотуу
The PRO24CM is designed to attach to a camcorder's accessory shoe.
- Slide the video-camera shoe mount onto your camcorder's accessory shoe.
- Secure the mount by tightening its locking mechanism.
- Insert the microphone into the shoe mount.
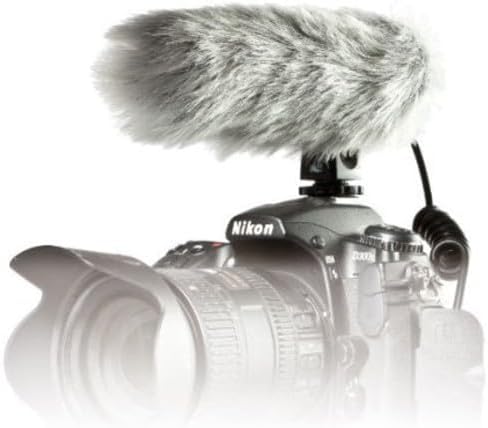
Image: PRO24CM microphone attached to a camcorder.
3.3 Connecting to a Camcorder
Connect the microphone to your camcorder's stereo microphone input.
- Locate the 3.5 mm stereo mini plug on the microphone's coiled cable.
- Insert the plug firmly into the microphone input jack on your camcorder.

Image: The PRO24CM microphone showing its coiled cable and 3.5mm connector.
3.4 Using the Windscreen
For outdoor recording or in windy conditions, attach the included windscreen to reduce wind noise and plosives.
- Gently slide the foam windscreen over the microphone's capsule.
- Ensure it fits snugly without obstructing the microphone elements.
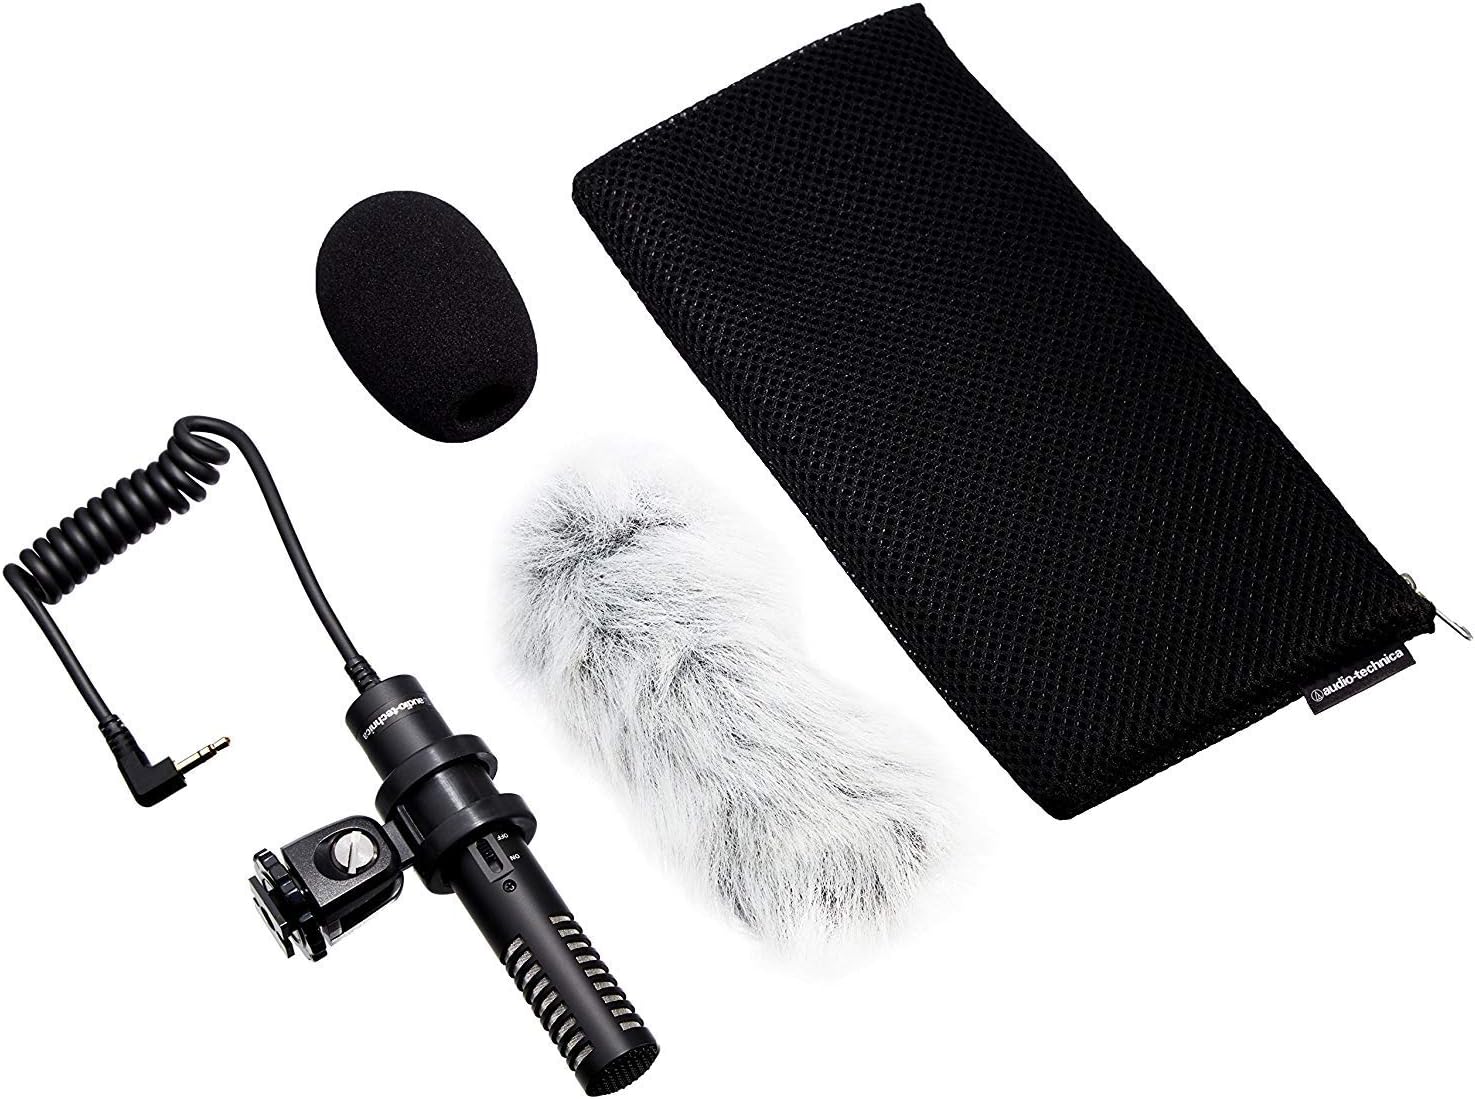
Image: PRO24CM microphone with windscreen and other accessories.
4. Операция
4.1 Күйгүзүү/өчүрүү
The PRO24CM features an on/off switch for convenient operation.
- Микрофонду күйгүзүү үчүн ON, которгучту "КҮЙҮК" абалына жылдырыңыз.
- Микрофонду күйгүзүү үчүн ӨЧҮРҮҮ, которгучту "OFF" абалына жылдырыңыз.
When using plug-in power from your camcorder, the microphone will draw power directly from the camcorder, and battery operation is not required. However, it is still recommended to turn the microphone off when not in use to conserve battery life if a battery is installed.
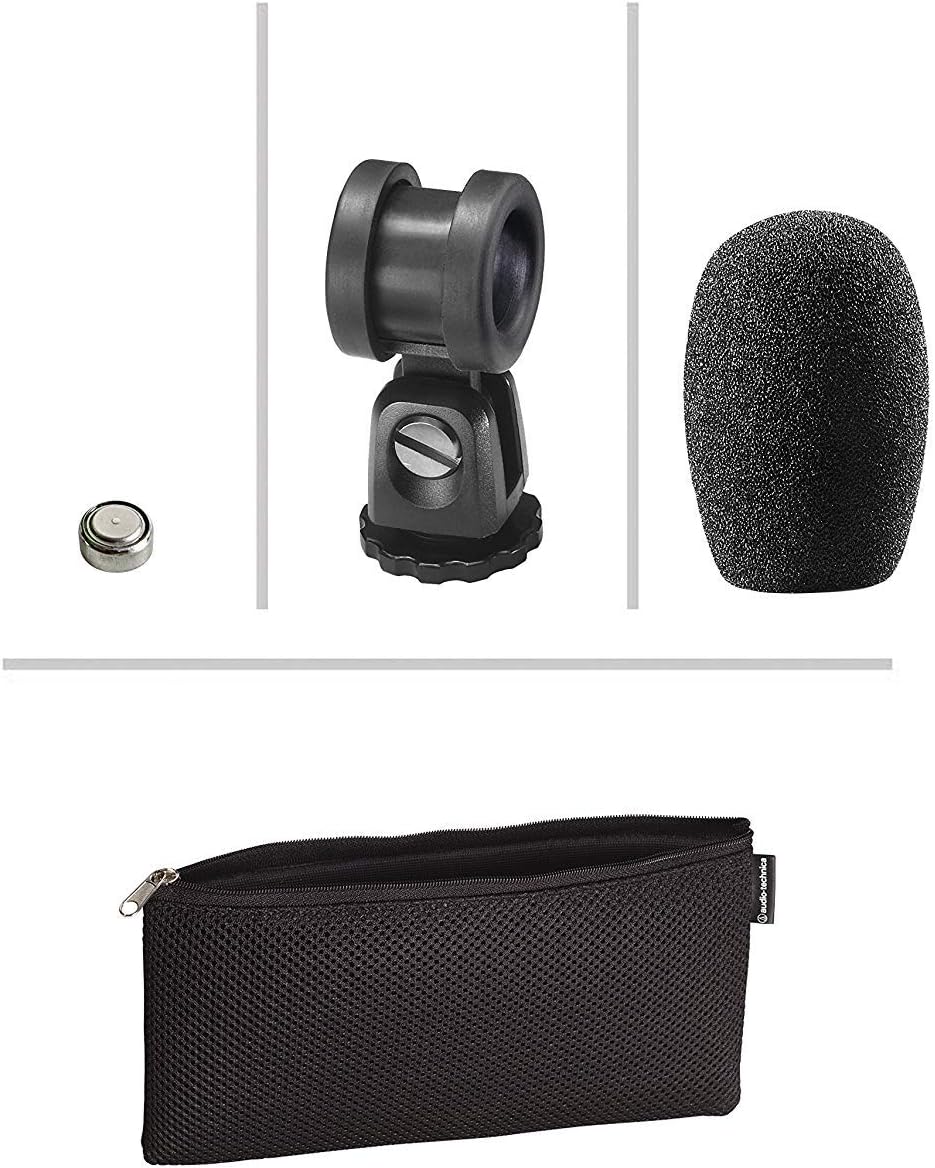
Image: The PRO24CM microphone with its on/off switch visible.
4.2 Recording Considerations
- Жайгашкан жери: Position the microphone to capture the desired sound source. The X-Y stereo configuration is designed to provide a natural stereo image.
- Мониторинг: Always monitor your audio through headphones connected to your camcorder to ensure optimal sound quality and to detect any unwanted noise.
- Пайда деңгээли: Adjust the input gain on your camcorder to prevent clipping (distortion) while ensuring a strong signal.
5. Техникалык тейлөө
- Тазалоо: Микрофондун корпусун тазалоо үчүн жумшак, кургак чүпүрөктү колдонуңуз. Катуу химиялык заттарды же абразивдүү материалдарды колдонуудан алыс болуңуз.
- Сактагыч: When not in use, store the microphone in its protective pouch to prevent dust and damage. Remove the battery if storing for extended periods to prevent leakage.
- Кабельге кам көрүү: Avoid sharp bends or kinks in the microphone cable.
6. Кыйынчылыктарды
- Үн жок:
- Ensure the microphone's on/off switch is in the "ON" position.
- Батарея туура орнотулганын жана жетиштүү заряддалганын текшериңиз. Зарыл болсо, алмаштырыңыз.
- Verify the 3.5 mm plug is fully inserted into the camcorder's microphone input.
- Confirm the camcorder's audio input settings are correct and the input gain is not set to zero.
- Бурмаланган үн:
- Reduce the input gain on your camcorder.
- Ensure the microphone is not too close to the sound source, causing overload.
- Ашыкча шамалдын ызы-чуусу:
- Ensure the windscreen is properly installed.
- Consider using an additional furry wind muff for extreme conditions (not included).
7. Техникалык шарттар
| Өзгөчөлүк | Спецификация |
|---|---|
| Элемент | Туруктуу заряддалган арткы плита туруктуу поляризацияланган конденсатор |
| Полярдык үлгү | X/Y Stereo |
| Frequency Response | 100-17,000 Гц |
| Ачык чынжыр сезгичтиги | -50 дБ (3.1 мВ) 1В Па кайрадан 1В |
| Импеданс | 600 Ом |
| Максималдуу киргизүү үн деңгээли | 119 дБ SPL, 1 кГц 1% THD менен |
| Динамикалык диапазон (типтүү) | Максималдуу SPLде 82 дБ, 1 кГц |
| Ызы-чуунун катышы | 57 дБ, 1 кГц 1 Па |
| Power талаптар | 2-10V DC plug-in power or 1.5V LR44 battery |
| Батарея түрү | 1.5V LR44 |
| Батарея агымы / Өмүр | 0.6 мА / 200 саат типтүү |
| Которуу | Күйгүзүү/өчүрүү |
| Салмагы | 3.9 oz (111 g) / 120 Grams |
| Өлчөмдөрү (У x Максималдуу дене диаметри) | 4.59" (116.5 mm) long, 0.83" (21.0 mm) maximum body diameter |
| Output Connector | 3.5 mm stereo mini plug on cable |
| Кабель | Permanently attached 152.4 mm - 304.8 mm (6"-12") coiled cable with right-angle molded 3.5 mm stereo mini-plug |
8. Коопсуздук маалыматы
- Микрофонду экстремалдык температурага, нымдуулукка же түз күндүн нуруна дуушар кылбаңыз.
- Микрофонду түшүрүүдөн же катуу тийүүдөн сактаныңыз.
- Микрофонду күчтүү магнит талаасынан алыс кармаңыз.
- Do not attempt to disassemble or modify the microphone. This will void any warranty.
- Колдонулган батарейкаларды жергиликтүү эрежелерге ылайык таштаңыз.
9. Кепилдик жана колдоо
For warranty information or technical support, please contact Audio-Technica customer service or visit their official webсайт. Сатып алганыңыздын далили катары сатып алуу дүмүрчөгүңүздү сактаңыз.
Audio-Technica Contact Information:
- Расмий Audio-Technica Webсайт
- Продуктуңуздун таңгагына же расмий өкүлгө кайрылыңыз website for specific regional contact details.


