1. Киришүү
This manual provides essential instructions for the safe and effective use of your Zoom H1n Handy Recorder. Please read this manual thoroughly before using the device to ensure proper operation and to prevent damage.
2. Продукт бүтүп калдыview
2.1 Пакеттин мазмуну
- Zoom H1n Handy Recorder (Blue Edition)
- 2 АА батарейкалар
Note: A microSD card and USB cable are not included and must be purchased separately.
2.2 Компонентти идентификациялоо
Familiarize yourself with the various parts of your H1n recorder.

Сүрөт 1: Алдыңкы View of Zoom H1n Handy Recorder. This image displays the front of the blue Zoom H1n recorder, highlighting the built-in stereo microphones at the top, the LCD screen, the large red record button, and playback controls.

2-сүрөт: Бурчтуу View of Zoom H1n Handy Recorder. This image shows the Zoom H1n from an angled perspective, revealing the side controls such as the volume buttons, power switch, and various input/output ports.
- Камтылган стерео микрофондор: X/Y configuration for wide stereo imaging.
- Input Level Dial: Adjusts recording input sensitivity.
- LCD дисплей: Shows recording status, file information, and menu options.
- REC баскычы: Жаздырууну баштайт жана токтотот.
- КОШУМЧА баскычы: Accesses menu settings.
- Ойнотуу башкаруулары: Play/Pause, Stop, Fast Forward, Rewind.
- LINE IN Jack: Тышкы микрофондор же линия деңгээлиндеги түзмөктөр үчүн 3.5 мм стерео киргизүү.
- LINE OUT/HEADPHONE Jack: 3.5mm stereo output for monitoring or connecting to other devices.
- VOLUME баскычтары: Ойнотуу үнүн тууралайт.
- USB порт: Micro-USB port for data transfer and use as a USB microphone.
- MicroSD картасынын уячасы: Медиа жаздыруу үчүн.
- Батарея бөлүмү: Эки AA батарейкасын кармайт.
3. Орнотуу
3.1 Батареяларды орнотуу
- Түзмөктүн арткы жагындагы батарея бөлүмүнүн капкагын ачыңыз.
- Туура полярдуулукту (+/-) камсыз кылуу менен эки AA батарейкасын салыңыз.
- Батарея уясынын капкагын бекем жабыңыз.
3.2 MicroSD картасын салуу
The H1n requires a microSD or microSDHC card (up to 32 GB) for recording. Ensure the card is formatted correctly (FAT32).
- Бирдиктин капталындагы microSD карта уячасын табыңыз.
- Insert the microSD card with the contacts facing down until it clicks into place.
- To remove, push the card in gently until it clicks, then release to eject.
3.3 Күйгүзүү/өчүрүү
- Күйгүзүү үчүн: Slide the POWER switch (located on the side) downwards and hold until the display lights up.
- Өчүрүү үчүн: Slide the POWER switch downwards and hold until the display turns off.
4. Иштөө нускамалары
4.1 Негизги жаздыруу
- Power on the H1n.
- Adjust the input level using the dial at the top. Monitor the level meter on the LCD to avoid clipping (distortion).
- Press the large red REC button once to enter record standby mode.
- басыңыз REC button again to start recording. The REC indicator will light up.
- Жазууну токтотуу үчүн, басыңыз REC баскычы. The file автоматтык түрдө сакталат.
4.2 Ойнотуу
- Use the Fast Forward (>>) or Rewind (<<) buttons to select a file.
- Ойнотуу/Тындырууну басыңыз (>/II) ойнотууну баштоо үчүн баскыч.
- Adjust the playback volume using the VOLUME buttons on the side.
- Токтотуу баскычын басыңыз (■) ойнотууну токтотуу үчүн баскыч.
4.3 Меню орнотуулары
басыңыз OPTION button to access the menu and adjust various settings. Use the playback control buttons to navigate and select options.
- АУДИО: Select recording format (WAV/MP3), sampылдамдыгы жана бит тереңдиги.
- LO CUT: Activates a low-cut filter to reduce unwanted low-frequency noise.
- ЧЕКТЕГИЧ: Prevents input overload and distortion by compressing loud signals.
- AUTOLEVEL: Automatically adjusts the recording level.
- TONE GENERATOR: Produces a test tone for calibrating audio levels with cameras or other devices.
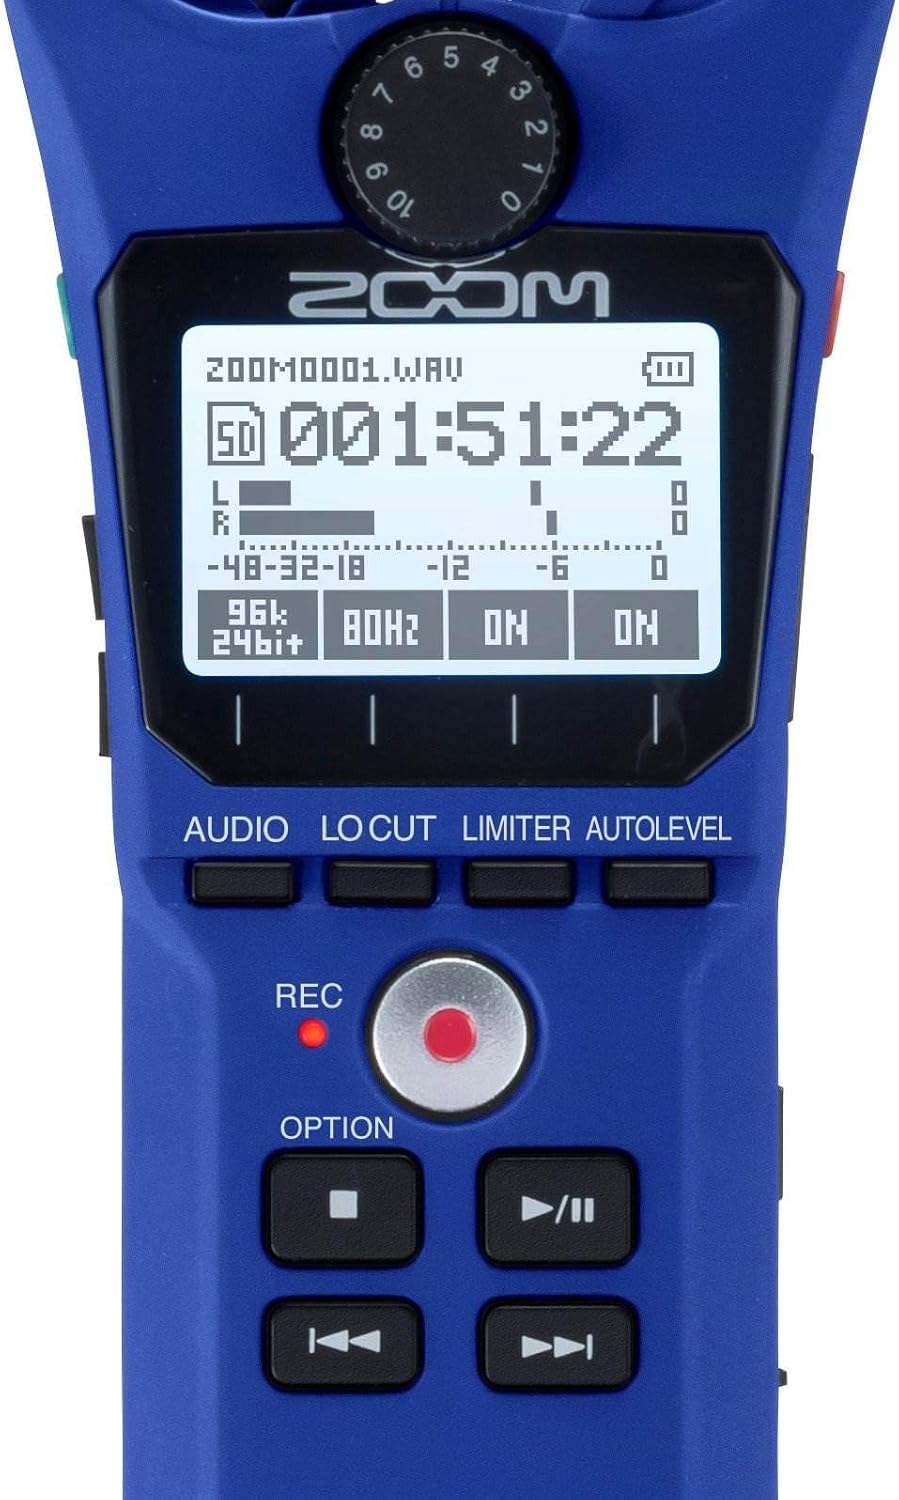
Figure 3: Close-up of H1n Display and Controls. Бул сүрөт майда-чүйдөсүнө чейин камсыз кылат view of the H1n's LCD screen, showing recording parameters, and the main control buttons including REC, OPTION, and playback controls.
4.4 USB функциясы
Connect the H1n to a computer using a micro-USB cable (sold separately).
- USB Microphone: The H1n can function as a USB microphone for your computer.
- SD картаны окугуч: Мүмкүнчүлүк files on the microSD card directly from your computer.
5. Техникалык тейлөө
- Тазалоо: Use a soft, dry cloth to clean the unit. Do not use liquid cleaners or solvents.
- Сактагыч: H1nди салкын, кургак жерде, күндүн түз тийген нурунан жана өтө жогорку температурадан алыс сактаңыз. Узак убакытка сактасаңыз, батарейкаларды алып салыңыз.
- Колдонуу: The H1n is a precision instrument. Avoid dropping it or subjecting it to strong impacts.
6. Кыйынчылыктарды
- Түзмөк күйбөйт: Батареянын орнотулушун текшерип, батарейкалардын заряддалганын текшериңиз.
- Recording issues (no sound, distorted sound): Verify input level settings. Ensure microphones are not obstructed. Check if an external microphone is properly connected to the LINE IN jack.
- SD card errors: Ensure the microSD card is properly inserted and formatted. Try a different microSD card if issues persist.
- Rattling sound from volume rocker: This is a known characteristic of the design. To minimize noise during recording, avoid shaking the device or secure the rocker with a finger if recording while moving.
- Computer does not recognize H1n via USB: Ensure the USB cable is securely connected. Try a different USB port or cable. Select the correct USB mode on the H1n (Audio Interface or SD Card Reader).
7. Техникалык шарттар
| Өзгөчөлүк | Спецификация |
|---|---|
| Жазуу медиасы | microSD/microSDHC card (up to 32 GB) |
| Жазуу форматтары | WAV (16/24-bit, 44.1/48/96 kHz), MP3 (48-320 kbps) |
| Микрофон | 90° X/Y stereo condenser microphones |
| Киргизүүлөр | 3.5mm stereo mini jack (LINE IN) |
| Чыгуулар | 3.5mm stereo mini jack (LINE OUT/HEADPHONE) |
| USB порту | Micro-USB (USB 2.0 High Speed) |
| Күч | 2 x AAA batteries (Alkaline or NiMH) or AC adapter (AD-17, sold separately) |
| Батареянын иштөө мөөнөтү | Approximately 10 hours (Alkaline batteries, WAV 44.1 kHz/16-bit) |
| Өлчөмдөр | 1.5"D x 5.5"W x 1"H (болжол менен) |
| Салмагы | 0.5 Pounds (approximate, without batteries) |
8. Кепилдик жана колдоо
Кепилдик жөнүндө маалымат жана техникалык колдоо алуу үчүн расмий Zoom сайтына кайрылыңыз website or contact your local Zoom distributor. Keep your purchase receipt as proof of purchase for warranty claims.


