1. Киришүү
Thank you for choosing the XTUGA EW240 UHF 4-Channel Wireless Microphone System. This professional wireless microphone system is designed to deliver clear and powerful audio performance for various applications, including family parties, stages, churches, and karaoke. This manual provides detailed instructions for setup, operation, maintenance, and troubleshooting to ensure optimal performance and longevity of your system.
2. Коопсуздук боюнча маанилүү маалымат
- Продукцияны колдонуудан мурун бардык нускамаларды кылдат окуп чыгыңыз.
- Бул колдонмону келечекте маалымат алуу үчүн сактаңыз.
- Өрт же электр тогуна урунуп калбаш үчүн аппаратты жамгырга же нымга тийгизбеңиз.
- Туура желдетүүнү камсыз кылыңыз жана желдетүү тешиктерин жаап албаңыз.
- Аппарат менен кошо берилген кубат адаптерин гана колдонуңуз.
- Агрегатты ажыратууга же өзгөртүүгө аракет кылбаңыз. Бардык тейлөөлөрдү квалификациялуу кызматкерлерге тапшырыңыз.
- Батареяларды жергиликтүү эрежелерге ылайык жок кылыңыз.
3. Пакеттин мазмуну
Сураныч, бардык буюмдар бар экенин текшерүү үчүн пакетти текшериңиз:
- 1 x 4-Channel Receiver
- 1 x User Manual
- 4 x Bodypack өткөргүчтөрү
- 4 x Lavalier микрофондору
- 4 х гарнитура микрофондору
- 1 x 110V/220V Power адаптер
4. Продукт бүтүп калдыview
4.1 Кабыл алуучу бирдиги
The receiver is the central unit of the wireless microphone system, featuring a durable metal design and individual volume controls for each of its four channels. It includes four receiving antennas for stable signal reception and an LCD display for monitoring operating status.


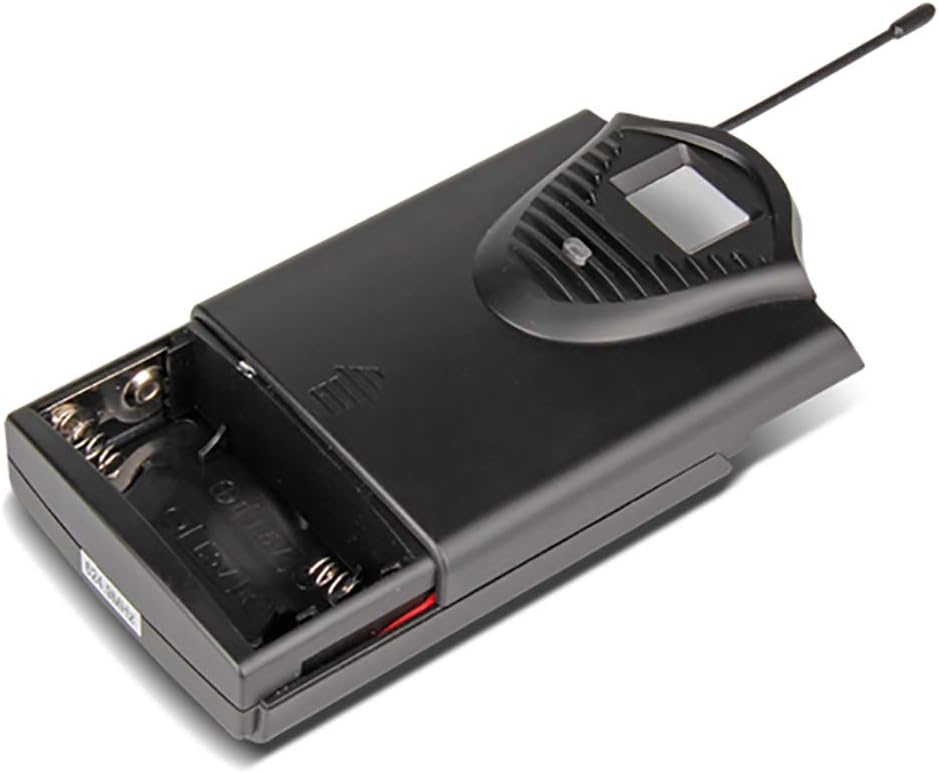
4.2 Bodypack өткөргүчтөр
The system includes four bodypack transmitters, each designed for use with either a lavalier or headset microphone. These transmitters are compact, feature an LCD display for battery and operating status, and are powered by two 1.5V batteries, offering up to 8 hours of continuous use.


5. Орнотуу нускамалары
5.1 Кабылдагычты орнотуу
- Жайгашкан жери: Place the receiver on a stable, flat surface, away from potential sources of interference (e.g., computers, Wi-Fi routers). Ensure adequate ventilation around the unit.
- Антенна туташуу: Screw the four included antennas onto the ANT A, ANT B, ANT C, and ANT D connectors on the rear panel of the receiver. Position them vertically for optimal signal reception.
- Кубат туташуу: Connect the supplied power adapter to the DC 16V, 400mA input on the rear of the receiver, then plug it into a suitable power outlet.
- Аудио чыгаруу: Ресиверди миксериңизге туташтырыңыз, amplifier, or sound system using either the 6.3cm (1/4 inch) mixed output or the individual 6.3cm (1/4 inch) outputs for each channel (OUT A, OUT B, OUT C, OUT D).


5.2 Өткөргүчтү орнотуу
- Батарея орнотуу: Open the battery compartment of each bodypack transmitter. Insert two 1.5V AA batteries, ensuring correct polarity. Close the compartment securely.
- Микрофон туташуу: Plug the lavalier or headset microphone into the input jack on the bodypack transmitter.
- Күйгүзүү: Turn on the power switch on the bodypack transmitter. The LCD display will illuminate, showing the channel and battery status.
6. Иштөө нускамалары
- Системаны иштетүү: First, power on the receiver. Then, power on each bodypack transmitter.
- Үндү тууралоо: Use the individual volume control knobs on the receiver for each channel (CH 01, CH 02, CH 03, CH 04) to adjust the microphone levels. Start with the volume low and gradually increase it to avoid feedback.
- Сигнал көрсөткүчтөрү: The receiver's LCD display will show the active channel frequencies. The RF (Radio Frequency) and AF (Audio Frequency) indicators will light up when a signal is being received and audio is present, respectively.
- Колдонуу: Position the lavalier microphone approximately 6-8 inches from your mouth, or wear the headset microphone comfortably. Speak clearly into the microphone.
- Өчүрүү: When finished, first turn off the bodypack transmitters, then power off the receiver. This helps prevent pops or thumps through your sound system.
7. Техникалык тейлөө
- Тазалоо: Use a soft, dry cloth to clean the receiver and transmitters. Do not use liquid cleaners or solvents.
- Батареяны алмаштыруу: Replace batteries in the bodypack transmitters when the low battery indicator appears on the LCD display. Always use fresh, high-quality 1.5V AA batteries.
- Сактагыч: Store the system in a cool, dry place when not in use. Remove batteries from transmitters if storing for extended periods to prevent leakage.
- Антеннага кам көрүү: Handle antennas carefully. Avoid bending them excessively.
8. Кыйынчылыктарды
| Көйгөй | Мүмкүн себеп | Чечим |
|---|---|---|
| Микрофондон үн чыкпайт | Transmitter or receiver not powered on; low batteries; microphone not connected; receiver output not connected to sound system; volume too low. | Ensure all units are powered on. Replace batteries. Check microphone connection to transmitter. Verify receiver output is connected and sound system is on. Increase receiver and sound system volume. |
| Үн сапаты начар/Интерференция | Interference from other wireless devices; transmitter too far from receiver; antennas not positioned correctly; low batteries. | Move away from other wireless devices. Ensure line of sight between transmitter and receiver. Position antennas vertically. Replace batteries. |
| Кыска иштөө диапазону | Obstructions between transmitter and receiver; antennas not positioned correctly; environmental interference. | Ensure clear line of sight. Position antennas vertically. Avoid using in areas with high RF interference. |
| Receiver LCD not displaying | Receiver not powered on; power adapter faulty. | Check power connection and ensure receiver is switched on. Try a different power outlet. |
9. Техникалык шарттар
9.1 General System
- Каналдардын саны: 4 канал
- Туруктуулук: ± 0.006%
- Normal Deviation: ± 22 кГц
- S/N катышы: <120 дБ
- THD: <0.6 %
- Жыштык жообу: 50 Гц - 15 кГц
- Диапазон: 65 метр
9.2 Алуучу
- Сезимталдуулук: > 80 дБ
- Аудио чыгаруу: Balanced and Unbalanced (6.3cm mixed output, four 6.3cm individual outputs)
- Энергияга талаптар: AC 16 V, 400 mA
- Өлчөмдөрү: 440 x 210 x 40 мм
- Салмагы: Болжол менен 1.3 кг
- Материал: Металл
9.3 Wireless Microphone (Transmitter)
- Картридждин түрү: Динамикалык
- RF чыгаруу: <10 мВт
- Normal Deviation: ± 22 кГц
- Максималдуу четтөө: ± 80 кГц
- Батарея: 2 х 1.5 В АА батарейкалар
- Батареянын иштөө мөөнөтү: 8 саат
10. Кепилдик жана колдоо
XTUGA products are designed for reliability and performance. For warranty information and technical support, please refer to the contact details provided with your purchase or visit the official XTUGA webсайт. Сатып алуу квитанциясын кепилдик дооматтары үчүн сатып алуунун далили катары сактаңыз.


