1. Киришүү
The ARGO Iro Plus is a versatile portable air conditioner designed for year-round comfort, featuring both cooling and heating capabilities. Its minimalist design and intuitive controls make it a perfect addition to any living space. This manual provides essential information for the safe and efficient operation, setup, and maintenance of your ARGO Iro Plus unit.
Негизги өзгөчөлүктөрү:
- Portable air conditioner with heat pump, Energy Class A.
- Four operating modes: Cooling, Heating, Ventilation, and Dehumidification.
- Three fan speeds for customized airflow.
- Motorized top flap with Swing function for wide air distribution.
- Digital 24-hour timer for scheduled operation.
- Sleep function for enhanced comfort during rest.
- Memory function for automatic restart with previous settings after power interruption.
- Экологиялык жактан таза R290 муздаткыч.
- Equipped with practical handles and multi-directional wheels for easy portability.
2. Коопсуздук маалыматы
Сураныч, жаракаттарды же бузулууларды болтурбоо үчүн шайманды колдонуудан мурун бардык коопсуздук эскертүүлөрүн жана нускамаларын кылдат окуп чыгыңыз. Бул колдонмону келечекте маалымат алуу үчүн сактаңыз.
- Түзмөктү ар дайым туура вольттогу жерге туташтырылган розеткага туташтырыңызtage.
- Электр шнурунун же сайгычтын бузулушу менен аппаратты иштетпеңиз.
- Аба кирүүчү же чыгуучу жерлерди жаап албаңыз. Аба агымынын туура агымы үчүн аппараттын айланасында жетиштүү боштукту камсыз кылыңыз.
- Аба чыгуучу тешиктерге манжаларыңызды же башка нерселерди киргизбеңиз.
- Keep the unit away from water and other liquids. Do not use in bathrooms or very humid environments.
- Тазалоодон же техникалык тейлөөдөн мурун блокту электр розеткасынан сууруп алыңыз.
- Агрегатты өзүңүз оңдоого же өзгөртүүгө аракет кылбаңыз. Оңдоо үчүн квалификациялуу тейлөө кызматкерлерине кайрылыңыз.
- Бул шайман физикалык, сезүү же акыл-эс жөндөмү начар же тажрыйбасы жана билими жок адамдар (анын ичинде балдар) үчүн, эгерде алардын коопсуздугуна жооптуу адам тарабынан көзөмөлсүз же шайманды колдонуу боюнча көрсөтмө болбосо, колдонууга арналбайт.
- Балдар шайман менен ойнобошу үчүн аларды көзөмөлгө алуу керек.
3. Продукциянын компоненттери
Familiarize yourself with the main parts of your ARGO Iro Plus portable air conditioner.

Сүрөт 3.1: Алдыңкы view of the ARGO Iro Plus portable air conditioner, showcasing анын жылмакай ак дизайны жана компакт форма фактору.

3.2-сүрөт: Дагы бир фронт view of the ARGO Iro Plus, highlighting the minimalist design.

3.3-сүрөт: жогорудан ылдыйга view of the control panel with digital display and touch-sensitive buttons for various functions like Swing, Timer, Speed, Temperature Up/Down, Mode, Sleep, and Power.

3.4-сүрөт: Арткы view of the unit, showing the exhaust air outlet, power cord storage, and air intake grilles.

3.5-сүрөт: Каптал view of the ARGO Iro Plus, highlighting the integrated handle for easy lifting and portability.

3.6-сүрөт: Каптал view of the ARGO Iro Plus, showing the exhaust port and side grilles.

Figure 3.7: Technical diagram illustrating the dimensions of the ARGO Iro Plus unit: 770mm height, 470mm width, and 382mm depth.
Камтылган аксессуарлар:
- Ийкемдүү соргуч шланг
- Терезе адаптери
- Бекитилген айнек орнотуу үчүн комплект
- Алыстан башкаруу
4. Орнотуу жана орнотуу
4.1 Орнотуу
Place the ARGO Iro Plus on a flat, stable surface. Ensure there is at least 30 cm (12 inches) of clearance around the unit for proper air circulation. Do not place the unit near heat sources or in direct sunlight.
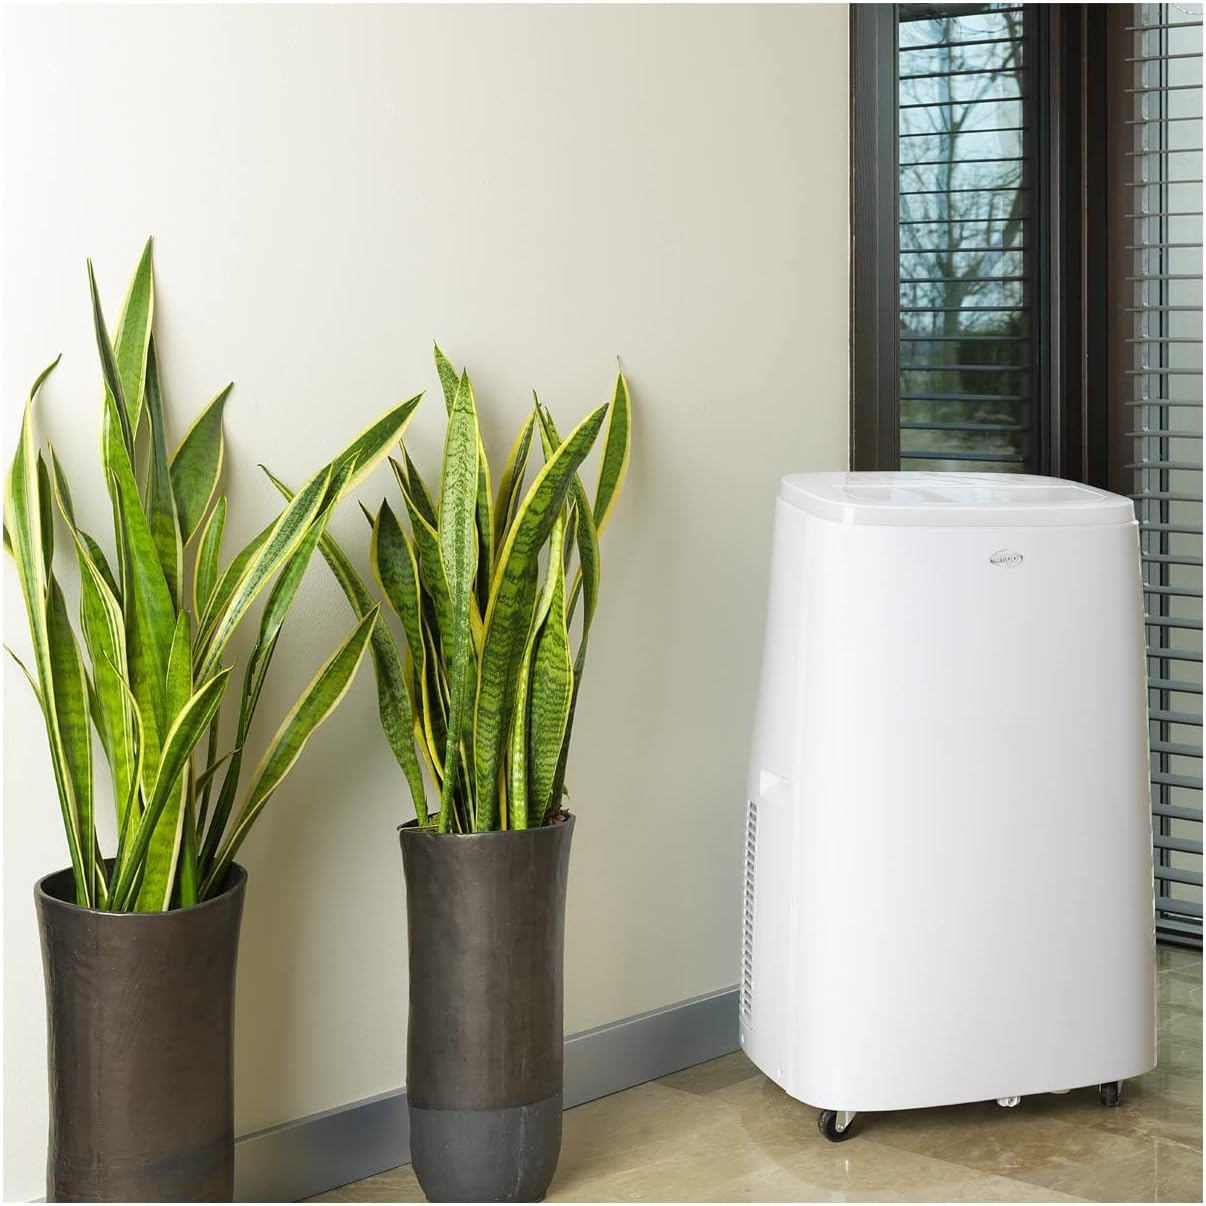
Figure 4.1: The ARGO Iro Plus unit positioned in a room, demonstrating suitable placement near a window for exhaust hose connection.
4.2 Чыгаруучу түтүктү орнотуу
- Attach one end of the flexible exhaust hose to the air outlet on the back of the unit. Twist clockwise until securely fastened.
- Attach the window adapter to the other end of the exhaust hose.
- Open a window or sliding door and place the window adapter firmly in the opening. Ensure the opening is sealed as much as possible to prevent outside air from entering.
- For fixed glass installations, use the provided kit according to its specific instructions.
Маанилүү: The exhaust hose must be as short and straight as possible to ensure optimal performance. Bends or excessive length will reduce efficiency.
5. Иштөө нускамалары
Your ARGO Iro Plus can be operated using the control panel on the top of the unit or the included remote control.
5.1 Башкаруу панелинин үстүнөview
Refer to Figure 3.3 for the layout of the control panel buttons.
- КҮЧ баскычы: Агрегатты КҮЙГҮЗӨТ же ӨЧҮРөт.
- MODE баскычы: Cycles through operating modes: Cool, Heat, Fan, Dehumidify.
- ЖОГОРУ/ТӨМӨН баскычтары: Температура жөндөөлөрүн же таймердин узактыгын тууралаңыз.
- SPEED баскычы: Желдетүүчү ылдамдыкты тандайт (Төмөн, Орто, Жогорку).
- TIMER баскычы: Авто-күйгүзүү же автоматтык өчүрүү таймерин орнотот.
- SWING баскычы: Activates or deactivates the automatic swing function of the top flap.
- SLEEP баскычы: Activates Sleep mode for quiet operation and optimized temperature control during sleep.
5.2 Иштөө режимдери
- Муздатуу режими: For cooling the room. Set desired temperature using UP/DOWN buttons.
- Жылытуу режими: For heating the room (Heat Pump function). Set desired temperature.
- Күйөрман режими: Circulates air without cooling or heating. Select desired fan speed.
- Нымсыздандыруу режими: Removes moisture from the air. The unit will operate at a low fan speed. Continuous drainage is recommended in this mode.
5.3 Таймер функциясы
The 24-hour timer allows you to set the unit to turn on or off automatically after a specified period.
- TIMER баскычын басыңыз.
- Use the UP/DOWN buttons to set the desired delay time (in hours).
- Таймер бир нече секунддан кийин иштей баштайт.
6. Техникалык тейлөө
Regular maintenance ensures optimal performance and extends the lifespan of your ARGO Iro Plus. Always unplug the unit before cleaning.
6.1 Аба чыпкасын тазалоо
Аба чыпкасын ар бир эки жумада тазалап туруу керек, же эгер аппарат чаңдуу чөйрөдө колдонулса, андан да көп тазалап туруу керек.
- Агрегатты өчүрүп, розеткадан ажыратыңыз.
- Locate the air filter panel (usually on the side or back).
- Чыпканы алып салыңыз.
- Чыпканы чаң соргуч менен тазалаңыз же жылуу суу жана жумшак жуучу каражат менен акырын жууңуз.
- Фильтрди кайра салуудан мурун аны толугу менен кургатып алыңыз.
6.2 Сууну агызуу
The unit automatically evaporates most condensation. However, in high humidity conditions or during dehumidification mode, the internal water tank may fill up. The unit will stop operating and display an indicator when the tank is full.
- Агрегатты өчүрүп, розеткадан ажыратыңыз.
- Place a shallow pan or container under the drainage outlet (usually at the bottom rear of the unit).
- Суунун агып чыгышы үчүн дренаждык тығынды алып салыңыз.
- Суу төгүлгөндөн кийин, дренаждык тыгынды бекем ордуна коюңуз.
- For continuous drainage in dehumidification mode, connect a suitable drain hose (not included) to the continuous drainage outlet.
7. Кыйынчылыктарды
Кардарларды колдоо кызматына кайрылуудан мурун, төмөнкү жалпы маселелерди жана аларды чечүү жолдорун караңыз.
| Көйгөй | Мүмкүн себеп | Чечим |
|---|---|---|
| Түзмөк күйбөйт. | Электр жок, электр шнуру бошоп калган, автоматтык өчүргүч өчүп калган. | Электр байланышын текшериңиз, розетка иштеп жатканын текшериңиз, өчүргүчтү баштапкы абалга келтириңиз. |
| Түзмөк иштеп жатат, бирок муздатуу/жылытуу жок. | Exhaust hose blocked/disconnected, room too large, windows/doors open, air filter dirty, temperature setting too high/low. | Ensure exhaust hose is properly installed and unblocked. Close windows/doors. Clean air filter. Adjust temperature setting. |
| Агрегат ызы-чуу. | Unit not on a flat surface, fan speed too high, internal components loose. | Place unit on a flat surface. Reduce fan speed. If noise persists, contact support. |
| Суунун агып чыгышы. | Drain plug loose, continuous drainage hose not properly connected, unit tilted. | Ensure drain plug is secure. Check continuous drainage hose connection. Place unit on a level surface. |
| "Full Tank" indicator (or similar) is on. | Ички суу багы толуп калды. | Drain the water tank as described in Section 6.2. |
If the problem persists after trying these solutions, please contact ARGO customer support.
8. Техникалык шарттар
| Модель номери | IRO PLUS |
| Бренд | АРГО |
| Продукциянын өлчөмдөрү (Ж x В x D) | 77 x 47 x 38 см |
| Элемент Салмагы | 31.5 кг |
| Форма фактору | Portable |
| Муздатуу кубаттуулугу | 13000 XNUMX BTU/саат |
| Тtage | 216.67 V |
| Энергия булагы | Электр зымдары |
| Энергия натыйжалуулугунун рейтинги | A |
| Өзгөчөлүктөр | Automatic shutdown, Cooling, Dehumidification, Fan, Heating, Air filter |
| Биринчи жеткиликтүү күн | 15-январь, 2020-жыл |
9. Кепилдик жана колдоо
9.1 Кепилдик маалыматы
The ARGO Iro Plus portable air conditioner comes with a 2-year supplier warranty сатып алынган күндөн тартып. Бул кепилдик нормалдуу колдонуудагы материалдардагы жана жасалгадагы кемчиликтерди камтыйт. Кепилдик дооматтары үчүн сатып алганыңыздын далилин сактап коюңуз.
Кепилдик төмөнкүлөрдөн келип чыккан зыянды камтыбайт:
- Туура эмес орнотуу же колдонуу ушул колдонмого ылайык келбейт.
- Accidents, abuse, neglect, fire, water, lightning, or other acts of nature.
- Уруксатсыз оңдоолор же өзгөртүүлөр.
- Кадимки эскирүү.
9.2 Кардарларды колдоо
For technical assistance, troubleshooting beyond this manual, or warranty claims, please contact ARGO customer support through their official website or the retailer where you purchased the product. Have your model number (IRO PLUS) and purchase date ready.


