1. Киришүү
Сатып алганыңыз үчүн рахматasing the American Audio WM-419 4-Channel UHF Handheld Wireless Microphone System. This system is designed to provide high-quality, reliable wireless audio for various applications, including PA systems, karaoke, mobile entertainment, schools, and houses of worship. This manual provides essential information for the proper setup, operation, and maintenance of your WM-419 system.
Please read this manual thoroughly before operating the unit to ensure optimal performance and to prevent damage.
2. Пакеттин мазмуну
Төмөндө саналып өткөн бардык компоненттер пакетиңизге камтылганын текшериңиз:
- 1 x WM-419 Wireless Receiver Unit
- 4 x Колдо кармалуучу зымсыз микрофондор
- 4 x Microphone Clips
- 8 x AA Batteries (for microphones)
- 1 x Power Adapter for Receiver
- 1 x 1/4" аудио кабель
- Колдонуучунун Колдонмосу (бул документ)
2.1-сүрөт: Included components of the WM-419 system. This image displays the receiver, four handheld microphones, four detachable antennas, eight AA batteries, a power adapter, and a 1/4" audio cable, along with four microphone clips.
3. Негизги өзгөчөлүктөрү
- 4-Channel UHF Wireless Handheld Microphone System
- Intelligent Frequency Autoscan with IR Synchronization
- Individual Volume Control for each microphone channel on the receiver
- XLR Audio Output for each microphone channel
- 50 Channels Available per Receiver (200 total channels)
- 16-Bit Pilot Technology to assist with eliminating frequency interference
- Wireless Range: Up to 300 feet / 90 meters (line of sight)
- Microphone Battery Life: 6-10 hours (with included AA batteries)
- OLED Screen on Handheld MIC Transmitters
4. Орнотуу колдонмосу
4.1 Receiver Placement
Place the WM-419 receiver on a stable, flat surface, away from strong electromagnetic interference sources. Ensure there is adequate ventilation around the unit. For optimal signal reception, position the receiver's antennas vertically and ensure they are not obstructed.

4.1-сүрөт: Фронт view of the WM-419 receiver with microphones. This image shows the receiver unit with its four antennas extended, and the four handheld microphones resting on top, illustrating the compact design.
4.2 Кабыл алгычты туташтыруу
- Кубат туташуу: Connect the included power adapter to the DC 12-15V input on the rear panel of the receiver. Plug the adapter into a suitable power outlet.
- Аудио чыгаруу: Connect the receiver to your PA system, mixer, or amplifier using the XLR audio outputs for individual microphone channels (Balanced A, B, C, D) or the AF MIX OUT (1/4" unbalanced) for a combined output.

4.2-сүрөт: Rear panel connections of the WM-419 receiver. This image highlights the DC power input, four balanced XLR outputs (A, B, C, D), and a mixed 1/4" audio output, along with the antenna connections.
4.3 Installing Batteries in Microphones
Each handheld microphone requires two AA batteries. Ensure correct polarity when inserting the batteries.
- Unscrew the bottom cap of the microphone to reveal the battery compartment.
- Insert two AA batteries, observing the polarity markings (+/-).
- Астыңкы капкакты кайра бекем бурап бекитиңиз.

4.3-сүрөт: Four handheld microphones. This image displays the four individual handheld microphones, each featuring an OLED display and power button, ready for battery installation and use.
5. Иштөө нускамалары
5.1 Күйгүзүү/өчүрүү
- Алуучу: Press the POWER button on the front panel of the receiver to turn it on or off.
- Микрофондор: Press and hold the power button on each handheld microphone for a few seconds to turn it on or off. The OLED screen will illuminate when powered on.
5.2 Frequency Synchronization (IR Sync)
The WM-419 features Intelligent Frequency Autoscan and IR Synchronization for easy setup.
- Turn on the receiver and the desired microphone.
- On the receiver, press the SCAN button for the channel you wish to set. The receiver will automatically scan for an available clear frequency.
- Once a frequency is found, the display will show "SYNC". Position the IR window of the microphone (usually near the bottom of the display) close to the IR sensor on the receiver (located near the channel display).
- басыңыз SET button on the receiver for that channel. The frequency information will be transmitted to the microphone via infrared. The microphone's display should show the same frequency as the receiver, indicating successful synchronization.
- Repeat this process for each microphone.

5.1-сүрөт: Receiver front panel detail. This image provides a close-up view of the receiver's illuminated OLED displays for each channel, showing frequency information, signal strength, and individual volume controls.

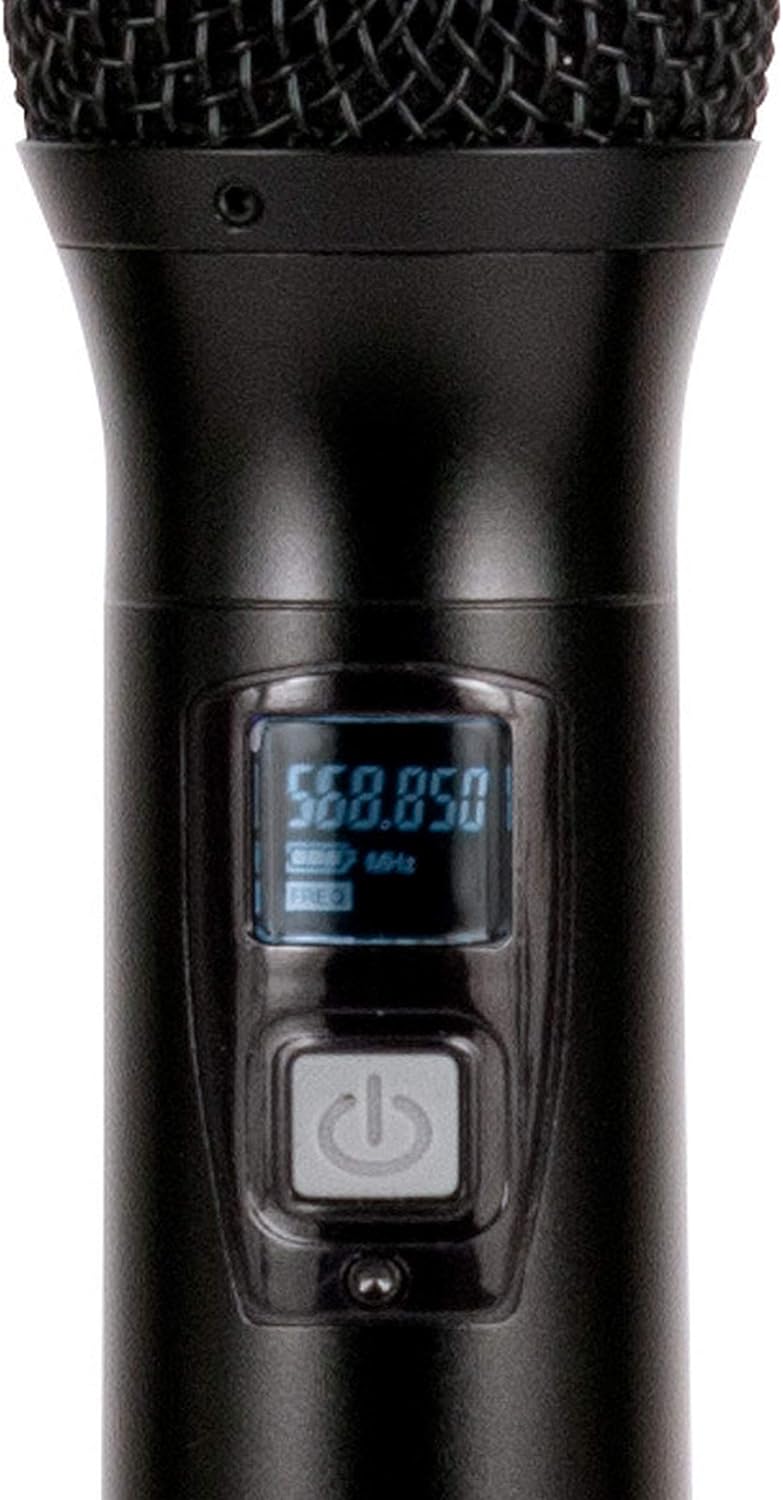
5.2-сүрөт: Microphone OLED display. A detailed view of one handheld microphone's OLED screen, showing the current frequency and battery indicator, along with the power/mute button.
5.3 Үндү тууралоо
Each channel on the receiver has an independent volume control knob. Adjust these knobs to achieve the desired audio level for each microphone.
5.4 Muting Microphones
A short press of the power button on the handheld microphone will mute/unmute the microphone. The OLED display will indicate the mute status.
6. Техникалык тейлөө
- Тазалоо: Use a soft, dry cloth to clean the surfaces of the receiver and microphones. Do not use abrasive cleaners or solvents.
- Батареяны алмаштыруу: Replace microphone batteries when the low battery indicator appears on the microphone's OLED screen or when audio quality degrades. Always use fresh AA batteries.
- Сактагыч: When not in use for extended periods, remove batteries from the microphones to prevent leakage. Store the system in a cool, dry place.
7. Кыйынчылыктарды
| Көйгөй | Мүмкүн себеп | Чечим |
|---|---|---|
| Микрофондон үн чыкпайт | Microphone not powered on; Batteries dead; Microphone not synchronized; Receiver volume too low; Output cable disconnected. | Ensure microphone is on; Replace batteries; Perform IR sync; Increase receiver channel volume; Check audio cable connections to mixer/PA. |
| Интерференция/Статикалык | Nearby electronic devices; Other wireless systems on same frequency; Obstructions between mic and receiver; Receiver too far from microphone. | Move receiver away from interference sources; Perform Autoscan and re-sync to a clear frequency; Ensure line of sight; Reduce distance between mic and receiver. |
| Кыска зымсыз диапазон | Antennas not properly positioned; Obstructions; Low microphone battery. | Ensure antennas are vertical and unobstructed; Minimize physical barriers; Replace microphone batteries. |
| Микрофондун дисплейи иштебей жатат | Dead batteries; Microphone not powered on. | Replace batteries; Press and hold power button to turn on. |
8. Техникалык шарттар
| Өзгөчөлүк | Деталь |
|---|---|
| Модель аты | American Audio WM-419 |
| Микрофон форма фактору | Microphone System (Handheld) |
| Каналдардын саны | 4 (50 channels available per receiver, 200 total) |
| Байланыш технологиясы | UHF Wireless, XLR |
| Power Source | Receiver: AC Adapter; Microphones: 2 x AA Batteries (per mic) |
| Battery Life (Microphones) | 6-10 саат |
| Зымсыз диапазон | Up to 300 feet / 90 meters (line of sight) |
| Ызы-чуунун катышы | 70 дБ |
| Ызы-чуу деңгээли | 85 дБ |
| Продукциянын өлчөмдөрү (алуучу) | 22 x 14 x 6 дюйм |
| Элемент Салмагы | 9 фунт |
| Түс | Кара |
| Шайкеш түзмөктөр | PA System, Karaoke Machine |
| Өзгөчө өзгөчөлүк | Volume Control (individual channel) |
| Полярдык үлгү | Бир багыттуу |
9. Кепилдик жана колдоо
For warranty information and technical support, please contact ADJ Products directly or visit their official webсайт. Сатып алуу квитанциясын кепилдик дооматтары үчүн сатып алуунун далили катары сактаңыз.
Өндүрүүчү: ADJ Products
Бренд: ADJ
Webсайт: www.adj.com
10. Коопсуздук маалыматы
ЭСКЕРТҮҮ: Бул продукт Калифорния штатына рак жана тубаса кемтиги же башка репродуктивдүү зыян келтирүү үчүн белгилүү болгон коргошунду камтыган химиялык заттарга дуушар болушу мүмкүн. Көбүрөөк маалымат алыш үчүн www.P65Warnings.ca.gov.
- Агрегатты жамгырга же нымдуулукка дуушар кылбаңыз.
- капкакты алып салбаңыз. Ичинде колдонуучу тейлей турган бөлүктөр жок. Тейлөө боюнча квалификациялуу кызматкерлерге кайрылыңыз.
- Туура желдетүүнү камсыз кылыңыз. Вентиляция тешиктерин жаап албаңыз.
- Аппарат менен кошо берилген кубат адаптерин гана колдонуңуз.
- Батареяларды жергиликтүү эрежелерге ылайык таштаңыз.


