Introduction
Thank you for choosing the GameMax H605 Micro ATX Gaming Tower Case. This manual provides essential information for the proper installation, operation, and maintenance of your new PC case. Please read this manual thoroughly before beginning assembly to ensure optimal performance and safety.
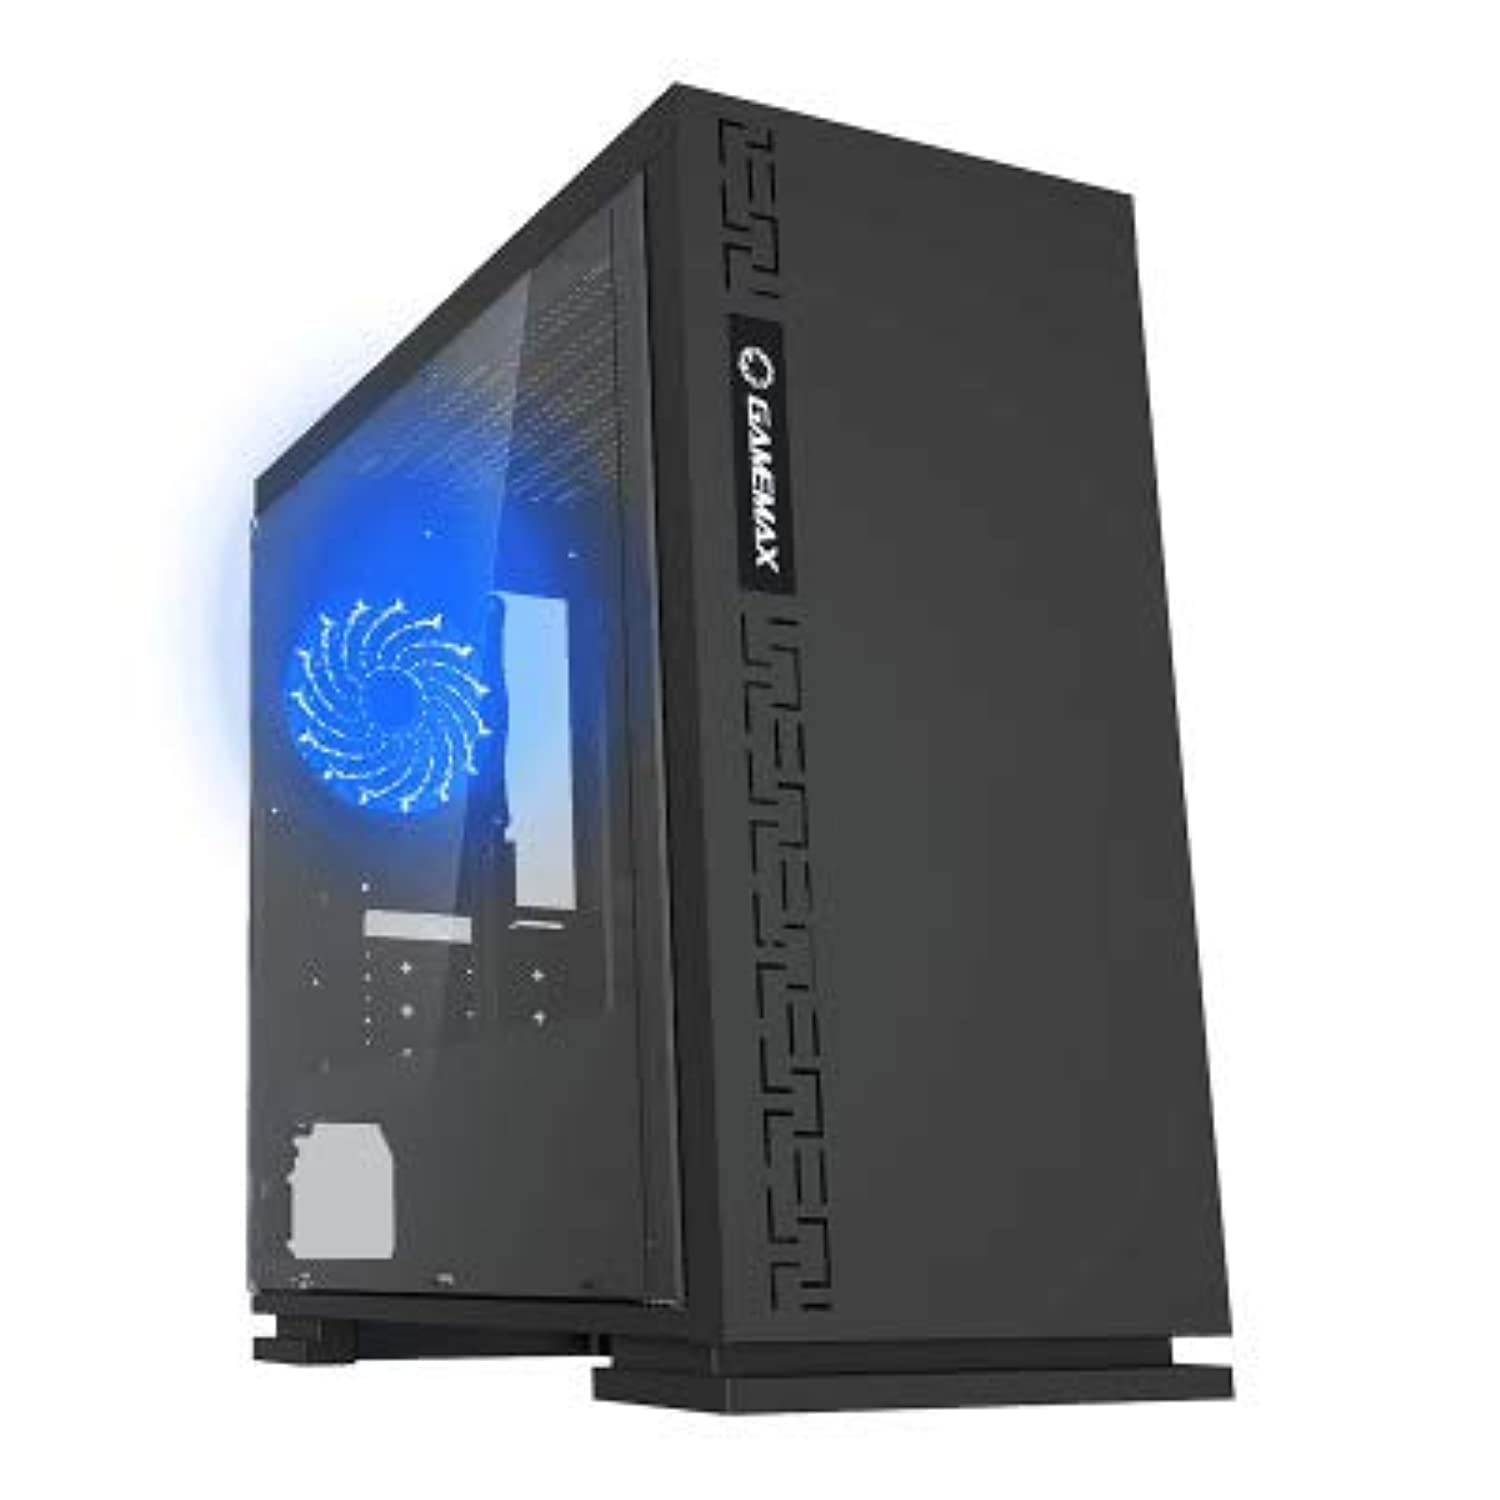
Сүрөт 1: Алдыңкы view of the GameMax H605 Micro ATX Gaming Tower Case, showcasing its sleek design and front panel.
The GameMax H605 is designed for Micro ATX motherboards and features a compact yet efficient layout for gaming components. It includes one pre-installed LED fan at the rear for immediate cooling. The case is constructed from steel and plastic, offering a balance of durability and aesthetics.
Коопсуздук маалыматы
Please observe the following safety guidelines during installation and operation:
- Компоненттерди орнотуудан же алып салуудан мурун ар дайым кубат менен жабдууну розеткадан ажыратыңыз.
- Сезимтал компоненттердин электростатикалык разряддан (ЭСД) жабыркашын алдын алуу үчүн антистатикалык билек боону тагыныңыз.
- Физикалык зыянды болтурбоо үчүн компоненттерди кылдаттык менен иштетиңиз.
- Корпусун суюктуктан жана ашыкча нымдуулуктан алыс кармаңыз.
- Ашыкча ысып кетүүнүн алдын алуу үчүн корпустун айланасында туура желдетүүнү камсыз кылыңыз.
Пакеттин мазмуну
Verify that all the following items are present in your GameMax H605 package:
- GameMax H605 Micro ATX Gaming Tower Case
- Accessory box (screws, standoffs, cable ties)
- Колдонуучунун Колдонмосу (бул документ)
If any items are missing or damaged, please contact your retailer or GameMax support.
Жайгашуу
1. Ишти даярдоо
- Корпусту тегиз, туруктуу бетке коюңуз.
- Корпустун арткы жагындагы бурагычтарды бурап алып, панелдерди артка жылдыруу менен каптал панелдерди алып салыңыз.

2-сүрөт: Интерьер view of the GameMax H605 case with the side panel removed, showing the motherboard tray and drive bays.
2. Motherboard орнотуу
- Киргизүү/чыгаруу калканчын корпустун арткы тешигине орнотуңуз.
- Align your Micro ATX motherboard with the standoffs inside the case. Ensure the standoffs match the screw holes on your motherboard.
- Берилген бурамалар менен энелик тактаны бекитиңиз.
3. Сактоочу дискти орнотуу
- For 3.5-inch HDDs, slide the drive into the designated drive cage bays and secure with screws if necessary.
- For 2.5-inch SSDs, mount them onto the dedicated SSD brackets or trays and secure with screws.
4. Электр энергиясы менен жабдууну орнотуу
- Position the power supply unit (PSU) in the bottom rear compartment of the case.
- Кубат булагы менен кошо берилген бурамалар менен кубат булагын корпуска бекитиңиз.
5. Видеокартаны жана кеңейтүү картасын орнотуу
- Корпустун артындагы керектүү кеңейтүү уячасынын капкактарын алып салыңыз.
- Графикалык картаңызды же башка кеңейтүү карталарын энелик платаңыздагы тиешелүү PCIe уячаларына салыңыз.
- Карталарды бурамалар менен бекитиңиз.

3-сүрөт: Арткы view of the GameMax H605 case, showing expansion slots and I/O shield opening.
6. Кабелдик башкаруу
Кабелдерди башкаруу үчүн энелик плата лотогунун артындагы кабелдерди өткөрүү кесиктерин жана байлоочу чекиттерди колдонуңуз. Бул аба агымын жана эстетиканы жакшыртат.
Иштеп жатат
Once all components are installed and connected, replace the side panels and connect your peripherals (monitor, keyboard, mouse) to the motherboard's I/O ports. Connect the power cable to the PSU and a wall outlet. Press the power button on the front panel to start your system.

4-сүрөт: үстүнкү алдыңкы view of the GameMax H605 case, highlighting the front panel I/O ports and power button.
Техникалык тейлөө
Regular maintenance helps ensure the longevity and optimal performance of your PC case and components:
- Чаңды тазалоо: Periodically clean dust from the case interior, fans, and filters using compressed air or a soft brush. Ensure the system is powered off and unplugged before cleaning.
- Кабель башкаруу текшерүү: Кабелдердин аба агымына же желдеткичтин иштешине тоскоол болбогонун текшерүү үчүн, кээде кабелдердин өткөрмөлөрүн текшерип туруңуз.
- желдеткич текшерүү: Verify that all fans are spinning freely and are free from obstructions.
Проблемаларды чечүү
Эгерде сиз компьютериңизди түзүүдө көйгөйлөргө туш болсоңуз, төмөнкү жалпы көйгөйлөрдү чечүү кадамдарын карап көрүңүз:
- Кубат жок: Ensure all power cables (24-pin ATX, 8-pin CPU, GPU power) are securely connected. Check if the PSU switch is in the 'ON' position.
- Дисплей жок: Verify that the monitor cable is connected to the graphics card (not the motherboard I/O) and that the monitor is powered on and set to the correct input.
- Ашыкча ысып кетүү: Check fan connections and ensure they are spinning. Clean any dust buildup. Verify proper airflow within the case.
- Бошоң байланыштар: Re-seat RAM modules, graphics card, and all power/data cables to ensure they are firmly in place.
Техникалык шарттар
| Өзгөчөлүк | Деталь |
|---|---|
| Бренд | GameMax |
| Элемент моделинин номери | H605 BLK |
| Өндүрүүчү | GameMax |
| Сериялар | H605 BLK |
| Түс | Кара |
| Аппараттык платформа | Windows 7 |
| Батареялар камтылган | Жок |
| Элемент Салмагы | 7.53 грамм |
| Motherboard шайкештиги | Micro ATX |
| Иштин түрү | Ара Tower |
| Продукт үчүн сунушталган колдонуу | Оюндар |
| Материал | Solid Plastic Alloy |
| Муздатуу ыкмасы | Water (Implies compatibility for water cooling solutions) |
| Модель аты | H605 BLK |
| Fan Size | 120 миллиметр |
| Жалпы USB порттору | 1 |
| Дата биринчи жеткиликтүү | 9-июль, 2019-жыл |
Кепилдик жана колдоо
GameMax products are designed for reliability and performance. For warranty information, please refer to the warranty card included with your purchase or visit the official GameMax website. If you require technical assistance or have questions regarding your GameMax H605 case, please contact GameMax customer support through their official channels.
Кепилдик дооматтары үчүн сатып алганыңыздын далилин сактап коюңуз.


