1. Киришүү
This manual provides detailed instructions for the setup, operation, and maintenance of your visiPower H885 8MP Trail Camera. Please read this manual thoroughly before using the camera to ensure optimal performance and longevity.
The visiPower H885 is a high-performance trail camera designed for capturing wildlife images and videos. It features an 8-megapixel sensor, 2.4-inch TFT LCD, infrared flash for night vision, and three PIR sensors for motion detection. Its waterproof design ensures reliable operation in various outdoor conditions.
2. Пакеттин мазмуну
Пакетиңизде бардык буюмдар бар экенин текшериңиз:
- visiPower H885 Trail Camera
- USB кабели
- AV Cable
- Монтаждоо боосу
- Дубалга орнотулган кронштейн жана бурамалар
- Колдонуучунун Колдонмосу (бул документ)

Image: Contents of the visiPower H885 Trail Camera package.
3. Камера бүткөнview

Сүрөт: алдыңкы view of the visiPower H885 Trail Camera.

Сүрөт: каптал view of the visiPower H885 Trail Camera.
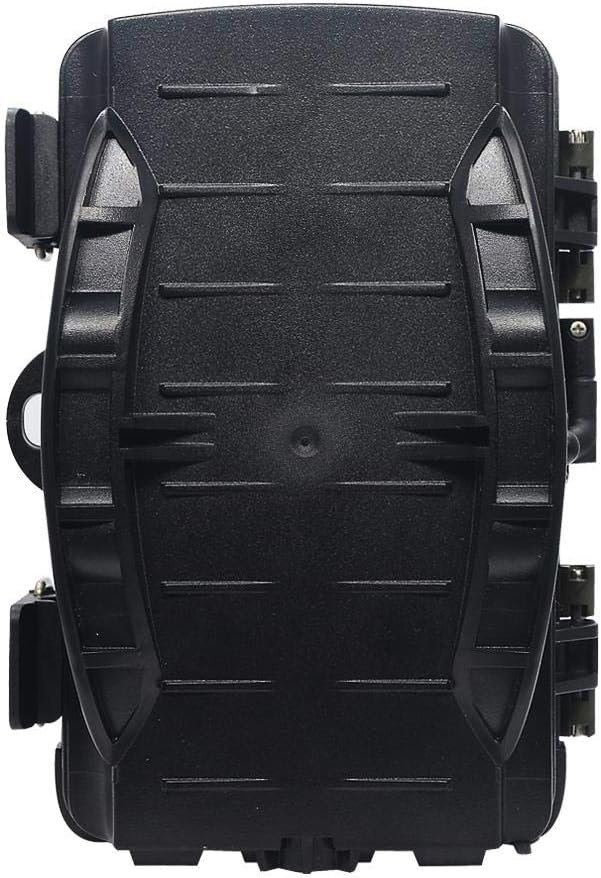
Сүрөт: Артка view of the visiPower H885 Trail Camera.
4. Орнотуу
4.1. Батареяны орнотуу
- Камеранын корпусун тиешелүү түрдө ачыңызasing каптал кулпулар.
- Батарея бөлүкчөсүн табыңыз.
- Туура полярдуулукту (+/-) камсыз кылуу менен 8 AA батарейкасын салыңыз.
- Батарея отсегин бекем жабыңыз.
Эскертүү: The camera also supports an external 6V/1.5A power source and is compatible with solar batteries (sold separately).
4.2. SD картаны орнотуу
- With the camera powered off, locate the SD card slot.
- Insert a TF (Micro SD) card (up to 32GB) into the slot until it clicks into place.
- Алып салуу үчүн, картаны ал чыгып кеткенче акырын басыңыз.
Маанилүү: Format the SD card using the camera's menu settings before first use to ensure compatibility.
4.3. Камераны орнотуу
Камераны берилген боо же дубалга бекитүүчү кронштейн аркылуу орнотсо болот.
- Боону орнотуу: Thread the mounting strap through the slots on the back of the camera and secure it around a tree or pole.
- Дубалга орнотуу: Use the provided screws and wall anchors to attach the bracket to a flat surface. Then, attach the camera to the bracket.
Position the camera to cover the desired area, ensuring no obstructions block the PIR sensors or lens.
5. Камераны иштетүү
5.1. Күйгүзүү / Өчүрүү
Locate the power switch inside the camera housing. Switch it to the "ON" position to power on the camera. Switch to "OFF" to power off.
5.2. Иштөө режимдери
The camera typically operates in three modes:
- ӨЧҮК: Камера өчүк.
- ЖАЙГАШУУ: Allows access to the menu for configuring settings, viewing images/videos, and manually taking photos/videos.
- ON (Active): The camera is armed and will capture images or videos based on motion detection and configured settings. The LCD screen will turn off after a few seconds to conserve power.
5.3. Меню Жөндөөлөрү
In SETUP mode, use the navigation buttons to access and adjust settings on the 2.4-inch TFT LCD. Common settings include:
- Режим: Photo, Video, or Photo + Video.
- Сүрөттүн чечими: 16MP, 12MP, 8MP, 5MP.
- Видеонун чечилиши: 1080p (25fps), 720p (30fps).
- PIR сезгичтиги: Жогорку, Орто, Төмөн.
- Триггер аралыгы: Time delay between detections.
- Убакыттын өтүшү: For capturing images at set intervals.
- Дата/Убакыт: Учурдагы күн менен убакытты коюңуз.
- SD картасын форматтоо: SD картадагы бардык маалыматтарды өчүрүңүз.
- Чексиз тартуу: On/Off (Loop recording).

Image: Camera displaying captured content on its LCD screen.
5.4. Сүрөттөрдү жана видеолорду тартуу
Once settings are configured, switch the camera to the "ON" position. The camera will enter active mode and begin monitoring for motion. When motion is detected by the PIR sensors, the camera will trigger and capture photos or videos according to your settings.

Image: Illustration of the camera's 20-meter detection range.
6. Техникалык тейлөө
- Тазалоо: Use a soft, dry cloth to clean the camera lens and PIR sensors. Avoid abrasive materials or harsh chemicals.
- Батареяны алмаштыруу: Replace all batteries when the low battery indicator appears or when performance degrades.
- SD Card башкаруу: Regularly check the SD card capacity and transfer important files to a computer. Format the card periodically.
- Сактагыч: Камераны көпкө чейин колдонбогондо, батареяларды алып чыгып, салкын, кургак жерде сактаңыз.
7. Кыйынчылыктарды
- Камера күйбөй жатат:
- Батареялардын туура полярдуулукта жана туура салынганын текшериңиз.
- Check if batteries are fully charged or replace them.
- Verify the power switch is in the "ON" or "SETUP" position.
- Camera not capturing images/videos:
- Check if the SD card is inserted correctly and has sufficient free space.
- SD картаны форматтоо.
- Adjust PIR sensitivity settings.
- Ensure the camera is in "ON" mode, not "SETUP".
- Сүрөт/видео сапаты начар:
- Камера линзасын тазалаңыз.
- Менюдагы чечилиш жөндөөлөрүн текшериңиз.
- Ensure adequate lighting for daytime shots; for night shots, ensure objects are within IR flash range.
- False triggers:
- Reduce PIR sensitivity.
- Avoid placing the camera near heat sources or moving branches that could trigger the sensor.
8. Техникалык шарттар
| Өзгөчөлүк | Деталь |
|---|---|
| Дагы эле сүрөттүн чечилиши | 8MP (Effective), 16MP/12MP/5MP selectable |
| Video Resolution | 1080p @ 25fps, 720p @ 30fps |
| Дисплей | 2.4 дюймдук TFT LCD |
| PIR сенсорлору | 3 PIR sensors (Main PIR 60°, Side PIRs for 120° total sensing angle) |
| IR Flash Distance | 20 метрге чейин (65 фут) |
| Триггер ылдамдыгы | 0.6 seconds (Pre-boot 0.2 seconds) |
| Суу каршылык | IP56 суу өткөрбөйт |
| Эс | Supports TF (Micro SD) card up to 32GB |
| Power Source | 8x AA batteries; External 6V/1.5A DC; Supports solar battery (optional) |
| Күтүү убактысы | 12 айга чейин |
| Аудио | Камтылган микрофон жана динамик |
| Lens Angle | 108 градус |
| Видео тартуу форматы | MPEG-4 |
| UPC | 614024391237 |
9. Кепилдик жана колдоо
For warranty information and technical support, please refer to the documentation provided at the time of purchase or contact visiPower customer service. Keep your purchase receipt as proof of purchase.
For further assistance, visit the official visiPower webсайтка же алардын колдоо тобуна түздөн-түз кайрылыңыз.

