1. Киришүү
This manual provides detailed instructions for the installation, operation, and maintenance of your Cooler Master RR-A71C-18PA-R1 CPU Cooler. This air cooler is designed to efficiently dissipate heat from your desktop CPU, featuring a PWM controlled fan for optimized performance and addressable RGB lighting for customizable aesthetics. Please read this manual thoroughly before proceeding with installation to ensure proper setup and safe operation.
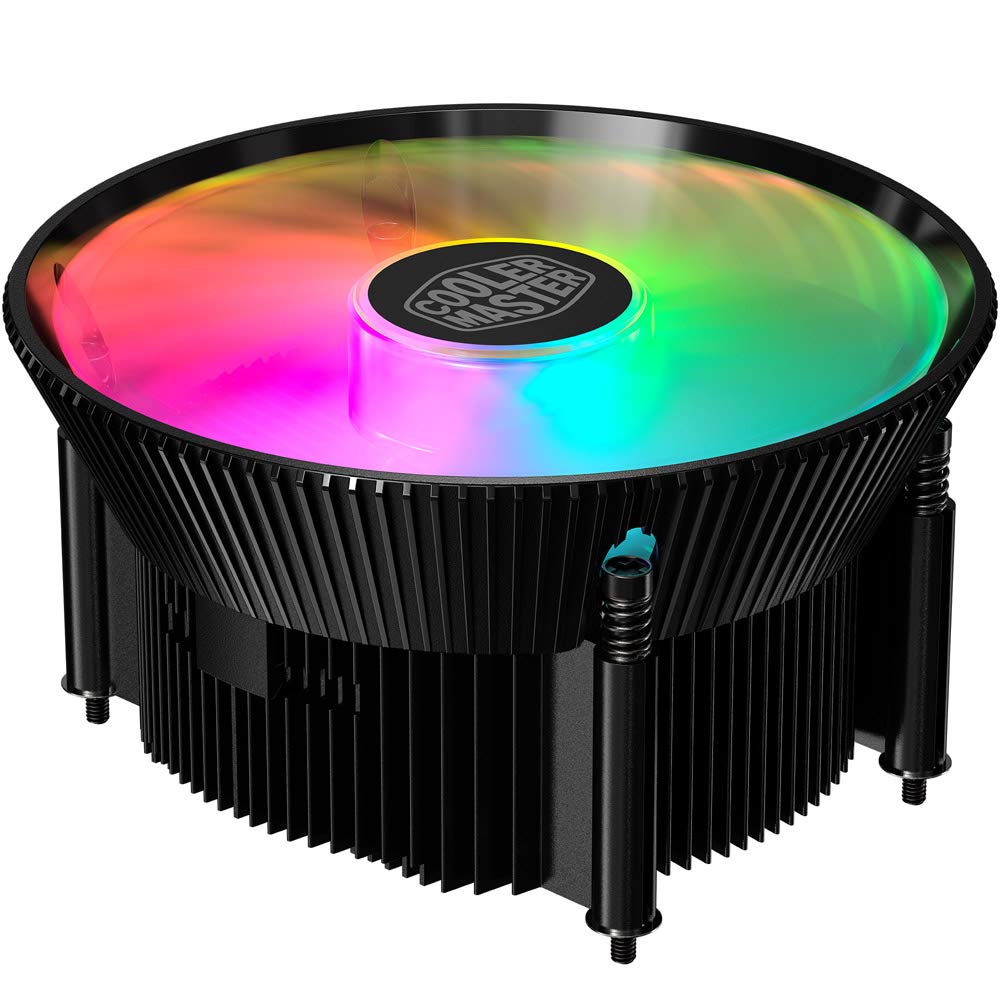
Сүрөт 1.1: Жогорку view of the Cooler Master RR-A71C-18PA-R1 CPU Cooler showcasing its addressable RGB fan.
2. Коопсуздук маалыматы
Продукциянын бузулушуна же өзүңүзгө жаракат алуу коркунучуна жол бербөө үчүн төмөнкү коопсуздук чараларын сактаңыз:
- Орнотуудан же техникалык тейлөөдөн мурун компьютериңиздин тутуму өчүрүлгөндүгүн жана розеткадан суурулгандыгын текшериңиз.
- Avoid touching the fan blades while the system is operating.
- Handle the cooler and its components with care to prevent damage.
- Балдар жетпеген жерде сактаңыз.
- Муздаткычты же анын компоненттерин өзгөртүүгө аракет кылбаңыз. Уруксатсыз өзгөртүүлөр кепилдикти жокко чыгарып, коопсуздукка коркунуч келтириши мүмкүн.
3. Пакеттин мазмуну
Пакетиңизде бардык буюмдар бар экенин текшериңиз:
- Cooler Master RR-A71C-18PA-R1 CPU Cooler Assembly
- Mounting Hardware (for compatible CPU sockets)
- Термикалык паста (алдын ала колдонулган же түтүктө)
- Колдонуучунун Колдонмосу (бул документ)
4. Орнотуу жана орнотуу
Follow these steps for proper installation of the CPU cooler:
- Motherboard даярдоо:
Ensure your motherboard is removed from the PC case or has sufficient access for cooler installation. Refer to your motherboard's manual for specific CPU socket preparation.
- Термикалык пастаны колдонуу:
If thermal paste is not pre-applied to the cooler's base, apply a small, pea-sized amount to the center of your CPU's integrated heat spreader (IHS). Do not spread it manually; the pressure from the cooler will distribute it evenly.

Сүрөт 4.1: Төмөнкү view of the CPU cooler, illustrating the fan and copper contact base. Ensure this surface is clean before applying thermal paste.
- Муздаткычты орнотуу:
Carefully align the cooler with the mounting holes on your motherboard. Gently place the cooler onto the CPU, ensuring even contact. Secure the cooler using the provided mounting hardware. Tighten screws in a diagonal pattern (e.g., top-left, bottom-right, top-right, bottom-left) until snug, but do not overtighten.
- Фан кабелин туташтыруу:
Locate the 4-pin PWM fan connector on the cooler. Connect this cable to the "CPU_FAN" header on your motherboard. Refer to your motherboard manual for the exact location of this header.
- RGB кабелин туташтыруу:
Locate the addressable RGB (ARGB) connector on the cooler. Connect this cable to a compatible 3-pin 5V ARGB header on your motherboard. Эскертүү: Do not connect to a 4-pin 12V RGB header, as this will damage the LEDs.
- Акыркы текшерүүлөр:
Double-check all connections. Ensure no cables are obstructing the fan blades or other components. Reinstall your motherboard into the PC case if it was removed.
5. Иштөө нускамалары
Once installed, the Cooler Master RR-A71C-18PA-R1 CPU Cooler operates automatically, but its performance and aesthetics can be managed:
- Вентилятордун ылдамдыгын башкаруу (PWM):
The fan's speed is controlled by your motherboard's BIOS/UEFI settings or through motherboard software. PWM (Pulse Width Modulation) allows for dynamic fan speed adjustments based on CPU temperature, providing optimal cooling and noise levels. Consult your motherboard manual for instructions on configuring fan curves.
- Addressable RGB Lighting Control:
The addressable RGB lighting can be controlled via your motherboard's RGB software (e.g., ASUS Aura Sync, MSI Mystic Light Sync, Gigabyte RGB Fusion, ASRock Polychrome Sync) or a dedicated ARGB controller (not included). Ensure the ARGB cable is correctly connected to a 3-pin 5V ARGB header. Refer to your motherboard's software documentation for lighting customization options.
6. Техникалык тейлөө
Regular maintenance ensures optimal performance and longevity of your CPU cooler:
- Чаңды тазалоо:
Periodically (every 3-6 months, depending on environment) power off your computer and unplug it. Use compressed air to gently blow dust out of the heatsink fins and fan blades. Hold the fan blades to prevent them from spinning rapidly during cleaning, which can damage the bearings.
- Байланыштарды текшерүү:
Occasionally verify that the fan and RGB cables are securely connected to their respective headers on the motherboard.
- Термикалык пастаны кайра колдонуу:
If you remove the cooler for any reason, it is recommended to clean off the old thermal paste from both the CPU and the cooler base and apply fresh thermal paste before reinstallation.
7. Кыйынчылыктарды
Эгерде сиз CPU муздаткычыңызда көйгөйлөргө туш болсоңуз, төмөнкү кеңири таралган көйгөйлөрдү жана чечимдерди караңыз:
| Көйгөй | Мүмкүн себеп | Чечим |
|---|---|---|
| желдеткич айланбай жатат |
|
|
| No RGB lighting |
|
|
| Жогорку CPU температурасы |
|
|
8. Техникалык шарттар
Detailed technical specifications for the Cooler Master RR-A71C-18PA-R1 CPU Cooler:
| Өзгөчөлүк | Нарк |
|---|---|
| Продукциянын өлчөмдөрү | 4.72"L x 0.98"W x 4.72"H |
| Бренд | Cooler Master |
| Кубат туташтыргычынын түрү | 4-Pin (Сеул) |
| Тtage | 12 вольт |
| Ватtage | 1.44 ватт |
| Муздатуу ыкмасы | Аба |
| Шайкеш түзмөктөр | Иш такта |
| Ызы-чуу деңгээли | 24.9 децибел |
| Материал | Алюминий, жез |
| Максималдуу айлануу ылдамдыгы | 2500 RPM |
| Элемент Салмагы | 0.42 килограмм |
| Бирдик саны | 1.0 Сан |
| UPC | 884102066931 |
9. Кепилдик жана колдоо
Cooler Master өнүмдөрү чектелген кепилдик менен келет. Кепилдик боюнча толук маалымат алуу үчүн расмий Cooler Masterге кайрылыңыз website or the warranty card included with your product. If you encounter any issues not covered in this manual or require further assistance, please contact Cooler Master customer support:
- Webсайт: www.coolermaster.com/support/
- Байланыш: боюнча колдоо бөлүмүн карагыла webаймактык байланыш маалыматы үчүн сайт.


