1. Киришүү
This manual provides detailed instructions for the installation, operation, and maintenance of your REOLINK RLK8-800D4 4K Security Camera System. This system includes a 4K/8MP 8-channel Network Video Recorder (NVR) with a pre-installed 2TB HDD and four H.265 PoE wired turret cameras featuring person and vehicle detection.
The system is designed for continuous 24/7 recording and offers 4K Ultra HD clarity, providing vivid resolution even when digitally zoomed. Smart PoE IP cameras minimize unwanted alerts by identifying people and vehicles based on their shapes. The plug-and-play PoE connection simplifies setup with a single network cable for both power and data.
2. Кутуда эмне бар
Upon unboxing your REOLINK RLK8-800D4 system, you should find the following components:
- 1 x RLN8-410 NVR (8-Channel Network Video Recorder)
- 4 x D800 Turret Cameras (4K/8MP PoE)
- 1 x NVR кубат адаптери
- 1 x HDMI кабели
- 1 х USB чычкан
- 1 x 1-meter Network Cable
- 4 x 18-meter Network Cables
- Монтаждоо бурамалар жана анкерлер
- Waterproof Lids for Ethernet Connectors
- Quick Start Guide & Surveillance Stickers
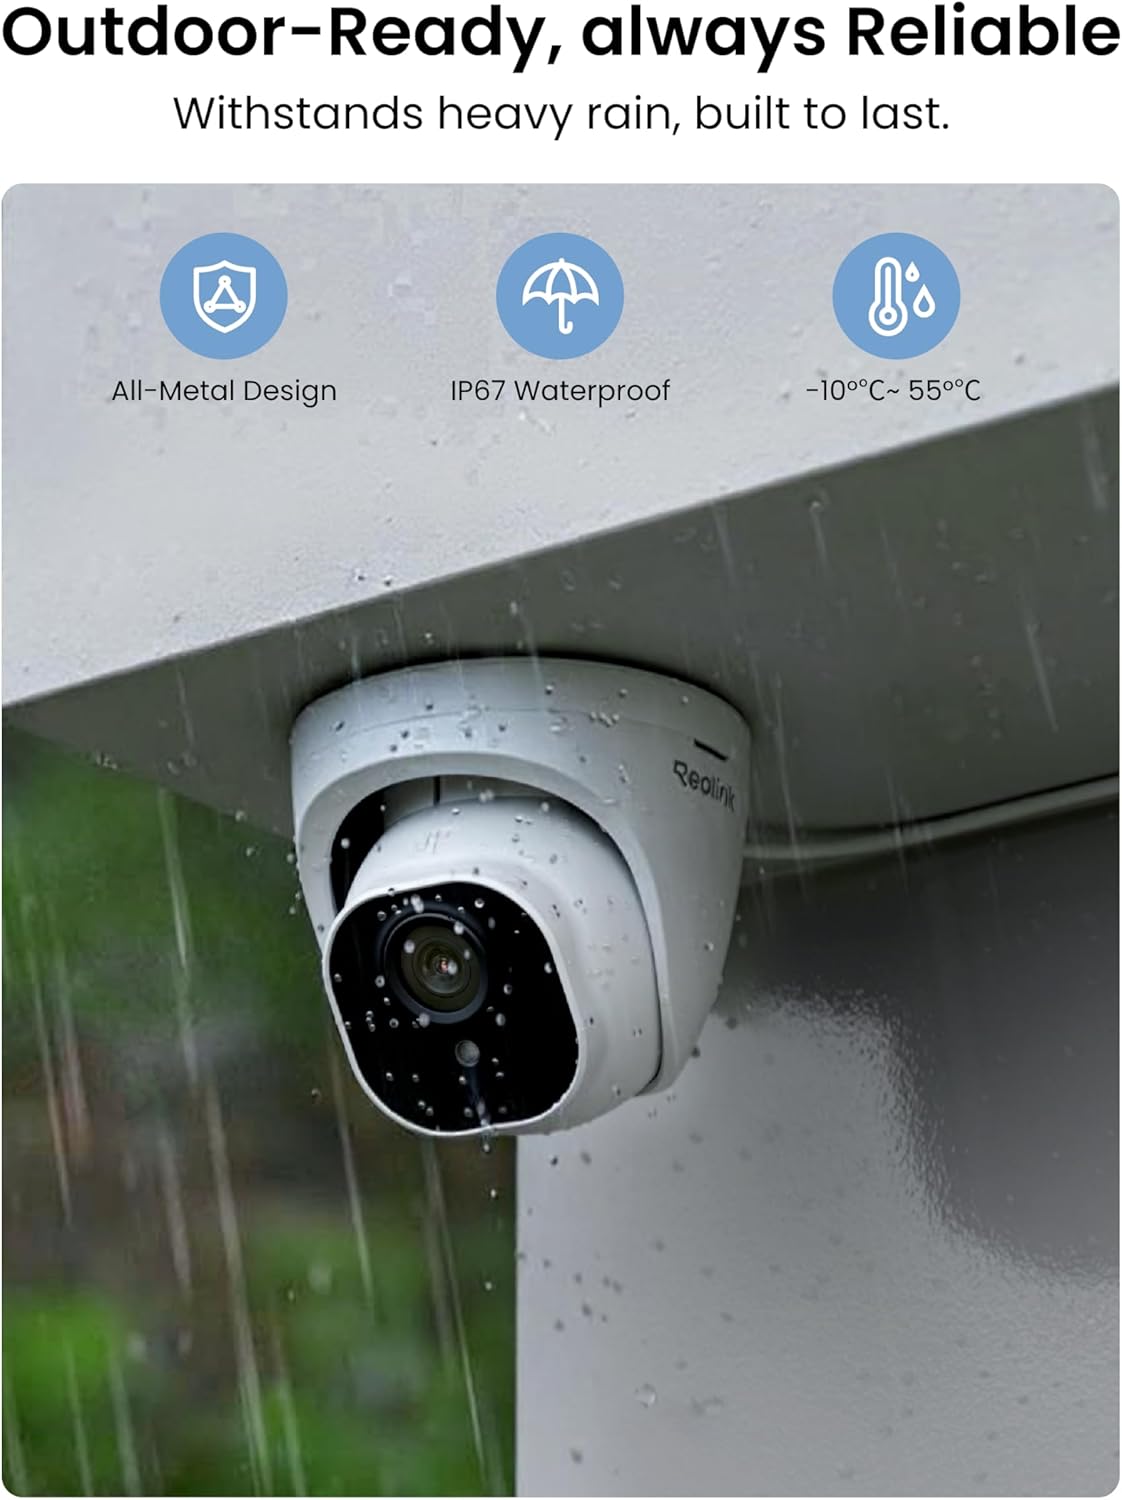
Figure 2.1: All components included in the REOLINK RLK8-800D4 package.
3. Продукт бүтүп калдыview
3.1 NVR (Тармактык видео жазгыч)
The RLN8-410 NVR is the central unit for recording and managing your security footage. It features 8 channels, allowing connection of up to 8 cameras, and comes with a 2TB hard drive pre-installed for 24/7 continuous recording.
3.1-сүрөт: Арткы view of the NVR showing various ports including HDMI, VGA, LAN, USB, Audio Out, and PoE camera inputs.

Сүрөт 3.2: Алдыңкы view of the NVR with USB port, power/HDD indicators, and navigation buttons.
3.2 D800 Turret Camera
The D800 turret cameras provide 4K Ultra HD (8MP) video resolution. They are PoE-enabled, receiving both power and data through a single Ethernet cable. The cameras are designed for outdoor use with IP67 waterproof rating and feature smart person/vehicle detection.
3.3-сүрөт: Детальдуу view of the D800 Turret Camera, highlighting the lens, 18pcs IR LEDs, daylight sensor, and connection cables (network, optional power, reset button).
4. Орнотуу колдонмосу
Follow these steps to set up your REOLINK 4K Security Camera System:
4.1 Физикалык орнотуу
- Орнотуу камералары: Use the provided mounting templates to mark drill holes. Secure the camera base to the desired location (wall or ceiling) using the screws and anchors. Adjust the camera angle as needed.
- Кабелдик башкаруу: Route the 18-meter Ethernet cables from each camera to the NVR. Ensure connections are secure and use waterproof lids for outdoor Ethernet ports.
- NVR жайгаштыруусу: Place the NVR in a secure, well-ventilated area near your monitor and router.

4.1-сүрөт: Мисample of a D800 Turret Camera securely mounted on an exterior wall.
4.2 Баштапкы туташуу
- Камераны NVRге туташтыруу: Plug each camera's Ethernet cable into one of the PoE ports on the back of the NVR.
- NVRди мониторго туташтырыңыз: Use the provided HDMI cable to connect the NVR to a monitor or TV. Alternatively, use a VGA cable.
- NVRди роутерге туташтыруу: Use the 1-meter Ethernet cable to connect the NVR's LAN port to your internet router. This enables remote access.
- USB чычканды туташтыруу: Навигация үчүн USB чычканды NVRнын USB портторунун бирине сайыңыз.
- Күйгүзүү: Connect the NVR power adapter and turn on the NVR using the switch on the back.
Video 4.1: A detailed unboxing and setup guide for the REOLINK RLK8-800D4 system, demonstrating component identification and initial connections.
4.3 Initial Configuration (On-Screen Wizard)
Upon first boot, the NVR will display a setup wizard on the connected monitor:
- Сырсөз коюу: Create a strong password (at least 6 characters) for the admin user.
- Жалпы орнотуулар: Configure resolution (select 3840*2160 for 4K), time zone, date format, and time format.
- HDD башкаруу: The NVR will prompt to initialize the pre-installed 2TB HDD. Confirm to format the disk.
- Тармак конфигурациясы: The NVR should automatically obtain an IP address via DHCP.
- Түзмөктөр тизмеси: The connected cameras should appear in the device list.
- Email/DDNS/NTP: Configure these settings if desired for email alerts, dynamic DNS, or time synchronization.
Video 4.2: This video demonstrates the initial setup process of the NVR, including password creation, general settings, and hard drive initialization.
5. Иштөө нускамалары
5.1 Live View жана Ойнотуу
Конфигурациялангандан кийин, сиз жасай аласыз view жаша фооtage from your cameras on the connected monitor or remotely via the REOLINK app.
- Монитор View: NVR интерфейсинде багыт алуу үчүн USB чычканын колдонуңуз. Камера каналын эки жолу чыкылдатыңыз view it full screen. Right-click to access menu options like digital zoom, console, and exit.
- Ойнотуу: In the NVR menu, select 'Search' to find recorded footage. You can filter by channel, date, and time. The timeline will show normal recordings and event-triggered recordings (e.g., motion detection).
- Көп экран View: The NVR supports various display layouts (1, 4, 8, 9 cameras) to monitor multiple areas simultaneously.
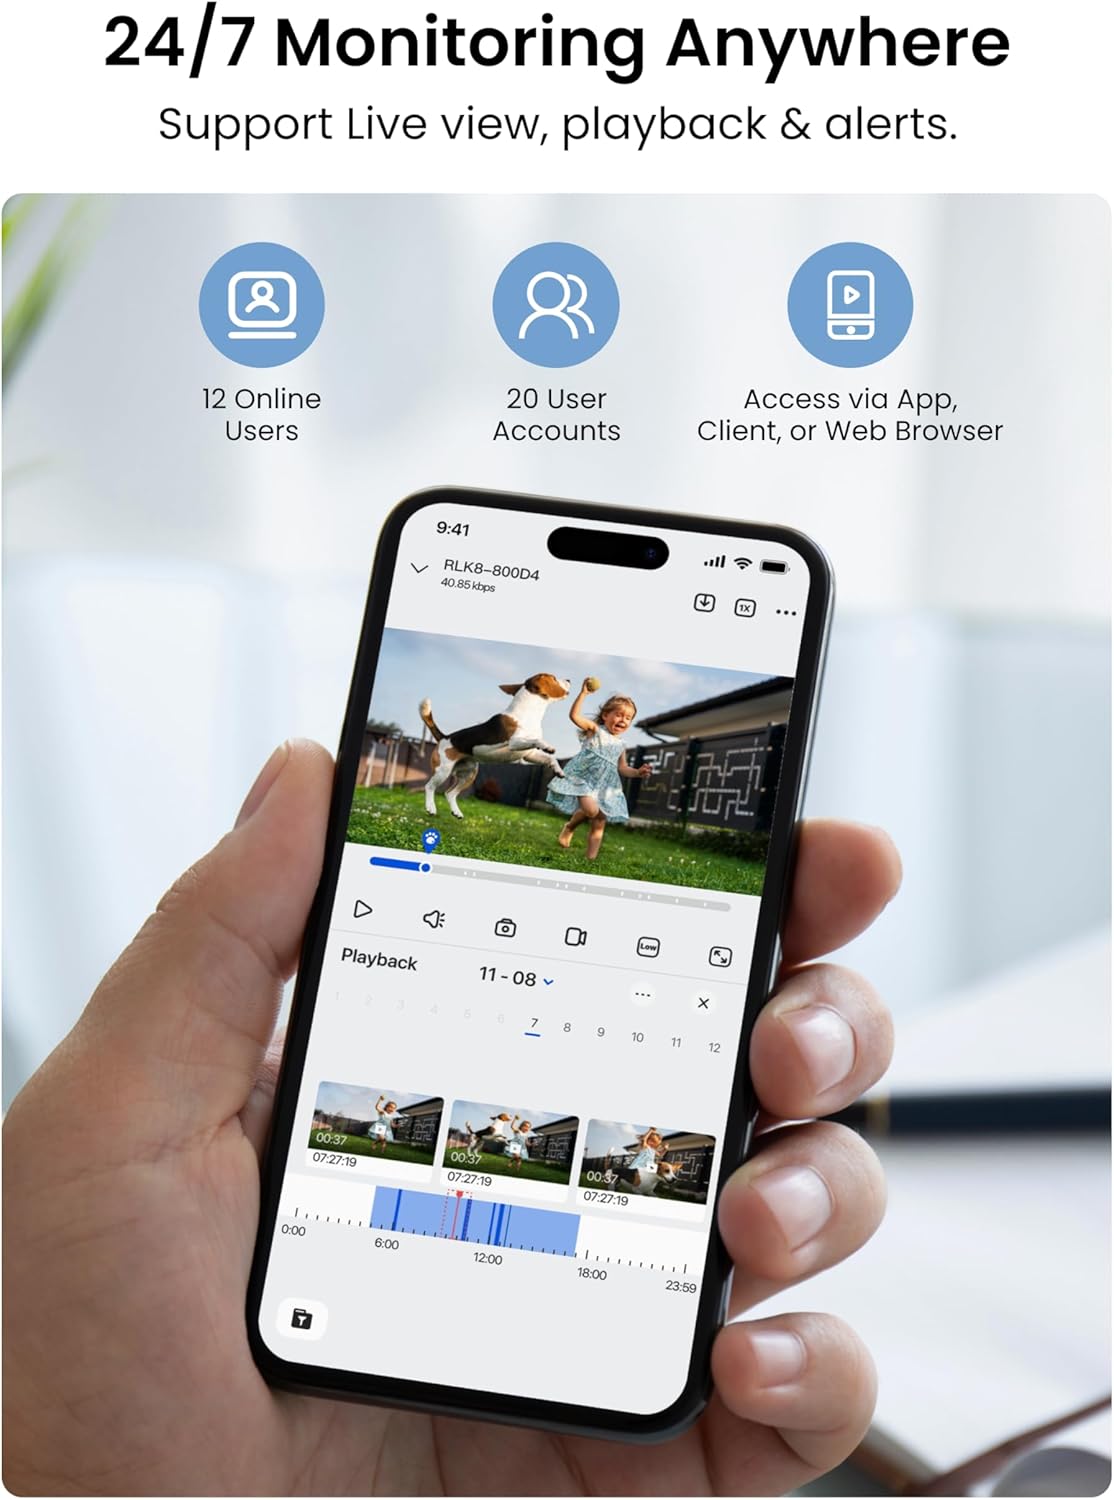
Video 5.1: This video highlights the 24/7 monitoring capabilities of the REOLINK system, including live view жана ойнотуу функциялары.
5.2 REOLINK App (Mobile Access)
Download the REOLINK app from your device's app store. Add your NVR by scanning the QR code on the NVR unit. You can then:
- View Live Feeds: Access live camera feeds from anywhere.
- Ойнотуу жазуулары: Review foo жазылганtagтүздөн-түз телефонуңуздан.
- Receive Push Notifications: Enable push notifications to get real-time alerts on your phone when motion is detected.
- Орнотууларды конфигурациялоо: Adjust various camera settings, including display, motion detection zones, recording schedules, and more.
Video 5.2: Demonstrates the 4K day vision capabilities of the RLC-820A camera, showcasing clear daytime footage.
Video 5.3: This video illustrates the night vision performance of the REOLINK 8MP PoE IP Security Camera (RLC-820A), showing clear footagаз жарык шарттарында e.
5.3 Smart Detection & Privacy
The system offers advanced detection features and privacy options:
- Кыймылды аныктоо: Configure sensitivity levels and motion zones to specify areas for detection.
- Адамды/унааны аныктоо: Cameras can differentiate between people and vehicles, reducing false alarms from animals or shadows.
- Купуялык маскасы: Mask out specific areas in the camera's view to protect privacy (e.g., neighbor's windows).

Figure 5.1: Smart AI Detection capabilities of the REOLINK system, identifying people, vehicles, and animals.
6. Техникалык тейлөө
Үзгүлтүксүз техникалык тейлөө коопсуздук системаңыздын оптималдуу иштешин жана узак мөөнөттүү иштешин камсыз кылат:
- Авто кайра жүктөө: Schedule automatic reboots for the NVR (e.g., weekly) to maintain system stability.
- Программалык камсыздоонун жаңыртуулары: Regularly check for and apply firmware updates for both the NVR and cameras to ensure you have the latest features and security patches. Updates can be done via USB.
- Заводдун баштапкы абалга келтирүү: In case of persistent issues, a factory reset option is available in the system settings.
- HDD башкаруу: 2 ТБ катуу диск камсыз кылат ample storage. You can expand storage up to 8TB with an external hard drive, for a total of 16TB.

Figure 6.1: The NVR comes with a 2TB HDD pre-installed, expandable up to 16TB with additional external drives.
7. Кыйынчылыктарды
Бул жерде сиз кабылышы мүмкүн болгон жалпы маселелерди чечүү жолдору бар:
- Camera/NVR Not Working: Check all cable connections, ensure switch ports are functional, and confirm power supply. If issues persist, contact REOLINK Support.
- System Not Working with Other Brands: This system is designed exclusively for REOLINK PoE cameras to ensure full functionality and stable performance. Other brands are not supported.
- No Internet Needed for Local Recording: Internet is only required for remote access features. Local recording will function without an internet connection.
8. Техникалык шарттар
| Өзгөчөлүк | Деталь |
|---|---|
| Бренд | REOLINK |
| Модель номери | RLK8-800D4 |
| Байланыш технологиясы | Зымдуу (PoE) |
| Видео тартуунун резолюциясы | 4K 8MP (3840 × 2160) |
| Өзгөчө өзгөчөлүк | H.265 Video Coding, Person/Vehicle Detection, Night Vision |
| Каналдардын саны | 8 |
| Эстутум сактоо сыйымдуулугу | 2 TB HDD (pre-installed), expandable up to 16TB |
| Элементтин өлчөмдөрү L x W x H | 11 x 12.7 x 14.8 дюйм |
| Операция системасы | iOS, Android, Windows, Mac OS |
| Түнкү көрүү диапазону | 100 Фут |
| Frame Rate | 20 FPS |
| Жазуу режими | Continuous recording, Motion-triggered recording |
| Аппараттык интерфейс | Ethernet, HDMI, USB, VGA, eSATA |
| Viewбурч | 87 градус |
9. Кепилдик жана колдоо
REOLINK is committed to providing reliable products and excellent customer service.
- 30 күндүк акчаны кайтарып берүү кепилдиги: Эгерде сиз сатып алган товарыңызга канааттанбасаңыз, аны 30 күндүн ичинде кайтарып берип, толук акчаңызды кайтарып алсаңыз болот.
- 2 жылдык Чектелген Кепилдик: The product is covered by a 2-year limited warranty against defects in materials and workmanship.
- 24/7 Онлайн колдоо: REOLINK offers 24/7 online support to assist with any technical issues or questions.
- Купуялыкты коргоо: Your videos are encrypted with AES, RSA/ECDHE, and TLS algorithms to ensure data privacy and security.
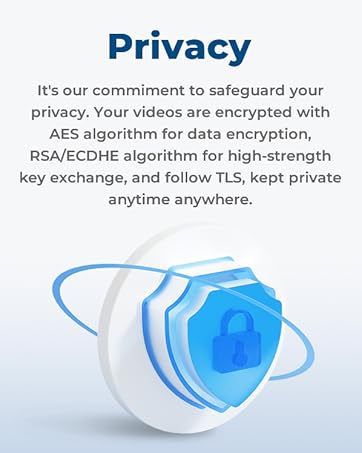
Figure 9.1: REOLINK's commitment to privacy protection through advanced encryption methods.