Introduction
This manual provides detailed instructions for the safe installation, operation, and maintenance of your Quoizel Coda 39" Wide Matte Black 16-Light Island Chandelier. Please read all instructions carefully before beginning installation and retain this manual for future reference. This modern farmhouse-style chandelier features a matte black finish over steel construction with a linear design and painted weathered wood accent, designed to illuminate your space effectively.

Сүрөт 1: Алдыңкы view of the Quoizel Coda 16-Light Island Chandelier.
Коопсуздук маалыматы
ЭСКЕРТҮҮ: Risk of electric shock. Disconnect power at the fuse box or circuit breaker before installation or servicing. Consult a qualified electrician if you are unsure about the installation process.
- Бардык зымдар улуттук жана жергиликтүү электр эрежелерине ылайык болушу керек.
- Түзмөктүн туура жерге туташтырылганын текшериңиз.
- Максималдуу ваттан ашпаңызtagлампалар үчүн белгиленген.
- Айнек тетиктерин сындырып албаш үчүн кылдаттык менен кармаңыз.
- Keep flammable materials away from the light bulbs.
- Бул продукт Калифорния штатында рак жана тубаса кемтик же башка репродуктивдүү зыян алып келүүчү химиялык заттарды камтыйт (65 эскертүүсү).
Пакеттин мазмуну
Carefully unpack your fixture and check that all parts are included. If any parts are missing or damaged, contact customer service before proceeding with assembly.
- Chandelier body with light sockets
- Монтаждоо чатыры
- Mounting hardware (crossbar, screws, wire nuts)
- Downrods (four 6" and four 12" sections)
- Chain links
- Колдонмо
Орнотуу үчүн зарыл болгон куралдар
- Филлипс бурагыч
- Жалпак бурагыч
- Зымдарды сыйрып алуучулар
- Кычкач
- Электр лентасы
- Шаты
Орнотуу жана орнотуу
Follow these steps to properly install your chandelier. It is recommended to have two people for installation due to the size and weight of the fixture.
- Кубатты өчүрүү: Баштоодон мурун, туташтыргыч кутучасына берилүүчү кубат автоматтык өчүргүчтө же сактандыргыч кутучасында өчүрүлгөнүн текшериңиз.
- Монтаждоо плитасын даярдоо: Берилген бурамалар аркылуу монтаждоо тилкесин бириктирүүчү кутуга бекитиңиз. Анын бекем бекитилишин текшериңиз.
- Асма бийиктигин аныктоо: Assemble the desired length of downrods by screwing them together. The fixture comes with four 6-inch and four 12-inch downrods, allowing for adjustable hanging height. Feed the fixture wires through the downrods and canopy.
- Зымдарды туташтыруу: Carefully connect the fixture's electrical wires to the corresponding wires in the junction box. Connect the black (live) wire from the fixture to the black (live) wire from the junction box, the white (neutral) wire from the fixture to the white (neutral) wire from the junction box, and the bare copper or green (ground) wire from the fixture to the bare copper or green (ground) wire from the junction box. Secure connections with wire nuts and wrap with electrical tape for added safety.
- Mount Canopy: Carefully push the wired connections into the junction box. Position the canopy against the ceiling, aligning the mounting holes with the screws on the crossbar. Secure the canopy with the decorative nuts or screws provided.
- Лампаларды орнотуу: Screw sixteen B10 candelabra base bulbs (not included) into the sockets. Do not exceed the maximum wattagбир лампага 40 ватт.
- Күчтү калыбына келтирүү: Орнотуу аяктагандан кийин, автоматтык өчүргүчтөн же сактандыргыч кутучасынан электр кубатын кайра күйгүзүңүз.
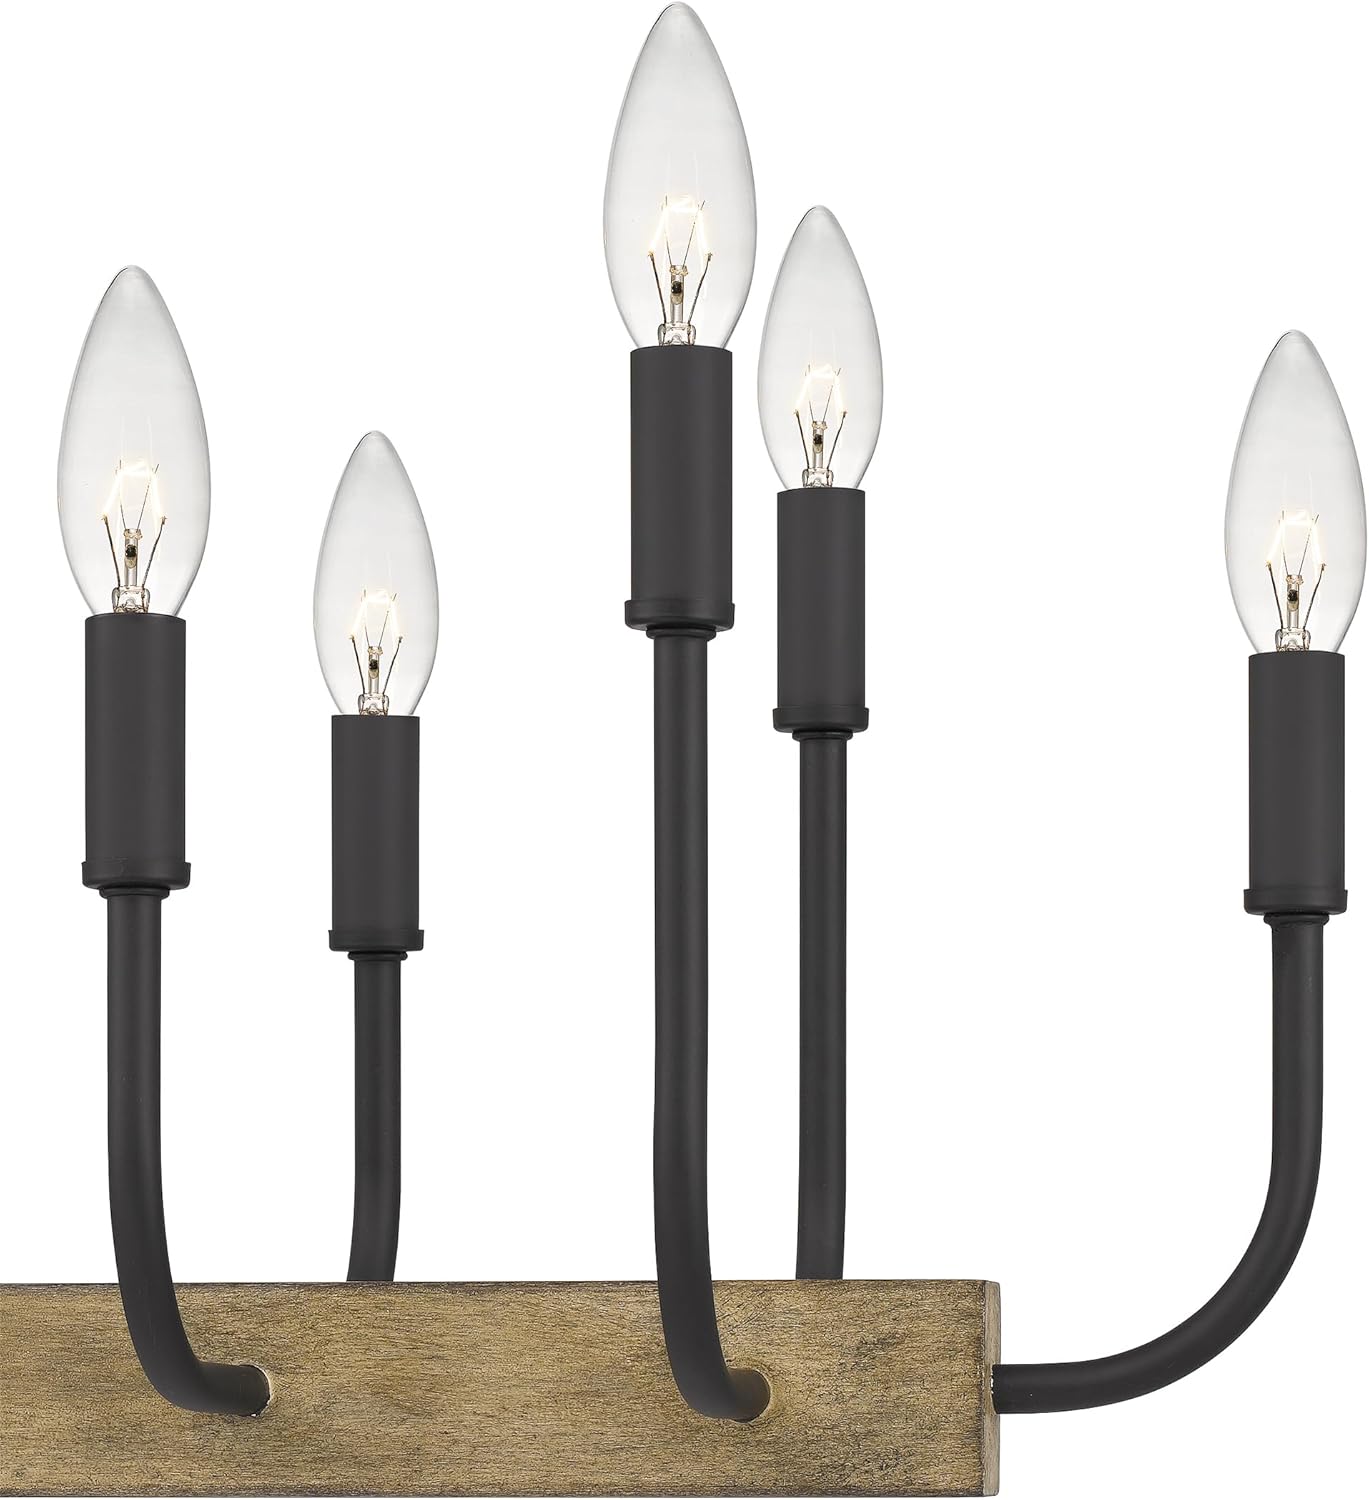
Figure 2: Detail of the mounting canopy and adjustable chain.

Figure 3: Close-up of the candelabra base light sockets.
Иштөө нускамалары
This chandelier operates with a standard wall switch. For optimal light control, this fixture is compatible with most dimmer switches. Ensure that any dimmer switch used is rated for the total wattage of the installed bulbs.
- Лампочканын түрү: Uses sixteen candelabra base B10 bulbs.
- Максималдуу Wattage: 40 watts per bulb.
- Dimmer шайкештиги: Compatible with standard incandescent or LED dimmer switches, depending on the bulb type used.
Техникалык тейлөө
Үзгүлтүксүз тейлөө люстраңыздын сырткы көрүнүшүн жана функционалдуулугун сактоого жардам берет.
- Тазалоо: To clean, wipe the fixture with a soft, dry cloth. Do not use abrasive cleaners, polishes, or solvents as they may damage the finish.
- Лампаны алмаштыруу: Always turn off the power to the fixture at the circuit breaker before replacing bulbs. Allow bulbs to cool completely before touching them.
- Текшерүү: Мезгил-мезгили менен бардык туташууларды жана монтаждоо жабдыктарын текшерип туруңуз.
Проблемаларды чечүү
If your chandelier is not functioning correctly, refer to the following common issues and solutions:
| Көйгөй | Мүмкүн себеп | Чечим |
|---|---|---|
| Жарык күйбөйт | 1. Электр өчүк 2. Бош зымдардын туташуусу 3. Бузулган лампа | 1. Check circuit breaker/fuse 2. Check wiring connections (ensure power is off) 3. Replace bulb(s) |
| Жарыктар бүлбүлдөп | 1. Бош лампа 2. Шайкеш келбеген диммерди өчүргүч 3. Зымдары бош | 1. Tighten bulb(s) 2. Ensure dimmer is compatible with bulb type 3. Check wiring connections (ensure power is off) |
| Гызылдаган үн | Incompatible dimmer switch or bulb type | Replace dimmer switch with a compatible one or use different bulb type |
Техникалык шарттар
| Бренд | Quoizel |
| Модель номери | COD139MBK |
| Өлчөмдөрү (L x W x Y) | 39"L x 10.5"W x 13"H |
| Салмагы | 11 фунт |
| Бүтүрүү | Matte Black |
| Материал | Эритме болот |
| Жарыктардын саны | 16 |
| Лампанын түрү | Candelabra Base (B10) |
| Макс Ватtage per Lampochka | 40 Ватт |
| Жалпы Ватtage | 640 Вт (16 x 40 Вт) |
| Downrods Included | Four 6" and Four 12" |
| Sloped Ceiling Adaptable | Ооба |
| Бөлмө түрү | Ашкана, ашкана |
Жайгаштыруу боюнча көрсөтмөлөр
Consider these general guidelines for optimal placement of your island chandelier:

Figure 4: Linear pendant placement over an island. The fixture should be approximately 2/3 the length of the island.

Figure 5: Multiple pendant placement over an island. Maintain 30-inch minimum spacing between fixtures and 30-36 inches above the surface.
Кепилдик
This Quoizel product comes with a 1-Year Warranty on Electronics жана а 2-Year Warranty on Finish from the date of purchase. Please retain your proof of purchase for warranty claims. This warranty covers defects in materials and workmanship under normal use.
Колдоо
For further assistance, technical support, or to inquire about replacement parts, please contact Quoizel customer service. You can find more information and contact details on the official Quoizel webсайт же сатуучу аркылуу.
зыярат кылыңыз Amazon'догу Quoizel дүкөнү кошумча өнүмдөр жана маалымат үчүн.


