Introduction
This manual provides detailed instructions for the installation, operation, and maintenance of your Hom-io HOM-TERMOV-KIT WiFi Thermostatic Valve Kit. Please read this manual thoroughly before using the product to ensure correct usage and optimal performance. This kit is designed to offer intelligent control over your heating system, promoting energy efficiency and comfort.
Продукт компоненттери
The Hom-io HOM-TERMOV-KIT includes the following components:
- 1 x WiFi Thermostatic Valve
- 1 x Smart Gateway WiFi
- 2 x AA Batteries (for the valve)
- 4 x Adapters (including Giacomini, Danfoss, and Caleffi compatibility)
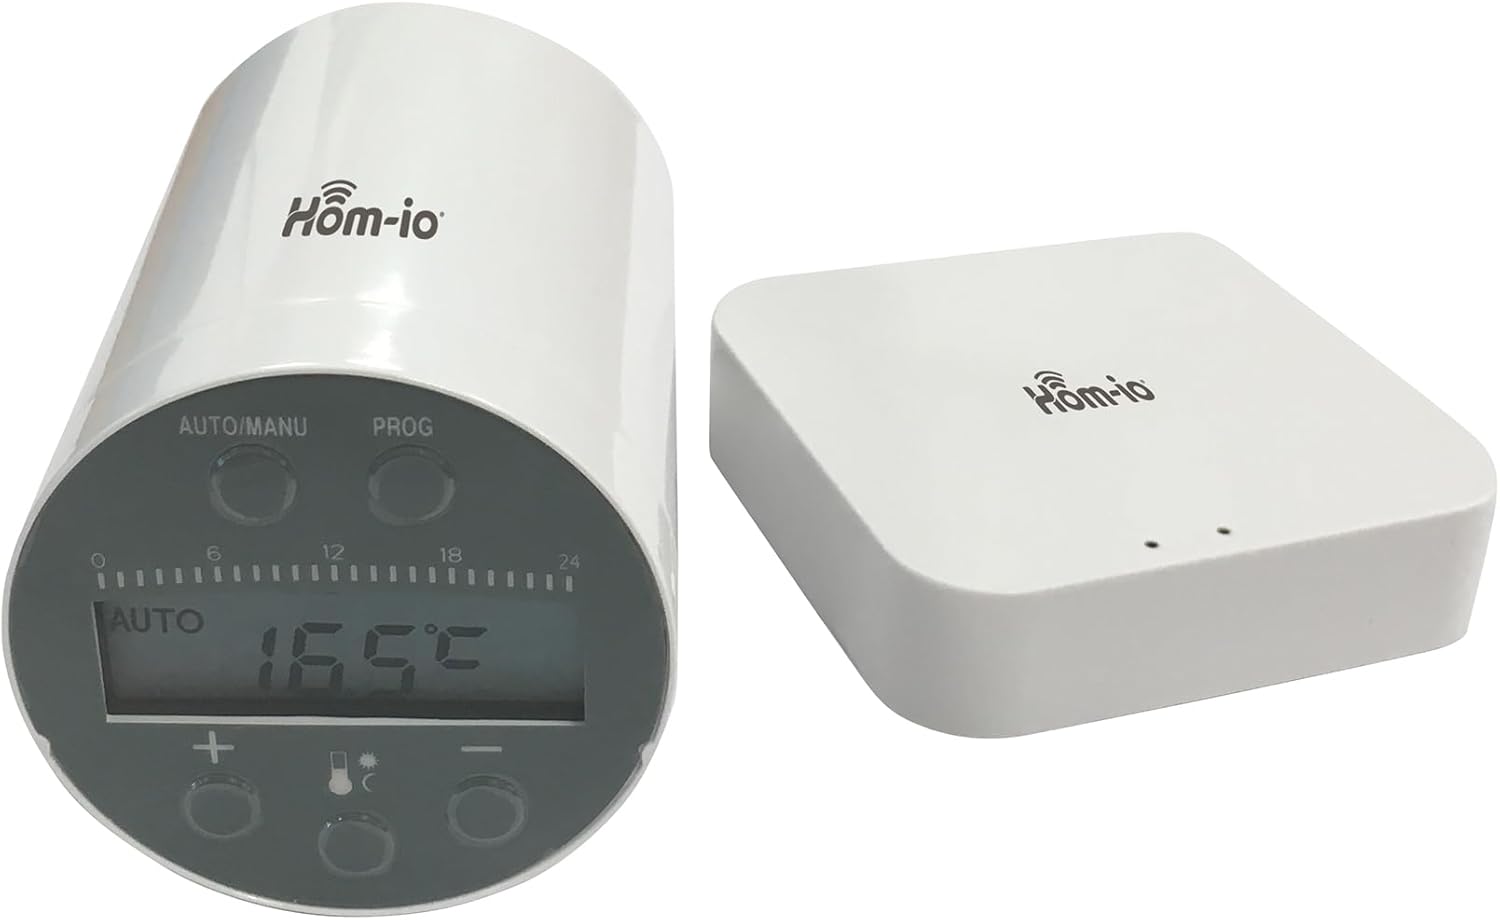
Image: The Hom-io WiFi Thermostatic Valve (left) and the Smart Gateway (right). The valve features a digital display and control buttons, while the gateway is a compact white box with indicator lights.
Жайгашуу
1. Кутудан чыгаруу жана текшерүү
Carefully remove all components from the packaging. Inspect each item for any signs of damage. If any component is damaged, do not proceed with installation and contact customer support.
2. Battery Installation (Thermostatic Valve)
- Gently twist and remove the battery cover from the thermostatic valve.
- Туура полярдуулукту (+/-) камсыз кылып, эки АА батарейканы салыңыз.
- Батареянын капкагын бекем орнотуңуз.
3. Mounting the Thermostatic Valve
The valve is designed to replace existing thermostatic radiator valves. Identify the correct adapter for your radiator valve type from the four included adapters (Giacomini, Danfoss, Caleffi, etc.).
- Радиатор клапанынан учурдагы термостатикалык башты алып салыңыз.
- Select the appropriate adapter for your valve body.
- Secure the adapter onto the radiator valve body.
- Screw the Hom-io thermostatic valve onto the adapter until it is firmly in place. Do not overtighten.
4. Smart Gateway Setup
- Connect the Smart Gateway to a power source using the provided power adapter.
- Ensure the gateway is placed in a central location within your home to ensure good signal coverage for all thermostatic valves.
- Wait for the indicator lights on the gateway to show it is ready for pairing (refer to the gateway's specific LED indicator guide for details).
5. App Pairing and Configuration
Download the Hom-io smart home application from your device's app store. Follow the in-app instructions to add the Smart Gateway and then pair each thermostatic valve to the gateway. This process typically involves:
- Creating an account or logging in.
- Adding the Smart Gateway to your account.
- Initiating the pairing mode on the thermostatic valve (usually by pressing a button for a few seconds).
- Confirming the pairing within the app.

Image: A different perspective of the Hom-io WiFi Thermostatic Valve and Smart Gateway, highlighting the display and buttons on the valve.
Операция
1. Кол менен башкаруу
You can manually adjust the temperature directly on the thermostatic valve:
- басыңыз '+' максаттуу температураны жогорулатуу үчүн баскычын басыңыз.
- басыңыз '-' максаттуу температураны төмөндөтүү үчүн баскычты басыңыз.
- The current temperature setting will be displayed on the valve's screen.
2. Automatic Mode (Weekly Programming)
Utilize the Hom-io app to set up weekly heating schedules. This allows you to define different temperature settings for various times of the day and days of the week, optimizing energy consumption and comfort.
- Open the Hom-io app and select the desired thermostatic valve.
- Navigate to the 'Schedule' or 'Program' section.
- Set desired temperatures for specific time slots and days.
- Ensure the valve is set to 'AUTO' mode for the schedule to take effect.
3. Smart Home интеграциясы
The Hom-io Kit is compatible with popular smart home platforms:
- Amazon Alexa: Enable the Hom-io skill in the Alexa app and link your account. You can then use voice commands like "Alexa, set the living room temperature to 21 degrees."
- Google Home: Link your Hom-io account in the Google Home app. Use voice commands such as "Hey Google, what's the temperature in the bedroom?" or "Hey Google, turn up the heat."
Техникалык тейлөө
1. Батареяны алмаштыруу
When the battery indicator on the thermostatic valve or in the app shows low power, replace the batteries promptly to ensure continuous operation. Use two new AA batteries.
2. Тазалоо
Clean the exterior of the thermostatic valve and gateway with a soft, dry cloth. Do not use abrasive cleaners or solvents, as these can damage the device's surface or internal components.
Проблемаларды чечүү
Жалпы маселелер жана аларды чечүү үчүн төмөнкү таблицага кайрылыңыз:
| Көйгөй | Чечим |
|---|---|
| Thermostatic valve not responding | Check battery level and replace if necessary. Ensure the valve is within range of the Smart Gateway. |
| Gateway offline in app | Verify the gateway is powered on and connected to your home Wi-Fi network. Restart the gateway and your router if needed. |
| Temperature not adjusting as programmed | Ensure the valve is in 'AUTO' mode. Check the schedule settings in the Hom-io app for accuracy. |
| Үн башкаруу иштебейт | Confirm that the Hom-io skill/service is enabled and linked in your Alexa or Google Home app. Check your internet connection. |
Техникалык мүнөздөмөлөр
| Өзгөчөлүк | Спецификация |
|---|---|
| Модель номери | HOM-TERMOV-KIT |
| Өндүрүүчү | Melchioni |
| Продукциянын өлчөмдөрү | 7 x 7 x 12 см |
| Элемент Салмагы | 280 грамм |
| Power Source (Valve) | 2 x AA Batteries (not included in original packaging, but required for operation) |
| Байланыш | WiFi (via Smart Gateway) |
| Шайкештик | Amazon Alexa, Google Home |
| Камтылган адаптер | Giacomini, Danfoss, Caleffi, and others |
Кепилдик маалымат
Hom-io products are manufactured to high-quality standards. This product is covered by a standard manufacturer's warranty against defects in materials and workmanship. Please refer to the warranty card included with your purchase or visit the official Hom-io webкепилдиктин мөөнөтү жана шарттары боюнча белгилүү бир шарттар жана эрежелер менен таанышуу үчүн сайтка кириңиз.
Кардарларды колдоо
For technical assistance, troubleshooting, or warranty claims, please contact Hom-io customer support. You can typically find contact information on the official Hom-io website or through the Hom-io smart home application. When contacting support, please have your product model number (HOM-TERMOV-KIT) and purchase details ready.


