Introduction
This manual provides essential information for the safe and efficient operation of your KitchenAid 5KCM1209EER Drip Coffee Maker. Please read all instructions carefully before using the appliance to ensure proper function and to prevent injury or damage.
Маанилүү коргоо чаралары
Электр шаймандарын колдонууда негизги коопсуздук чараларын дайыма сактоо керек, анын ичинде төмөнкүлөр:
- Бардык нускамаларды окуңуз.
- ысык беттерге тийбеңиз. Туткаларды же туткаларды колдонуңуз.
- Өрттөн, электр шокунан жана адамдардын жаракатынан коргоо үчүн шнурду, вилкаларды же кофе кайнаткычты сууга же башка суюктукка салбаңыз.
- Кандайдыр бир шайманды балдар же алардын жанында колдонуп жатканда, катуу көзөмөл керек.
- Колдонбогондо жана тазалоодон мурун розеткадан ажыратыңыз. Тетиктерди кийүүдөн же чечүүдөн мурун жана шайманды тазалоодон мурун муздатыңыз.
- Эч бир шайманды зымы же сайы бузулган же шайман иштебей калгандан кийин же кандайдыр бир түрдө бузулгандан кийин иштетпеңиз. Текшерүү, оңдоо же тууралоо үчүн шайманды жакынкы ыйгарым укуктуу тейлөө мекемесине кайтарыңыз.
- Шаймандын өндүрүүчүсү сунуш кылбаган кошумча тиркемелерди колдонуу өрткө, электр шокуна же адамдардын жаракат алышына алып келиши мүмкүн.
- Сыртта колдонбоңуз.
- Шнур столдун же столдун четине илинип калышына же ысык беттерге тийбеңиз.
- Ыстык газ же электр мешине же ысытылган мештин жанына коюуга болбойт.
- Ар дайым алгач сайгычка сайыңыз, андан кийин шнурду розеткага сайыңыз. Ажыратуу үчүн каалаган башкарууну "өчүрүү" абалына буруп, андан кийин розеткадан сайгычты алып салыңыз.
- Шайманды максаттуу колдонуудан башка максатта колдонбоңуз.
- Капкак кайнатуу циклдери учурунда алынса, күйүп кетиши мүмкүн.
Продукт бүттүview
Familiarize yourself with the components of your KitchenAid Drip Coffee Maker.
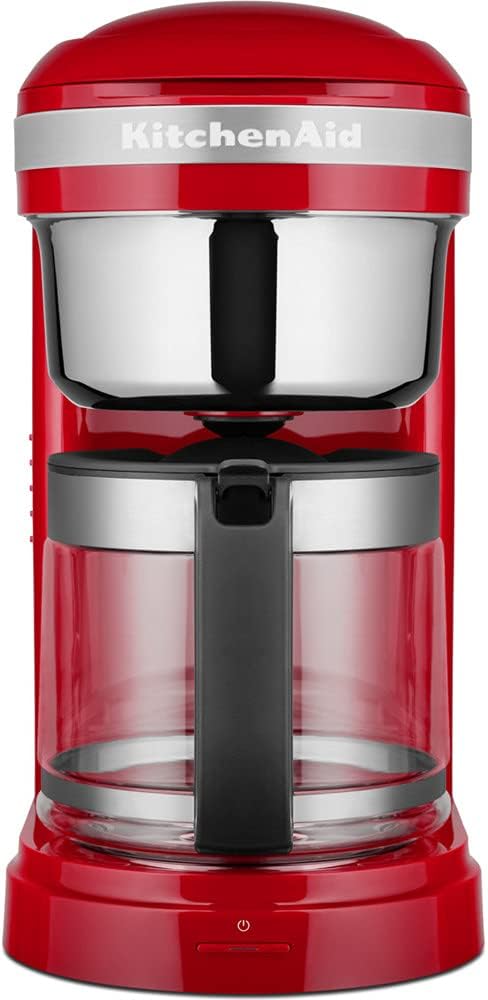
Сүрөт: алдыңкы view of the KitchenAid 5KCM1209EER Drip Coffee Maker in Empire Red. It features a red base and top, with a clear glass carafe and a silver-colored filter basket housing. The KitchenAid logo is visible on the front, and a power button with an indicator light is at the bottom.
Негизги компоненттер:
- Суу сактагыч: 1.7 L capacity, removable for easy filling and cleaning, with dosage markings.
- Permanent Gold-Tone Filter: Reusable filter with dosage indicator, replaces paper filters.
- Айнек графин: Designed to hold up to 12 cups of coffee.
- Brew себет: Holds the permanent filter.
- Spiral Showerhead: Ensures even saturation of coffee grounds.
- Жылытуу плитасы: Кофени демдегенден кийин жылуу кармайт.
- LCD дисплей: Elegant and readable display for programming.
- Башкаруу баскычтары: For power, brew strength, quantity, and programming.
- Кубат баскычы: Аппараттын түбүндө жайгашкан.
Жайгашуу
First Use and Cleaning:
- Unpack the coffee maker and all its components. Remove any packaging materials.
- Wash the glass carafe, permanent filter, and water reservoir with warm, soapy water. Rinse thoroughly and dry.
- Кофе кайнаткычтын сыртын жарнама менен сүртүңүзamp кездеме.
- Before brewing coffee for the first time, run a full cycle with only water to clean the internal components. Fill the water reservoir to the maximum level, place the empty carafe on the heating plate, and start a brew cycle. Discard the water after the cycle is complete.
Жайгашкан жери:
Place the coffee maker on a flat, stable, heat-resistant surface, away from the edge of the counter and out of reach of children.
Иштөө нускамалары
Кофе кайнатуу:
- Суу сактагычты толтуруу: Remove the water reservoir and fill it with fresh, cold water up to the desired number of cups indicated by the markings. The maximum capacity is 1.7 liters (12 cups). Replace the reservoir securely.
- Кофе талкандарын кошуу: Place the permanent gold-tone filter into the brew basket. Add your desired amount of ground coffee to the filter. The dosage indicator on the filter can assist. For best results, use medium-ground coffee.
- Графиканы жайгаштыруу: Ensure the glass carafe is empty and properly positioned on the heating plate.
- Select Brew Strength (if desired): Use the control buttons to adjust the coffee intensity if your model supports this feature.
- Сыра кайнатууну баштоо: Press the brew button. The coffee maker will begin the brewing process. The LCD display will show the brewing status.
- Жылытуу функциясы: After brewing, the heating plate will automatically keep the coffee warm. The keep warm function maintains coffee at a perfect temperature (high or low setting) for up to 40 minutes.
Programming Automatic Brew Times:
Your coffee maker features 24-hour programming and allows for two automatic brew times.
- Учурдагы убакытты коюу: Refer to your specific model's instructions for setting the current time on the LCD display.
- Program Brew Time 1: Press the "Program" button (or similar, refer to button labels). Use the hour and minute buttons to set the desired time for the first automatic brew cycle. Confirm the setting.
- Program Brew Time 2: If available, repeat the process to set a second automatic brew time, useful for weekday and weekend schedules.
- Программаны активдештирүү: Ensure the program function is activated. The coffee maker will now automatically start brewing at the set times, provided it is filled with water and coffee grounds.
Техникалык тейлөө
Күнүмдүк тазалоо:
- Тазалоодон мурун кофе кайнаткычты дайыма электр розеткасынан сууруп, толук муздаганга чейин күтүңүз.
- Wash the glass carafe, permanent filter, and removable water reservoir after each use with warm, soapy water. These parts are typically top-rack dishwasher safe, but hand washing is recommended for longevity.
- Кофе кайнаткычтын сыртын жумшак, г менен сүртүңүзamp кездеме. Абразивдүү тазалагычтарды же тазалоочу жайларды колдонбоңуз.
- Негизги блокту, шнурду же розеткага сууга же башка суюктукка батырбаңыз.
Так кетирүү (тазалоо цикли):
Over time, mineral deposits (limescale) can build up in your coffee maker, affecting performance and coffee taste. Your coffee maker has a cleaning indicator and a cleaning cycle.
- When the cleaning indicator illuminates, it's time to descale the unit.
- Prepare a descaling solution according to the manufacturer's instructions (e.g., white vinegar and water, or a commercial descaling agent).
- Суу сактагычка кир жуугуч эритмени куюңуз.
- Бош графинди жылытуу табакчасына коюңуз.
- Initiate the cleaning cycle as per your model's specific instructions (usually by pressing and holding a designated button).
- After the cleaning cycle is complete, run 2-3 cycles with fresh water only to rinse out any remaining descaling solution.
Проблемаларды чечүү
If you experience issues with your coffee maker, refer to the common problems and solutions below. If the problem persists, contact customer support.
| Көйгөй | Мүмкүн себеп | Чечим |
|---|---|---|
| Кофе кайнатылбайт. | No water in reservoir; unit not plugged in; brew cycle not started; carafe not properly placed. | Fill water reservoir; ensure unit is plugged in; press brew button; ensure carafe is correctly seated. |
| Кофенин даамы алсыз же өтө күчтүү. | Кофе менен сууга туура эмес катышы; туура эмес майдаланган өлчөмү; демдөөнүн күчү жөндөлгөн. | Adjust coffee amount; use medium grind; check brew strength setting. |
| Агрегаттан суу агып жатат. | Water reservoir not properly seated; overfilled reservoir; clogged brew basket. | Ensure reservoir is secure; do not exceed max fill line; clean brew basket and filter. |
| Cleaning indicator light is on. | Агрегаттын кирин тазалоо керек. | Perform a descaling cycle as per maintenance instructions. |
Техникалык шарттар
| Өзгөчөлүк | Деталь |
|---|---|
| Модель номери | 5KCM1209EER |
| Бренд | KitchenAid |
| Түс | Empire Red |
| Кубаттуулугу | 1.7 литр (12 чөйчөкчө) |
| Күч | 1100 Ватт |
| Тtage | 220-240 В AC |
| Жыштык | 50/60 Гц |
| Өлчөмдөрү (L x W x Y) | 34 x 18.2 x 36.4 см (13.4 x 7.2 x 14.3 дюйм) |
| Салмагы | 4.4 килограмм (9.7 фунт) |
| Материал | Айнек (графин) |
| Өзгөчөлүктөр | Permanent Filter, Timer, Programmable, Removable Reservoir, Keep Warm Function, Adjustable Coffee Intensity, LCD Display |
Кепилдик жана колдоо
Information regarding product warranty and detailed customer support contacts is typically provided with the product packaging or available on the official KitchenAid website. Please refer to these resources for specific warranty terms, service centers, and technical assistance.
For further assistance, visit the official KitchenAid support page or contact their customer service directly.


