1. Киришүү
This manual provides detailed instructions for the safe and effective operation, maintenance, and troubleshooting of your AOPUTTRIVER AP-39C Smart Digital Multimeter. Please read this manual thoroughly before using the device to ensure proper functionality and safety.
2. Коопсуздук маалыматы
Электрдик сыноо жабдууларын колдонууда жеке жаракат алуунун же эсептегичке же сыналып жаткан жабдууларга зыян келтирбөө үчүн ар дайым негизги коопсуздук чараларын сактаңыз.
- Do not exceed the maximum input values for any function. Refer to the specifications section for limits.
- Том менен иштөөдө этият болуңузtag30 В AC RMS, 42 В чоку же 60 В DC жогору. Бул томtagшок коркунучун жаратат.
- Ensure the test leads are in good condition and properly seated in the meter's input jacks.
- Do not operate the meter if it appears damaged or if the case is open.
- Remove test leads from the circuit before changing functions or ranges.
- Always disconnect power to the circuit before measuring resistance, continuity, diodes, or capacitance.
- Батареяны жана сактагычтарды көрсөтүлгөн түрү жана рейтинги менен гана алмаштырыңыз.
3. Продукт бүтүп калдыview
The AOPUTTRIVER AP-39C is a 6000-count digital multimeter designed for accurate measurement of various electrical parameters. It features auto-ranging, an automatic backlight, and a compact design for ease of use.

3.1-сүрөт: Фронт view of the AOPUTTRIVER AP-39C Digital Multimeter with key components labeled. This includes the LCD display, function buttons (SELECT, RANGE, REL, HOLD), rotary switch, NCV detection area, and input jacks.
3.1. Негизги компоненттер
- LCD дисплей: 6000 counts digit display with full function symbols. Features automatic backlight for clear readings in varying light conditions.
- Айлануучу которгуч: Өлчөө функцияларын жана диапазондорун тандоо үчүн колдонулат.
- ТАНДОО Ачкычын: Switches between different measurement modes within a function (e.g., AC/DC voltage, diode/continuity). Long press to disable automatic shutdown.
- RANGE ачкычы: Switches between manual and automatic ranging modes.
- REL ачкычы: Activates the Relative Measurement Mode, used for zeroing out the meter for more accurate micro-readings.
- HOLD баскычы: Locks the displayed measurement value.
- Hz/% Key: Used for frequency or duty cycle measurements.
- NCV аныктоо аймагы: Байланышсыз томtage detection sensor.
- Киргизүү уячалары: COM (common), VΩmA (voltage, resistance, current up to 600mA), 10A (current up to 10A).
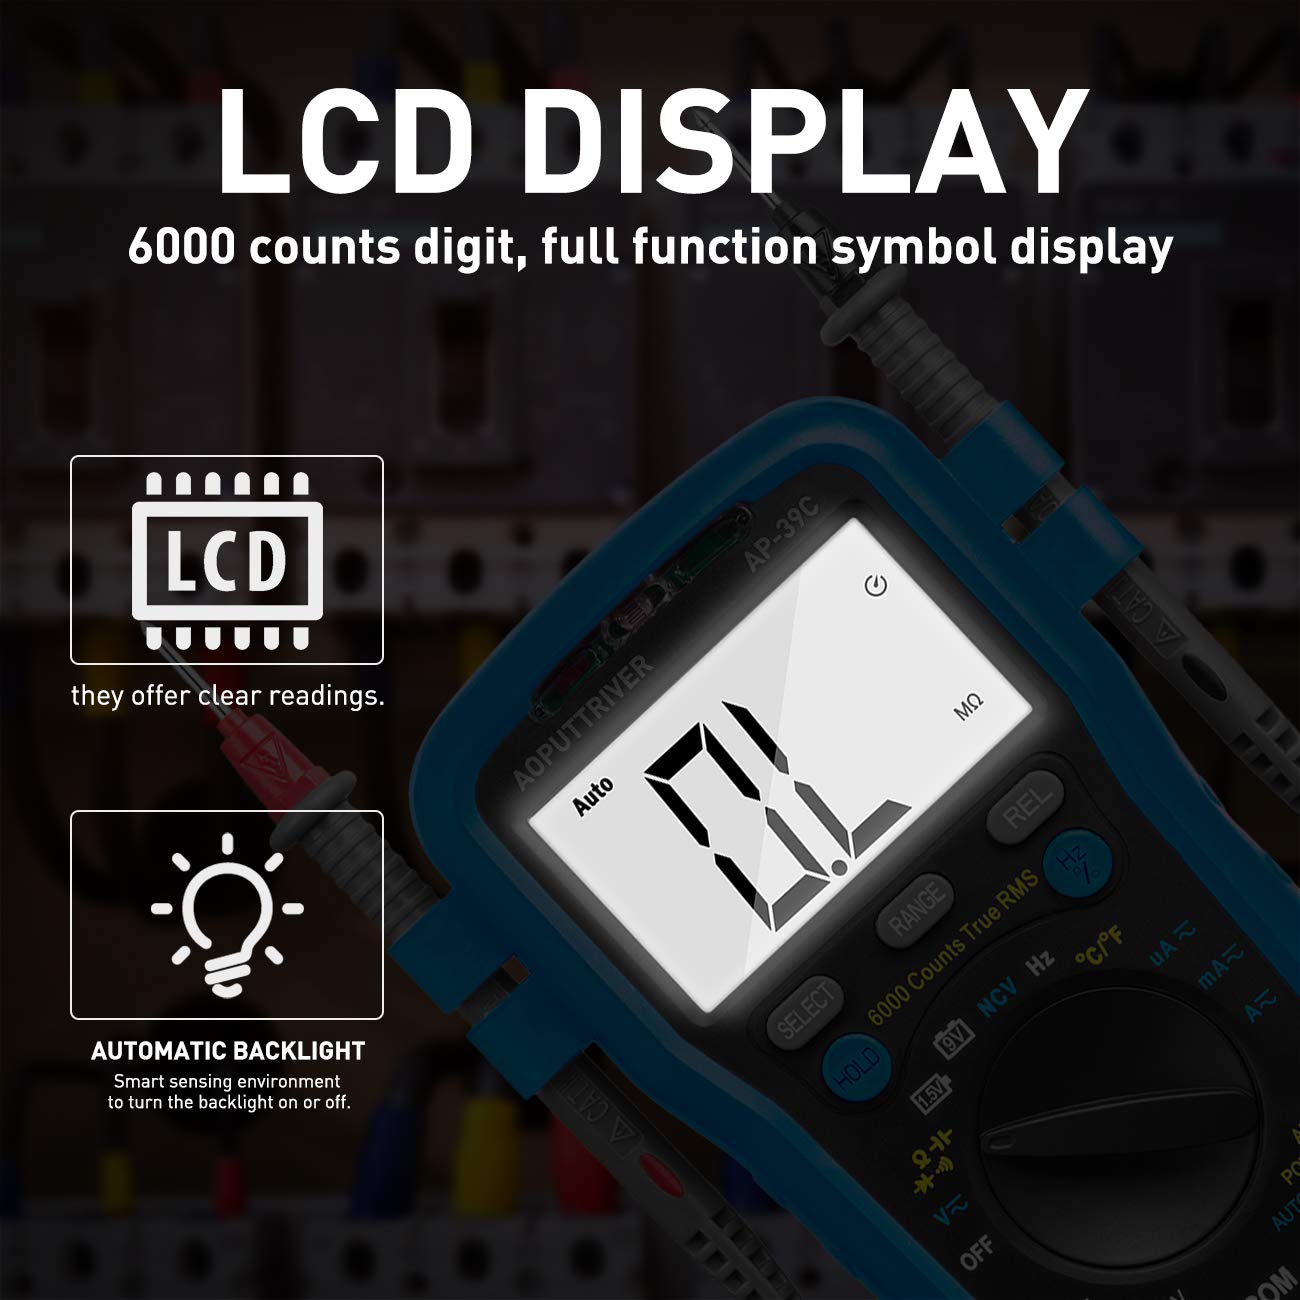
3.2-сүрөт: The LCD display of the multimeter, showing 6000 counts and the automatic backlight feature for enhanced visibility.
4. Орнотуу
4.1. Батареяны орнотуу
The multimeter requires a 9V battery for operation. A 9V battery is typically included with the product.
- Мультиметр өчүрүлгөнүн текшериңиз.
- Батарея уясынын капкагын эсептегичтин арткы жагында табыңыз.
- Капкакты бекитүүчү буроону алып салуу үчүн бурагычты колдонуңуз.
- Этияттык менен капкакты алып салыңыз.
- Туура полярдуулукту сактап, жаңы 9V батареяны батарея кыскычына туташтырыңыз.
- Батареяны бөлүккө салып, капкакты буроо менен бекитип, ордуна коюңуз.

4.1-сүрөт: The complete package contents, showing the multimeter, test leads, temperature probe, and the 9V battery required for operation.
4.2. Сыноо линияларын туташтыруу
Always connect the black test lead to the COM (common) jack. Connect the red test lead to the appropriate input jack based on the measurement function:
- VΩmA Jack: Том үчүнtage, resistance, continuity, diode, capacitance, frequency, duty cycle, and current measurements up to 600mA.
- 10A Jack: For current measurements between 600mA and 10A.
5. Иштөө нускамалары
Turn the rotary switch to the desired function. The meter will automatically select the appropriate range unless manual ranging is activated using the RANGE button.
5.1. DC/AC Voltage Өлчөө
- Айлантуу которгучту V~ (AC томtagд) же V- (DC Voltagд) кызмат орду.
- Кара сыноо зымын COM уячасына, ал эми кызыл сыноо зымын VΩmA уячасына туташтырыңыз.
- Өлчөнө турган схемага же компонентке сыноо зонддорун туташтырыңыз.
- Томду окуңузtage value on the display. Use the SELECT button to switch between AC and DC if the function combines them.

5.1-сүрөт: The multimeter in action, demonstrating its use for voltage testing, switch testing, power testing, and drive testing of electronic components.
5.2. AC/DC Ток өлчөө
- Айлантуу которгучту mA~ (AC Current), мА- (DC Current), A~ (AC Current), or A- (DC Current) абалы.
- For currents up to 600mA, connect the red test lead to the VΩmA jack. For currents up to 10A, connect the red test lead to the 10A jack. The black test lead always connects to COM.
- Маанилүү: Disconnect power to the circuit. Open the circuit where current is to be measured and connect the meter in series.
- Схемага кубат бериңиз жана учурдагы маанини окуңуз.
5.3. Каршылык Өлчөө
- Айлантуу которгучту Ω позиция.
- Connect the black test lead to COM and the red test lead to VΩmA.
- Маанилүү: Каршылыкты өлчөөдөн мурун чынжырдын токтун өчүрүлгөнүн текшериңиз.
- Сыноо зонддорун компоненттин үстүнө туташтырыңыз.
- Каршылык маанисин окуңуз.
5.4. Үзгүлтүксүздүк тести
- Айлантуу которгучту Ω position and press SELECT until the continuity symbol ()))) пайда болот.
- Connect the black test lead to COM and the red test lead to VΩmA.
- Маанилүү: Схема кубаты өчүрүлгөнүн текшериңиз.
- Сыноо зонддорун компоненттин же зымдын үстүнө туташтырыңыз.
- If resistance is less than approximately 50Ω, the meter will emit an audible beep, indicating continuity.
5.5. Diode/hFE Test
- Айлантуу которгучту Ω position and press SELECT until the diode symbol (->|) or hFE symbol appears.
- Connect the black test lead to COM and the red test lead to VΩmA.
- Маанилүү: Схема кубаты өчүрүлгөнүн текшериңиз.
- For diode test, connect the red probe to the anode and the black probe to the cathode. Read the forward voltage drop. Reverse the probes; the display should show OL (Open Line) for a good diode.
- For hFE test, insert the transistor leads into the appropriate hFE sockets.
5.6. Capacitance Measurement
- Айлантуу которгучту Кап позиция.
- Connect the black test lead to COM and the red test lead to VΩmA.
- Маанилүү: Эсептегичке зыян келтирбөө үчүн өлчөөнүн алдында конденсатордун толук зарядсыздангандыгын текшериңиз.
- Конденсатор аркылуу сыноо зонддорун туташтырыңыз.
- Сыйымдуулуктун маанисин окуңуз.
5.7. Жыштык жана милдет циклин өлчөө
- Айлантуу которгучту Гц /% позиция.
- Connect the black test lead to COM and the red test lead to VΩmA.
- Сыноо зонддорун сигнал булагы аркылуу туташтырыңыз.
- Read the frequency (Hz) or duty cycle (%) value. Use the Hz/% button to toggle between them.
5.8. Температураны өлчөө
- Айлантуу которгучту ° C / ° F позиция.
- Connect the temperature probe (thermocouple) to the VΩmA and COM jacks, observing polarity.
- Place the tip of the temperature probe on or in the object to be measured.
- Read the temperature value in Celsius or Fahrenheit. Use the SELECT button to switch units.
5.9. Контактсыз томtage (NCV) аныктоо
- Айлантуу которгучту NCV позиция.
- Move the top part of the meter (NCV detection area) close to the conductor or outlet.
- The meter will emit an audible beep and the NCV indicator light will flash if AC voltage is detected. The frequency of beeps and flashes increases with stronger signals.
5.10. REL (Relative Measurement) Function
The REL function allows you to zero out the meter's current reading, displaying subsequent measurements relative to that baseline. This is particularly useful for measuring small changes or compensating for test lead resistance.
- Адаттагыдай өлчөө жүргүзүңүз.
- басыңыз REL button. The display will show zero, and subsequent readings will be the difference from the initial value.
- Басыңыз REL again to exit relative mode.
5.11. КАРМАП ТУРУУ функциясы
The HOLD function freezes the current reading on the display, allowing you to record the value even after removing the probes from the circuit.
- Perform a measurement.
- басыңыз БЕРҮҮ button. The current reading will be frozen on the display.
- Басыңыз БЕРҮҮ again to release the reading and return to live measurement.
6. Техникалык тейлөө
6.1. Тазалоо
Эсептегичтин кутучасын жарнама менен сүртүңүзamp кездеме жана жумшак жуугуч. Абразивдерди же эриткичтерди колдонбоңуз. Киргизүү терминалдарын кирден жана нымдан тазалаңыз.
6.2. Батареяны алмаштыруу
When the battery symbol appears on the display, the 9V battery needs to be replaced. Follow the steps in Section 4.1. Battery Installation.
6.3. Сактагычты алмаштыруу
If the meter fails to measure current, the fuse may be blown. The AP-39C uses two fuses:
- F1: 800mA/600V fast-acting fuse for the VΩmA input.
- F2: 10A/600V fast-acting fuse for the 10A input.
Сактагычты алмаштыруу үчүн:
- Ensure the meter is turned OFF and test leads are disconnected.
- Батарея бөлүмүнүн капкагын 4.1-бөлүмдө сүрөттөлгөндөй алып салыңыз.
- Эски сактагычты этияттык менен алып салып, анын ордуна дал ошондой түрдөгү жана рейтингдеги жаңы сактагычты коюңуз.
- Replace the battery and cover, securing it with the screw.
7. Кыйынчылыктарды
If the meter does not function correctly, check the following:
- Дисплей жок же күңүрт дисплей: 9V батареясын текшериңиз. Зарыл болсо, алмаштырыңыз.
- Туура эмес окуулар: Ensure test leads are properly connected and not damaged. Verify the correct function and range are selected. For resistance, continuity, diode, and capacitance, ensure the circuit is de-energized.
- Токту өлчөө иштебей жатат: Check the fuses (F1 and F2) and replace if blown.
- "OL" (Ашыкча жүктөө) көрсөтүлдү: Өлчөнгөн маани тандалган диапазондон ашып кетти. Жогорку диапазонго которулуңуз же киргизилген маани өлчөгүчтүн максималдуу спецификацияларында экенин текшериңиз.
If problems persist, contact AOPUTTRIVER customer support.
8. Техникалык шарттар
| Өлчөө функциясы | Диапазон |
|---|---|
| DC Voltage | 600.0мВ - 600В |
| AC Voltage | 6.000В - 600В |
| Туруктуу ток | 600мА - 10А |
| AC тогу | 600мА - 10А |
| Каршылык | 600Ω - 60MΩ |
| Сыйымдуулук | 9.999нФ - 99.99мФ |
| Температура | -4°F – 1832°F (-20°C – 1000°C) |
| Жыштык | 9.999Гц - 9.999МГц |
| Милдеттик цикл | 0.1% - 99.9% |
| Батарея сыноо | 1.5V/9V |
| Дисплей | 6000 саны |
| Sampling Rate | 2-3 жолу/сек |
| Power Source | 9V Батарея |
| Өлчөмдөр | 7.36 x 4.72 x 2.24 дюйм |
| Салмагы | 8.82 унция (250 грамм) |
9. Кепилдик жана колдоо
For warranty information and customer support, please refer to the documentation included with your purchase or visit the official AOPUTTRIVER website. You may also contact AOPUTTRIVER customer service directly for assistance with product inquiries, technical support, or service requests.
Additional resources, including a PDF version of the user manual, may be available on the manufacturer's webсайт же сатуучу аркылуу.


