1. Киришүү
This manual provides essential instructions for the safe and effective operation of your AGFA Photo Realishot DC5200 compact digital camera. Please read this manual thoroughly before using the camera and retain it for future reference.

Сүрөт 1: Алдыңкы view of the AGFA Photo Realishot DC5200 compact camera.

Figure 2: AGFA Photo Realishot DC5200 highlighting 21MP photo resolution and HD video capability.
2. Пакеттин мазмуну
Төмөндө тизмеленген нерселердин баары камераңыздын топтомуна камтылганын текшериңиз:
- AGFA Photo Realishot DC5200 Camera
- USB кабели
- Колдонуучунун Колдонмосу (бул документ)
- Кайра заряддалуучу литий батареясы
3. Камера компоненттери
3.1 Фронт View
The front of the camera features the lens, flash, and self-timer lamp.
3.2 Арткы View (LCD экран)
The rear of the camera is dominated by the 2.4-inch TFT LCD screen, used for framing shots, reviewсүрөттөрдү жана навигация менюларды.

3-сүрөт: Арткы view of the camera displaying the 2.4-inch LCD screen.
3.3 Үстү жана капталы Views
The top and sides house the power button, shutter button, zoom controls, and ports for connectivity.
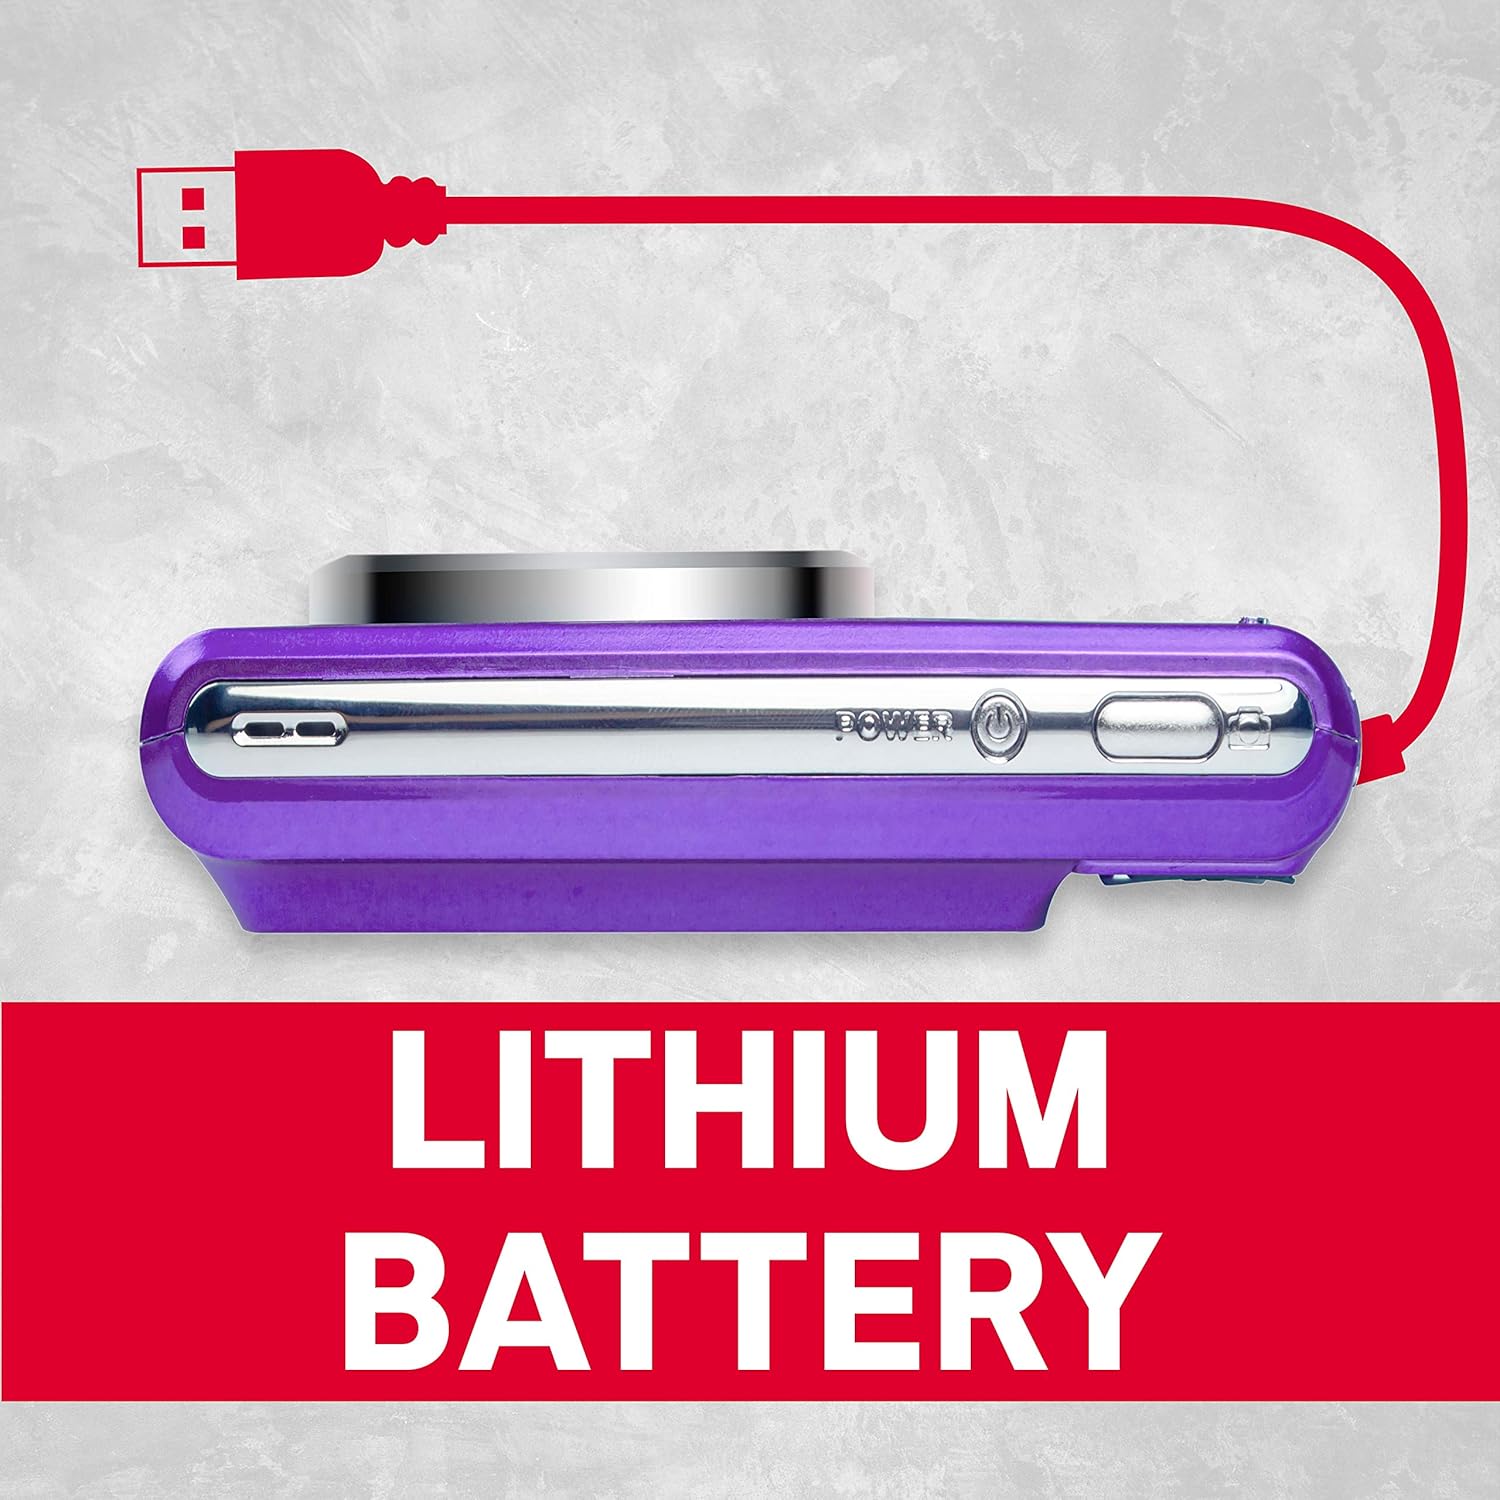
4-сүрөт: Каптал view of the camera showing the USB port for charging and data transfer.
4. Баштапкы орнотуу
4.1 Батареяны заряддоо
- Insert the provided lithium battery into the battery compartment, ensuring correct polarity.
- Connect the camera to a power source using the supplied USB cable. The charging indicator will illuminate.
- Индикатор өчкөндө заряддоо аяктады.
4.2 SD картаны салуу
The camera supports SD cards up to 32 GB (not included). A memory card is required to save photos and videos.
- SD карта уясынын капкагын ачыңыз.
- SD картаны металл контакттарын туура багытка каратып, ордуна чыкылдаган үн чыкканча салыңыз.
- SD карта уясынын капкагын коопсуз жабыңыз.
5. Негизги операция
5.1 Күйгүзүү/өчүрүү
басып, кармап туруңуз Күч камераны күйгүзүү же өчүрүү үчүн баскыч.
5.2 Сүрөт тартуу
- Камераны күйгүзүңүз.
- ЖК экранды колдонуп кадрыңызды тартыңыз.
- басыңыз Жабык button halfway to focus, then press fully to capture the image.
5.3 Видеолорду жаздыруу
- Switch to video mode (if applicable, refer to on-screen menu).
- басыңыз Жабык жазууну баштоо үчүн баскыч.
- басыңыз Жабык жазууну токтотуу үчүн кайра баскычын басыңыз.
5.4 Санариптик масштабдоону колдонуу
The camera features 8x digital zoom. Use the zoom controls (typically labeled W for Wide and T for Telephoto) to adjust the focal length.

5-сүрөт: Мисample of 8x digital zoom capability.
5.5 Сахна режими
The camera offers various scene modes to optimize settings for different shooting conditions. Common modes include:
- Авто режим: General purpose shooting.
- Түнкү режим: For low-light environments.
- Пляж режими: For bright, reflective scenes.
Access scene modes through the camera's menu system.

Figure 6: Visual representation of different scene modes available on the camera.
6. Өркүндөтүлгөн функциялар
6.1 Бетти аныктоо
The camera can automatically detect faces in the frame and optimize focus and exposure for portraits.

Figure 7: Camera demonstrating face detection technology.
6.2 Digital Image Stabilization
This feature helps reduce blur caused by camera shake, resulting in clearer images, especially in challenging conditions.
6.3 Авто таймер
Set a delay of 2, 5, or 10 seconds before the shutter fires, useful for self-portraits or group photos.
6.4 Red-Eye Reduction Flash
When using the flash, this feature emits a pre-flash to minimize the red-eye effect in portraits.
7. ViewСүрөттөрдү жана видеолорду тартуу
Кайраview тартылган сүрөттөр жана видеолор:
- басыңыз Ойнотуу баскычы (көбүнчө ойнотуу сүрөтчөсү менен көрсөтүлөт).
- Use the directional buttons to navigate through your files.
- басыңыз OK or Кириңиз баскычына view сүрөт же видео ойнотуңуз.
8. өткөрүп берүү Fileс компьютерге
You can transfer photos and videos to a computer using the supplied USB cable.
- Камера өчүк экенин текшериңиз.
- USB кабелин колдонуп, камераны компьютериңизге туташтырыңыз.
- Power on the camera. It should appear as a removable disk or device on your computer.
- Каалаганды көчүрүңүз files камеранын эстутум картасынан компьютериңизге көчүрүңүз.
- Safely eject the camera from your computer before disconnecting the USB cable.
9. Кароо жана тейлөө
- Keep the camera clean. Use a soft, dry cloth to wipe the camera body.
- For the lens and LCD screen, use a specialized lens cleaning cloth. Avoid harsh chemicals.
- Камераны салкын, кургак жерде күндүн тике тийген нурунан жана экстремалдык температурадан алыс сактаңыз.
- Камера узак убакыт бою колдонулбаса, батареяны алып салыңыз.
10. Кыйынчылыктарды
| Көйгөй | Мүмкүн себеп | Чечим |
|---|---|---|
| Камера күйбөйт. | Батарея түгөнүп калган же туура эмес салынган. | Батареяны толук заряддаңыз. Батарея туура полярдуулук менен салынганын текшериңиз. |
| Сүрөткө тартуу мүмкүн эмес. | SD card is full, locked, or not inserted. | Insert an SD card, unlock it, or delete unnecessary files. |
| Сүрөттөр бүдөмүк. | Камера титиреп, объекттин кыймылы же туура эмес фокус. | Hold the camera steady. Ensure adequate lighting. Use digital image stabilization. |
| Flash күйбөйт. | Flash is disabled or battery is low. | Enable flash in settings. Recharge battery. |
11. Техникалык шарттар
- Сүрөттүн чечими: 21 мегапиксел
- Видеонун чечилиши: 720p HD (1280x720)
- LCD экран: 2.4 дюймдук TFT LCD
- Digital Zoom: 8x
- Сүрөттү турукташтыруу: Санарип
- Өзгөчөлүктөр: Face Detection, Self-Timer (2s/5s/10s), Red-Eye Reduction Flash
- Батарея: Кайра заряддалуучу литий батареясы
- Сактагыч: Supports SD Card up to 32 GB (not included)
- Колдоого алынган File Форматтары: JPEG (photos), AVI (videos)
- Продукциянын өлчөмдөрү: 3.74 x 2.28 x 1.06 дюйм
- Элемент Салмагы: 3.14 унция

Figure 8: ашыкview of key camera features and specifications.
12. Кепилдик жана колдоо
Кепилдик маалыматы жана кардарларды колдоо үчүн, сатып алууда берилген документтерди караңыз же расмий AgfaPhoto сайтына баш багыңыз. webсайт. Кепилдик дооматтар үчүн сатып алганыңыздын далилин сактаңыз.


