1. Киришүү
The Gardena Backpack Sprayer 12 L Plus, model 11142-20, is designed for efficient plant care in large gardens, orchards, and vineyards. Its 12-liter capacity and ergonomic design ensure comfortable use over extended periods. This manual provides essential information for the safe and effective operation, maintenance, and troubleshooting of your sprayer.
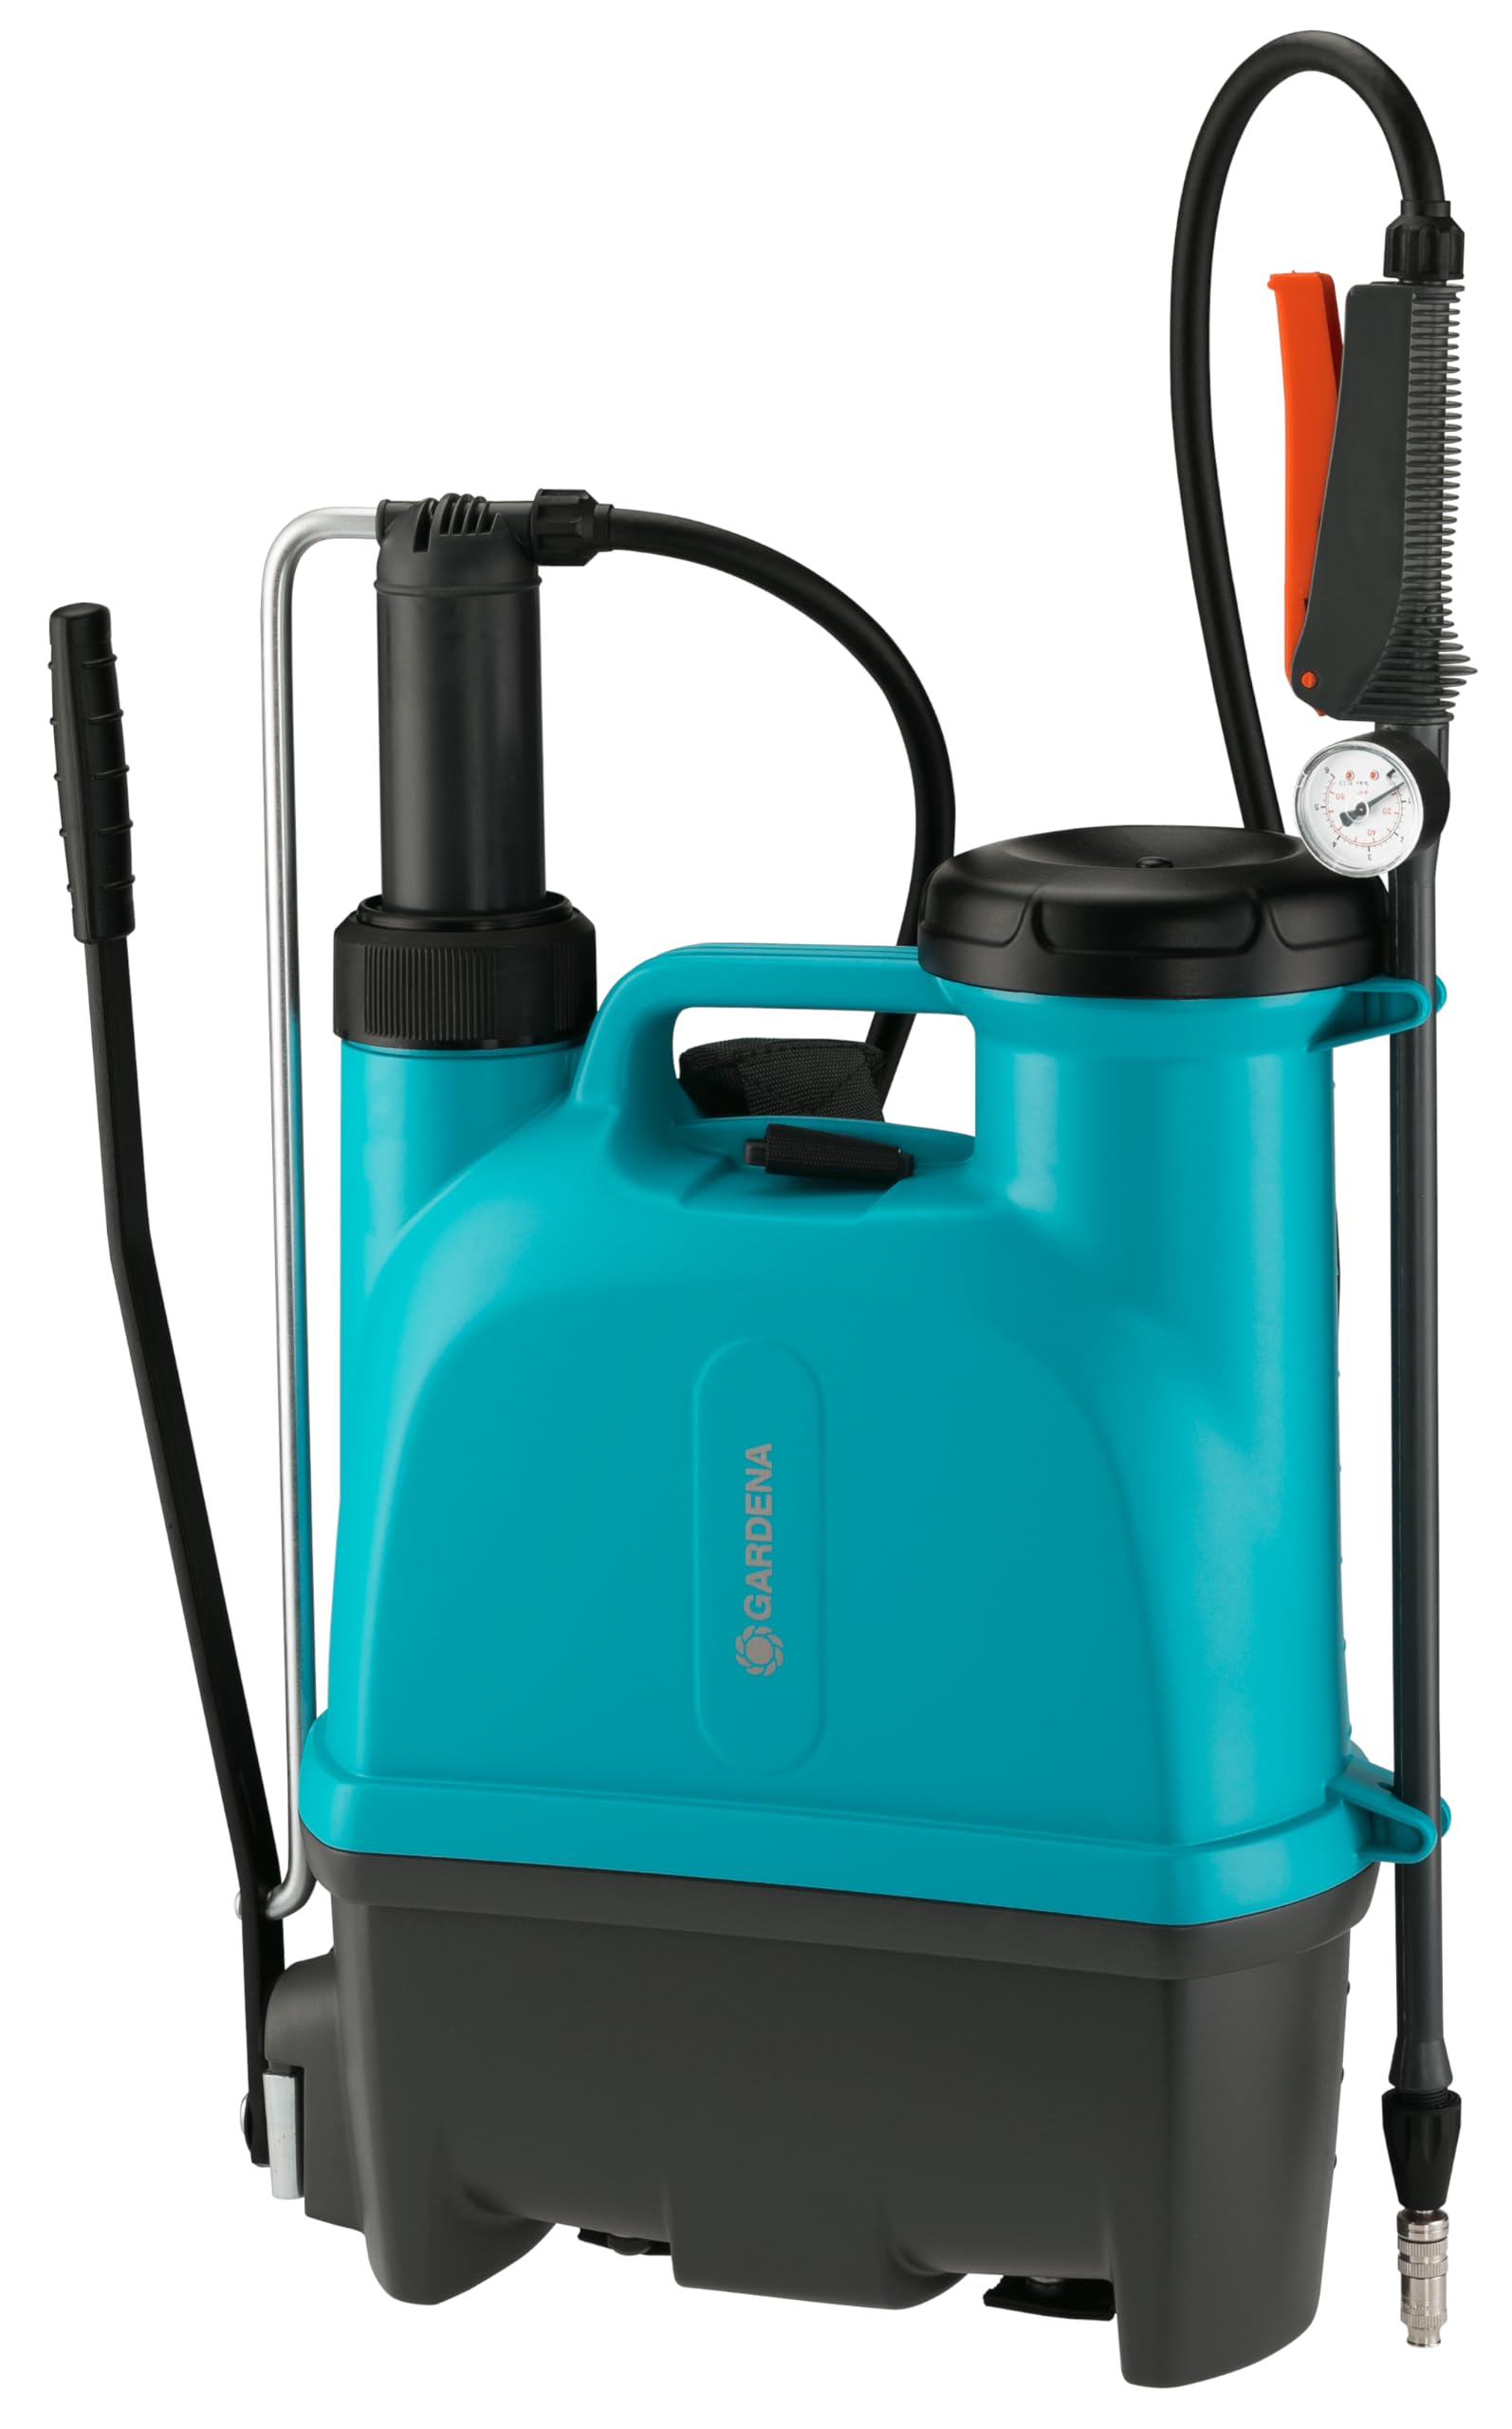
Image 1.1: The Gardena Backpack Sprayer 12 L Plus, showcasinанын жалпы дизайны жана компоненттери.
2. Коопсуздук эскертүүлөрү
Always read and understand all safety warnings and instructions before using the product.
- Always handle chemicals with care. Follow the instructions and safety guidelines provided by the chemical manufacturer.
- Do not overload the sprayer system beyond its 12-liter capacity.
- Чачыраткычты жылуулук булактарынан жана ачык оттон алыс кармаңыз.
- Ensure all connections are secure before pressurizing the sprayer to prevent leaks.
- Wear appropriate personal protective equipment (PPE) such as gloves, eye protection, and masks when handling chemicals and operating the sprayer.
- Адамдарга, жаныбарларга же электр жабдууларына чачпаңыз.
- Store the sprayer and chemicals out of reach of children and pets.
3. Орнотуу жана чогултуу
The Gardena Backpack Sprayer 12 L Plus requires some assembly before first use. Follow these steps carefully:
- Attach Shoulder Straps: Securely fasten the padded shoulder straps to the designated attachment points on the sprayer tank. Ensure they are adjusted for a comfortable fit, distributing the weight evenly across your back. The straps can be adjusted for both right-handed and left-handed users.
- Connect the Hose and Lance: Attach the spray hose to the sprayer unit and then connect the telescopic brass lance to the other end of the hose. Ensure all connections are tightened to prevent leaks.
- Install the Pumping Lever: Attach the pumping lever to the side of the sprayer. Ensure it moves freely and engages with the internal pump mechanism.

Image 3.1: A user wearing the Gardena Backpack Sprayer, demonstrating the ergonomic design and proper strap adjustment.
4. Иштөө нускамалары
Follow these steps for safe and effective operation of your backpack sprayer:
- Резервуарды толтуруу: Unscrew the large filling cap. Use the integrated filter to pour your desired liquid solution into the 12-liter tank. Do not exceed the maximum fill line. Securely close the cap after filling.
- Имараттын басымы: Place the sprayer on your back. Use the pumping lever to build pressure within the tank. Pump until the desired pressure is indicated on the integrated pressure gauge located on the lance handle.
- Adjusting the Lance and Nozzle: Extend the telescopic brass lance to reach higher or more distant plants. Rotate the nozzle at the end of the lance to adjust the spray pattern from a fine mist to a powerful jet.
- Чачыруу: Aim the lance at the target area and press the trigger on the handle to begin spraying. Monitor the pressure gauge and pump as needed to maintain consistent pressure.

Image 4.1: A user filling the sprayer tank, showing the wide opening for easy liquid addition.

Image 4.2: A user operating the pumping lever to build pressure in the sprayer.

Image 4.3: Hands adjusting the nozzle on the telescopic lance to change the spray pattern.

Image 4.4: A user spraying a tree, demonstrating the reach of the telescopic lance.
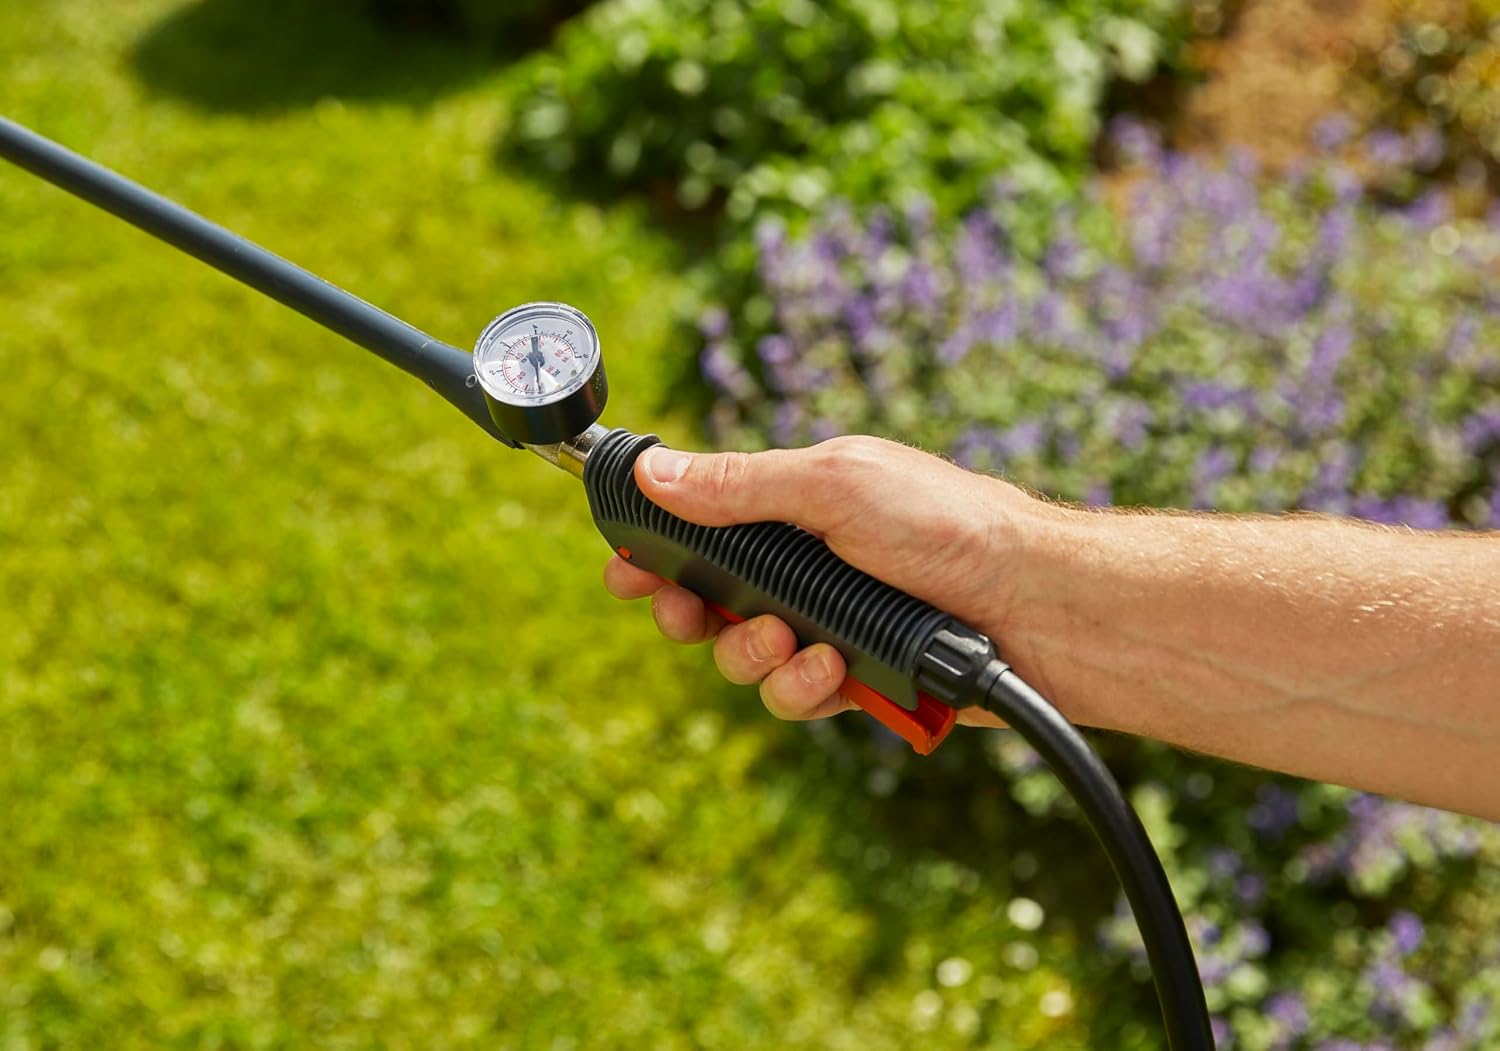
Image 4.5: Close-up of a hand holding the sprayer lance, showing the integrated pressure gauge for monitoring.
5. Техникалык тейлөө
Чачыраткычыңыздын узак мөөнөттүү иштешин жана оптималдуу иштешин туура тейлөө камсыз кылат:
- Колдонгондон кийин тазалоо: After each use, empty any remaining solution. Rinse the tank thoroughly with clean water. Pump clean water through the lance and nozzle to flush out any residue.
- Соплолорду тазалоо: Эгерде форсунка бүтөлүп калса, аны алып салып, жумшак щетка менен же агын суу менен чайкап тазалаңыз. Фоссилканын оозун тазалоо үчүн металл буюмдарды колдонбоңуз.
- Агышууларды текшерүү: Regularly inspect all hose connections, seals, and the pump mechanism for any signs of wear or leaks. Tighten connections as needed. Replace worn seals or components promptly.
- Майлоо: Periodically apply a silicone-based lubricant to the pump piston and O-rings to ensure smooth operation and prevent sticking.
- Сактагыч: Чачыраткычты салкын, кургак жерде, күндүн түз нурунан жана нөл температурадан алыс сактаңыз. Сактоодон мурун резервуардын бош жана таза экенин текшериңиз.
6. Кыйынчылыктарды
Жалпы маселелер жана аларды чечүү үчүн бул бөлүмдү караңыз:
| Көйгөй | Мүмкүн себеп | Чечим |
|---|---|---|
| Кысым жок же төмөн басым | Loose connections, worn pump seals, clogged nozzle, insufficient pumping. | Check and tighten all connections. Inspect and replace pump seals if worn. Clean the nozzle. Pump the lever more vigorously or for a longer duration. |
| Liquid leaks from pump or connections | Loose connections, damaged O-rings or seals. | Бардык туташууларды бекемдеңиз. Бузулган О-шакектерди же пломбаларды текшерип, алмаштырыңыз. |
| Nozzle sprays unevenly or drips | Бүтөлүп калган форсунка, бузулган форсунка. | Clean the nozzle thoroughly. If damaged, replace the nozzle. |
| Telescopic lance is difficult to extend/retract | Internal rubber seal sticking, dirt accumulation. | Clean the lance thoroughly. Apply a silicone-based lubricant to the telescopic sections and seals. |
| Piston gets stuck or does not aspirate liquid | Worn or dry piston seals, debris in pump mechanism. | Disassemble the pump, clean any debris, and lubricate or replace piston seals. |
7. Техникалык шарттар
- Модель номери: 11142-20
- Бренд: Гардена
- Көлөмү: 12 литр
- Кубат булагы: Кол менен иштейт
- Material (Lance/Nozzle): Жез
- Салмагы: 3.73 килограмм
- Түсү: Кара/Боз
- Келип чыккан өлкө: Германия
- Камтылган компоненттер: Backpack Sprayer unit with telescopic lance and padded straps.
8. Кепилдик жана колдоо
Gardena offers a commitment to quality for its products. Spare parts for the Gardena Backpack Sprayer 12 L Plus are typically available for up to 10 years from the date of purchase.
For further assistance, technical support, or warranty claims, please contact Gardena customer service through their official website or authorized service centers. Keep your proof of purchase for any warranty-related inquiries.


