1. Коопсуздук маалыматы
Please read and understand all safety information and operating instructions before using this multimeter. Failure to follow these instructions may result in electric shock, fire, or damage to the meter.
- Өлчөөлөрдү жүргүзүүдөн мурун, ар дайым сыноо өткөргүчтөрү туура туташтырылганын жана функция которгучу туура диапазонго коюлганын текшериңиз.
- Көлөмдү өлчөөгө аракет кылбаңызtages or currents exceeding the maximum rated values for this meter.
- Токтогуч чынжырлар менен иштөөдө өтө этият болуңуз. Жогорку вольтtagкоркунучтуу болушу мүмкүн.
- Never open the meter casing unless specifically instructed for battery or fuse replacement. Ensure test leads are disconnected before opening.
- Батареяны так көрсөткүчтөрдү камсыз кылуу үчүн батарейка аз индикатор пайда болгондо алмаштырыңыз.
- Эгерде ал бузулуп калса же сыноо өткөргүчтөрүнүн изоляциясы бузулса, эсептегичти колдонбоңуз.
1-сүрөт: Арткы view of the Rebel MIE-RB-830 Multimeter, showing the battery compartment cover and a warning label. The label advises removing test leads before opening the case to avoid electrical shock and to install fuses with correct amp/volt ratings. It also indicates the power supply is a 9V battery, type NEDA 1604 9V 6F22.
2. Продукт бүтүп калдыview
The Rebel MIE-RB-830 is a compact, battery-operated digital multimeter designed for measuring DC/AC voltage, DC current, resistance, diode, and transistor (hFE) values. It is suitable for general electrical testing and troubleshooting.
2.1. Компоненттер
- Digital Multimeter Unit
- Сыноочу (Кызыл жана Кара)
- 9V батарея (кошулушу мүмкүн же өзүнчө сатылышы мүмкүн)
- Колдонуучунун Колдонмосу (бул документ)

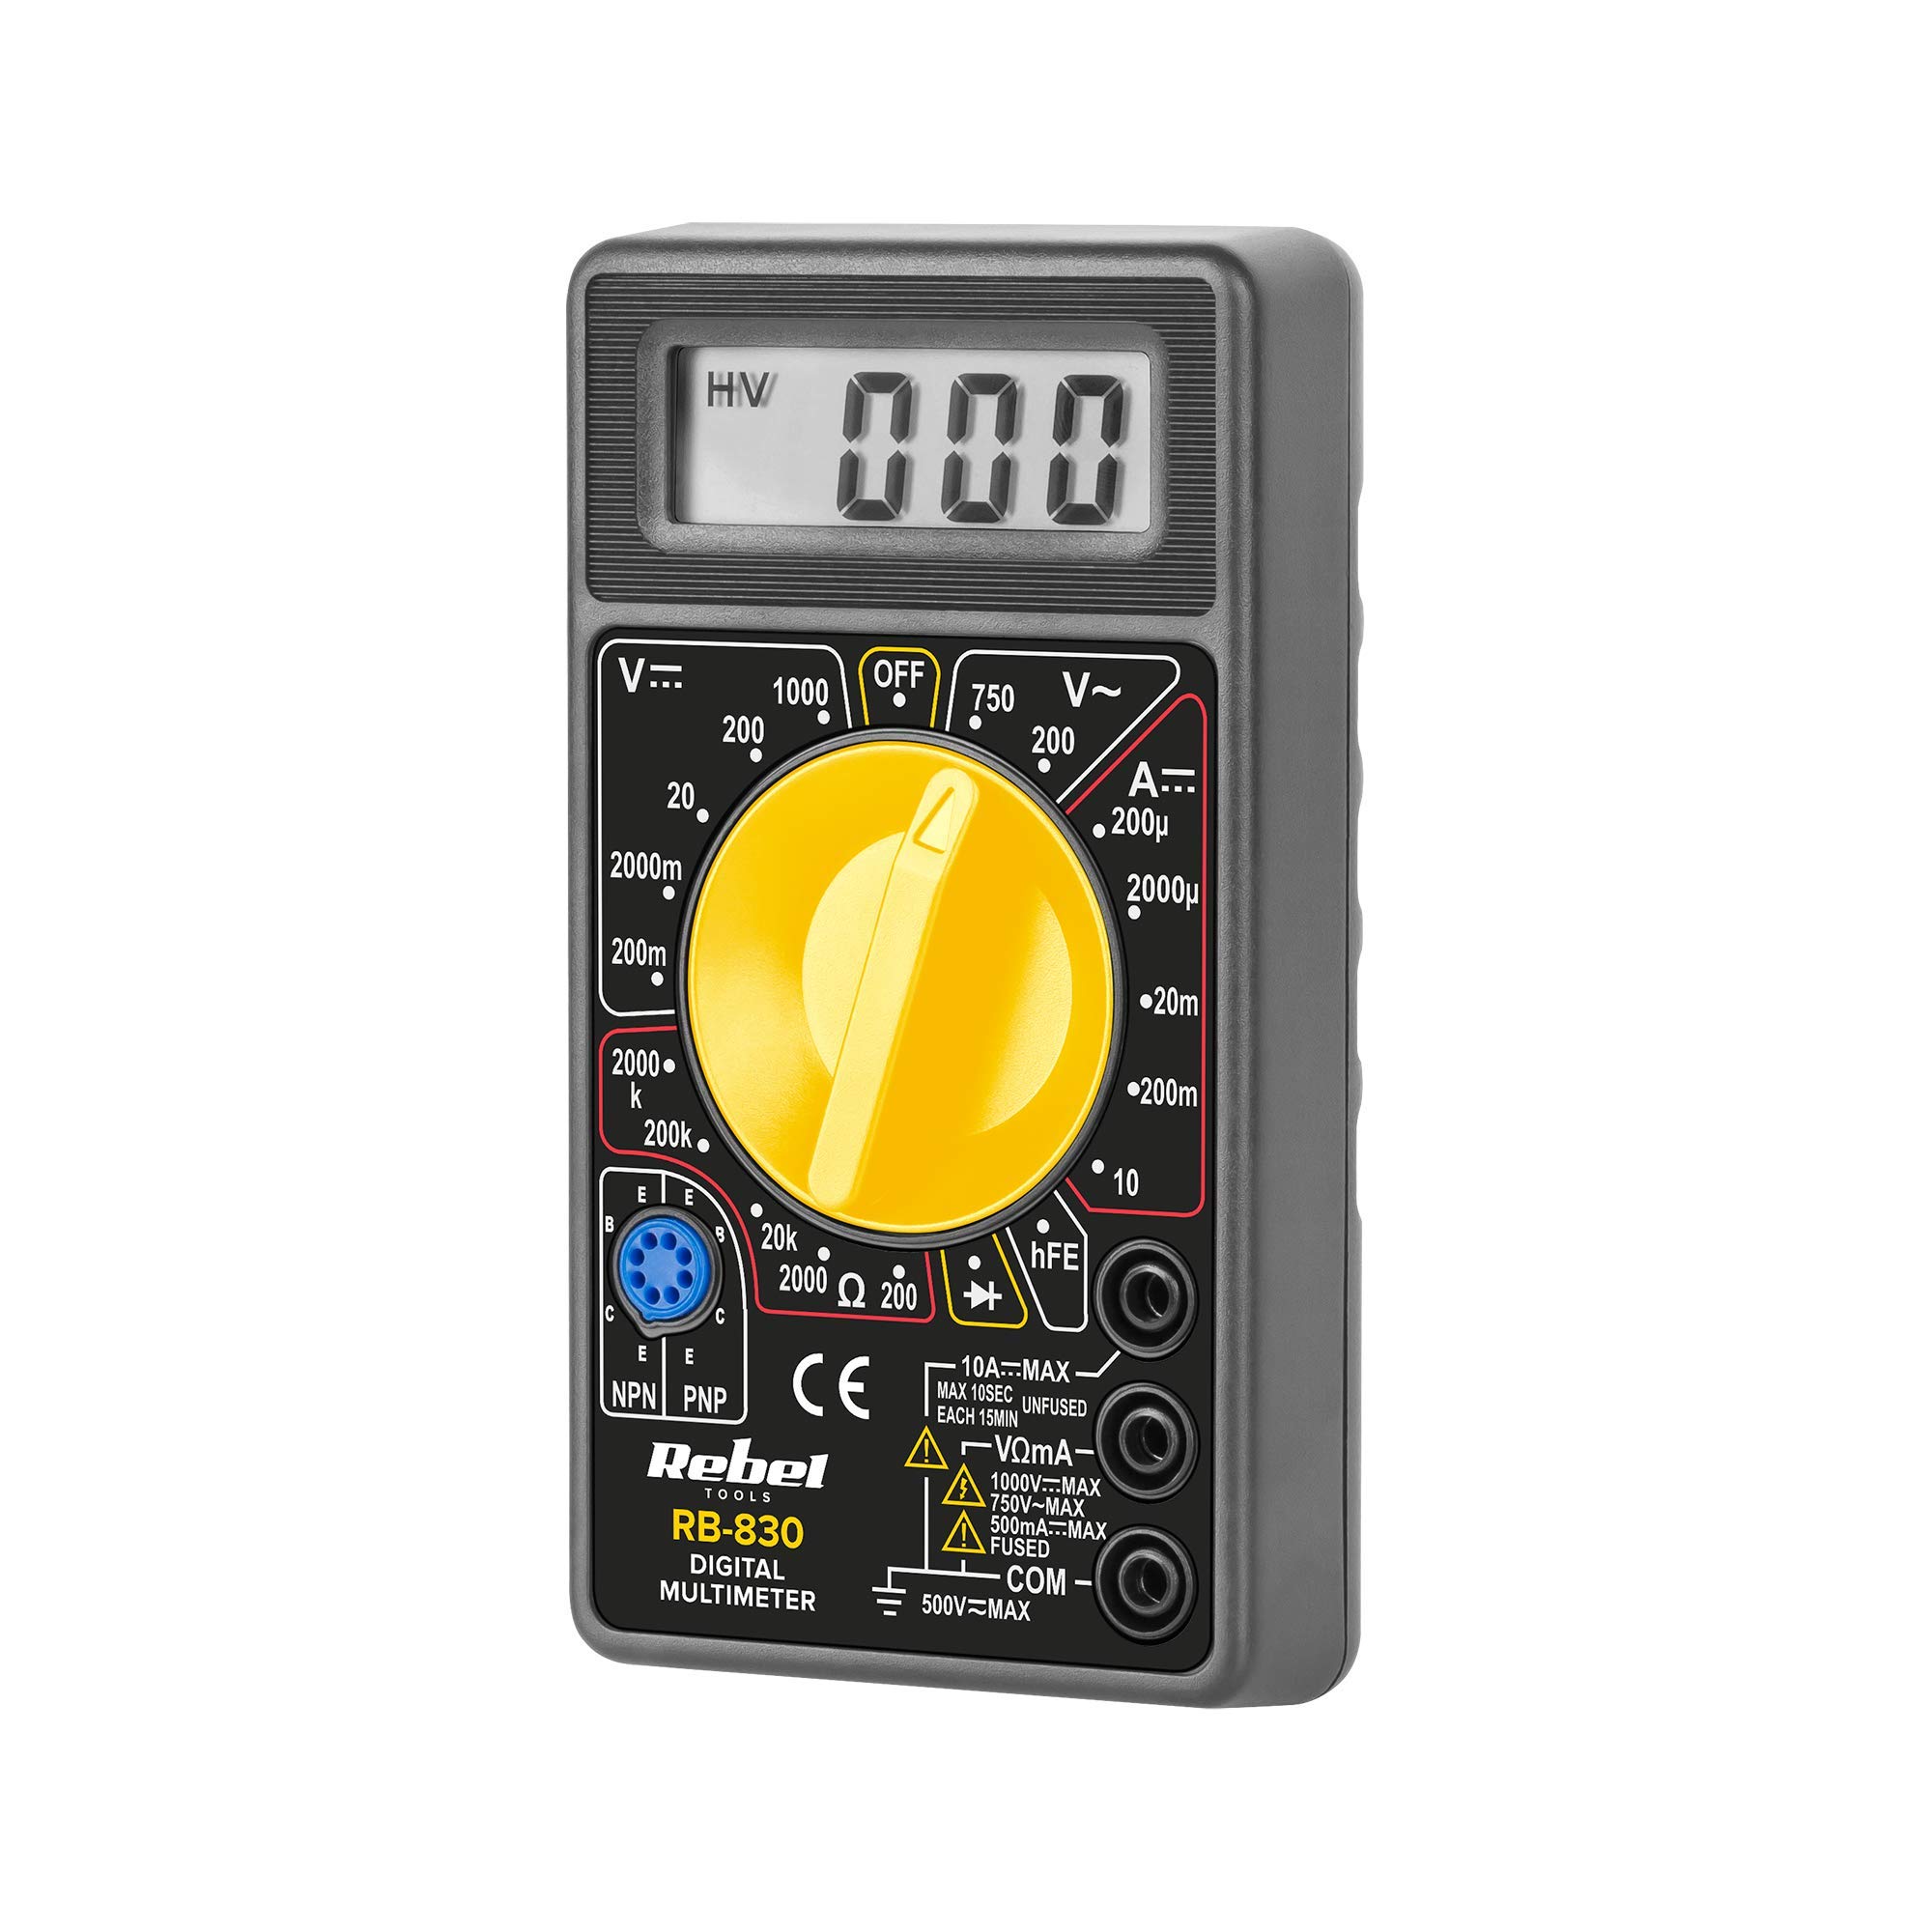
2-сүрөт: The Rebel MIE-RB-830 Digital Multimeter shown with its accompanying red and black test leads. The multimeter features a large LCD display and a rotary function switch.

3-сүрөт: Жакын план view of the red and black test leads. These leads are essential for connecting the multimeter to the circuit under test.
3. Орнотуу
3.1. Батареяны орнотуу
- Мультиметрдин өчүрүлгөнүн жана бардык сыноо өткөргүчтөрү ажыратылганын текшериңиз.
- Батарея бөлүмүнүн капкагын эсептегичтин арткы бетинен табыңыз (1-сүрөттү караңыз).
- Бекитүүчү бураманы(ларды) бурап чыгарып, капкакты этияттык менен алып салыңыз.
- Insert a new 9V battery (NEDA 1604 or 6F22 type), observing the correct polarity (+ and -).
- Батарея уясынын капкагын ордуна коюңуз жана аны бурама(лар) менен бекитиңиз.
3.2. Сыноо линияларын туташтыруу
- туташтыруу кызыл test lead to the "VΩmA" input jack.
- туташтыруу кара test lead to the "COM" (common) input jack.
- For current measurements exceeding 200mA (up to 10A), connect the red test lead to the "10A" input jack.
4. Иштөө нускамалары
4.1. Функция тандоо
Turn the rotary switch to the desired measurement function and range. Always start with a higher range if the approximate value is unknown to prevent overloading the meter.
4.2. DC Voltage (V–)
- Айлануучу которгучту каалаган DC Voltage (V–) range (e.g., 20V, 200V).
- Кызыл сыноо зымын чынжырдын оң (+) тарабына, ал эми кара сыноо зымын терс (-) тарабына туташтырыңыз.
- Томду окуңузtage дисплейдеги e мааниси.
4.3. Өлчөө AC Voltage (V∼)
- Айлануучу которгучту керектүү AC Voltage (V∼) range (e.g., 200V, 750V).
- Сыноо өткөргүчтөрүн AC том аркылуу туташтырыңызtage булагы.
- Томду окуңузtage дисплейдеги e мааниси.
4.4. Туруктуу токту өлчөө (A–)
Абайлаңыз: To measure current, the meter must be connected in series with the circuit. Never connect the meter in parallel with a voltage source when in current mode, as this can damage the meter and the circuit.
- Set the rotary switch to the desired DC Current (A–) range (e.g., 20mA, 200mA, 10A).
- For currents up to 200mA, ensure the red lead is in the "VΩmA" jack. For currents up to 10A, move the red lead to the "10A" jack.
- Ток өлчөнө турган схеманы ачып, эсептегичти катарга туташтырыңыз.
- ЖК дисплейдеги учурдагы маанини окуңуз.
4.5. Каршылык көрсөтүүнү өлчөө (Ω)
Абайлаңыз: Ensure the circuit or component under test is de-energized before measuring resistance.
- Set the rotary switch to the desired Resistance (Ω) range (e.g., 200Ω, 2kΩ, 200kΩ).
- Сыноо өткөргүчтөрүн өлчөнө турган компонент же схема боюнча туташтырыңыз.
- ЖК дисплейдеги каршылыктын маанисин окуңуз.
4.6. Diode Test (→|–)
- Set the rotary switch to the Diode Test (→|–) position.
- Диоддун анодуна кызыл текшерүү өткөргүчтү жана катодго кара сыноо өткөргүчтү туташтырыңыз.
- Дисплей алдыга томду көрсөтөтtage drop (typically 0.5V to 0.8V for silicon diodes).
- Зымдарды тескери буруңуз. Диоддун жакшы экенин текшерүү үчүн дисплейде "OL" (Ачык цикл) көрсөтүлүшү керек.
4.7. Транзисторду (hFE) сыноо
- Айлануучу которгучту hFE абалына коюңуз.
- Транзистор NPN же PNP экендигин аныктаңыз.
- Insert the transistor's emitter, base, and collector leads into the corresponding sockets on the hFE test socket.
- Read the hFE (DC current gain) value on the display.
5. Техникалык тейлөө
5.1. Батареяны алмаштыруу
Дисплейде батареянын заряды аз деген көрсөткүч пайда болгондо, 3.1-бөлүмдө сүрөттөлгөндөй, 9V батареяны алмаштырыңыз. Батареянын заряды аз колдонуу так эмес көрсөткүчтөргө алып келиши мүмкүн.
5.2. Сактагычты алмаштыруу
If the current measurement function stops working, the fuse may need replacement. This operation should only be performed by qualified personnel.
- Мультиметрдин өчүрүлгөнүн жана бардык сыноо өткөргүчтөрү ажыратылганын текшериңиз.
- Open the back casing of the meter (this may involve more screws than just the battery compartment).
- Locate the blown fuse and replace it with a fuse of the exact same type and rating (e.g., F200mA/250V for mA range, F10A/250V for 10A range). Refer to the internal markings or specifications for precise fuse ratings.
- Эсептегичти кылдаттык менен кайра чогултуп, бардык бурамалардын бекем тартылганын текшериңиз.
5.3. Тазалоо
Жарнама менен эсептегичти сүртүңүзamp cloth and mild detergent. Do not use abrasives or solvents. Keep the meter dry.
6. Кыйынчылыктарды
| Көйгөй | Мүмкүн себеп | Чечим |
|---|---|---|
| Эч кандай дисплей же начар дисплей | Батарея аз же өлүп калды | 9V батарейканы алмаштырыңыз. |
| Туура эмес окуулар | Low battery; Incorrect range selection; Poor test lead connection | Replace battery; Select appropriate range; Ensure leads are firmly connected. |
| Учурдагы өлчөө иштебей жатат | Blown fuse; Incorrect lead connection for current | Replace fuse (see Section 5.2); Ensure red lead is in "VΩmA" or "10A" jack as appropriate. |
| "OL" (Ашыкча жүктөө) көрсөтүлөт | Measured value exceeds selected range; Open circuit (for resistance/continuity) | Select a higher range; Check circuit for breaks. |
7. Техникалык шарттар
| Өлчөө функциясы | Диапазон | Тактык |
|---|---|---|
| DC Voltage (V–) | 200мВ, 2В, 20В, 200В, 1000В | ±(0.5% + 2 сан) |
| AC Voltage (V∼) | 200V, 750V | ±(1.2% + 10 сан) |
| DC Current (A–) | 200µA, 2mA, 20mA, 200mA, 10A | ±(1.0% + 2 сан) |
| Каршылык (Ω) | 200Ω, 2kΩ, 20kΩ, 200kΩ, 2MΩ | ±(0.8% + 2 сан) |
| Диод сыноо | Ооба | Алга томtagд тамчы |
| Транзистор (hFE) сыноо | Ооба | hFE value |
| Электр камсыздоо | 9V Battery (NEDA 1604 or 6F22) | |
| Дисплей | 3½ Digit LCD, Max. 1999 | |
| Өлчөмдөр | Болжол менен. 13.5 x 10 x 4 см | |
| Салмагы | Approx. 107 grams (without battery) | |
| Иштөө температурасы | 0°Cден 40°Cге чейин (32°F—104°F) | |
| Сактоо температурасы | -10°Cден 50°Cге чейин (14°Fтен 122°Fге чейин) | |
| Коопсуздук стандарттары | CE, RoHS |
8. Кепилдик жана колдоо
This Rebel MIE-RB-830 Digital Multimeter is covered by a standard manufacturer's warranty against defects in materials and workmanship. Please refer to the warranty card included with your purchase or contact your retailer for specific warranty terms and conditions.
For technical support or service inquiries, please contact the point of purchase or visit the official Rebel webбайланыш маалыматы үчүн сайт.