1. Киришүү
This manual provides instructions for the installation, operation, and maintenance of your Blaupunkt BPDV167 HD Dashcam. This device is designed to record video footage of your vehicle's surroundings, offering continuous loop recording in 720p resolution. It features a 2.4-inch LCD screen, a built-in microphone, and supports up to a 32GB Micro SD card (an 8GB card is included).
Please read this manual thoroughly before using the dashcam to ensure proper functionality and to understand all features.
2. Продукт бүтүп калдыview
2.1 Негизги өзгөчөлүктөрү
- 2.4-inch LCD Screen for real-time viewжана ойнотуу.
- Аудио жаздыруу үчүн орнотулган микрофон.
- Includes an 8GB Micro SD Card; supports up to 32GB (Class 6 TF or higher recommended).
- Continuous Loop Recording ensures older fileс эстутум картасы толгондо үстүнө жазылат.
- 120-degree Wide-Angle Lens captures a broad view жолдун.
- Records video at up to 720p resolution.
- G-Sensor for automatic emergency recording upon impact.
- Parking Monitor function for surveillance when the vehicle is parked.
- Infrared light for improved night vision capabilities.
- Rechargeable battery with included car charger.
- үчүн USB туташуу file transfer to external devices.
2.2 Пакеттин мазмуну
Пакетке төмөнкүлөр кирет:
- Blaupunkt BPDV167 Dashcam
- Унаа заряддагыч
- Орнотуу кронштейни (соргуч чөйчөк)
- 8 ГБ микро SD карта
- USB кабели
- Колдонуучунун Колдонмосу (бул документ)
2.3 Түзмөктүн жайгашуусу
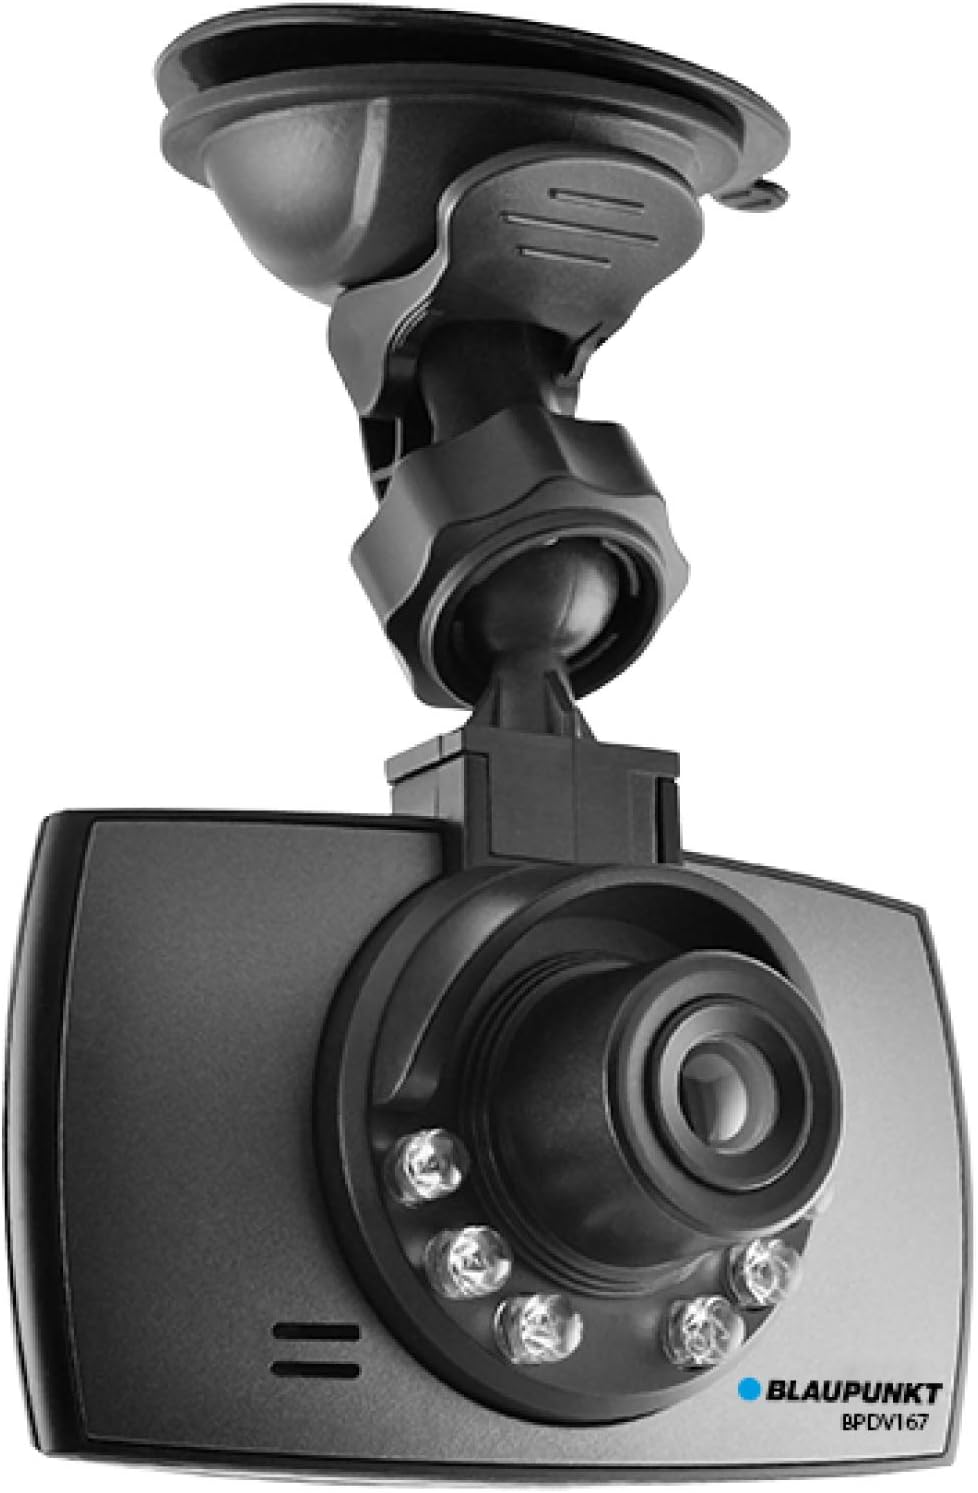
Сүрөт 1: Алдыңкы View of Dashcam. This image shows the front of the Blaupunkt BPDV167 dashcam, featuring the camera lens, infrared lights, and the attached suction cup mount for windshield installation.

2-сүрөт: Арткы View of Dashcam. This image displays the rear of the Blaupunkt BPDV167 dashcam, highlighting the 2.4-inch LCD screen, power button, menu button, mode button, and navigation/OK buttons on the right side.
Note: Specific button labels and port locations are detailed in the following sections.
3. Орнотуу
3.1 Micro SD картаны салуу
- Locate the Micro SD card slot on the side of the dashcam.
- Gently insert the included 8GB Micro SD card (or another compatible card up to 32GB, Class 6 TF or higher) into the slot until it clicks into place. Ensure the card is inserted with the correct orientation.
- Чыгаруу үчүн картаны чыкылдагыча акырын түртүңүз, анан коё бериңиз, ошондо ал чыгып калат.
Маанилүү: Format the Micro SD card within the dashcam's settings menu before first use and periodically thereafter to ensure optimal performance and prevent recording errors.
3.2 Видеорегистраторду орнотуу
- Clean the area on your windshield where you intend to mount the dashcam. Ensure it is free of dust and grease.
- Attach the suction cup mount to the dashcam.
- Press the suction cup firmly against the windshield and flip the lever to secure it. Position the dashcam so it has a clear view жолдун четинде жана айдооңузга тоскоол болбойт.
- Adjust the angle of the camera lens to capture the desired field of view.
3.3 Кубат туташтыруу
- Connect the included car charger to the dashcam's power input port.
- Унаа кубаттагычтын экинчи учун унааңыздын 12V электр розеткасына (тамеки от алгычтын розеткасына) сайыңыз.
- The dashcam will typically power on automatically when the vehicle's ignition is turned on and begin recording.
- The internal rechargeable battery allows for short-term operation without external power, useful for parking monitor mode or reviewing footage outside the vehicle.
4. Иштөө нускамалары
4.1 Күйгүзүү/өчүрүү
- Автоматтык: The dashcam powers on and off automatically with your vehicle's ignition when connected to the car charger.
- Кол менен: Press and hold the Power button (refer to Figure 2) for a few seconds to manually turn the dashcam on or off.
4.2 Жазуу режимдери
The dashcam supports several recording modes:
- Цикл жаздыруу: When the dashcam is powered on, it automatically begins continuous loop recording. Video files are saved in segments (e.g., 1, 3, or 5 minutes). When the memory card is full, the oldest unlocked fileлар үстүнөн жазылган.
- G-сенсор (шашылыш жазуу): The built-in G-Sensor detects sudden impacts or collisions. When triggered, the current video segment is automatically locked and protected from being overwritten by loop recording.
- Унаа токтотуучу жай: When enabled in the settings, the dashcam can automatically start recording if it detects motion or impact while the vehicle is parked and the dashcam is off (powered by its internal battery).
4.3 Меню Навигациясы
Use the Menu button to access settings and the Up/Down/OK buttons (refer to Figure 2) to navigate and select options. Common settings include:
- Video Resolution (e.g., 720p)
- Loop Recording duration
- G-Sensor сезгичтиги
- Parking Monitor On/Off
- Дата/Убакыт жөндөөсү
- Микрофон On / Off
- SD картаны форматтоо
4.4 Ойнотуу жана File Transfer
- Түзмөктө ойнотуу: Switch to playback mode using the Mode button (refer to Figure 2). Use the Up/Down buttons to browse files and the OK button to play/pause.
- File Transfer via USB: Connect the dashcam to a computer using the provided USB cable. The dashcam will appear as a removable disk, allowing you to copy video files түздөн-түз компьютериңизге.
- Микро SD картаны окугуч: Alternatively, remove the Micro SD card from the dashcam and insert it into a compatible card reader connected to your computer for faster file өткөрүп берүү.
5. Техникалык тейлөө
5.1 Cleaning the Dashcam
- Ensure the dashcam is powered off and disconnected from power before cleaning.
- Use a soft, dry cloth to wipe the body of the dashcam.
- Линза үчүн, чийилип калбашы үчүн, линзаны тазалоочу атайын чүпүрөктү жана эритмени колдонуңуз.
- Катуу химиялык заттарды же абразивдүү тазалоочу каражаттарды колдонбоңуз.
5.2 Эстутум картасын башкаруу
- Regularly format the Micro SD card (at least once a month) through the dashcam's menu to maintain optimal recording performance and prevent data corruption.
- Маанилүү видеонун камдык көчүрмөсүн сактаңыз files to a computer or external storage before formatting.
- Replace the Micro SD card if you experience frequent recording errors or file corruption, as memory cards have a limited lifespan.
6. Кыйынчылыктарды
| Көйгөй | Мүмкүн себеп | Чечим |
|---|---|---|
| Dashcam иштетилбейт. | No power supply; faulty car charger; depleted internal battery. | Check car charger connection and vehicle's 12V outlet. Ensure the car charger is functional. Charge the internal battery. |
| Жаздыруу токтотулат же fileлар бузулган. | Memory card full; memory card error; incompatible or slow memory card. | Format the Micro SD card. Use a Class 6 TF or higher card. Replace the memory card if issues persist. |
| Видеонун сапаты начар же бүдөмүк. | линзада коргоочу пленка; кир линза; туура эмес чечим орнотуу. | Remove any protective film. Clean the camera lens. Ensure video resolution is set to 720p in settings. |
| Dashcam freezes or becomes unresponsive. | Программалык камсыздоонун иштебей калышы; эс тутум картасынын көйгөйү. | Press and hold the Power button to force a restart. If possible, use the reset button (if available). Format or replace the Micro SD card. |
| Audio is not recording. | Microphone is turned off in settings. | Check the dashcam's settings menu to ensure the microphone is enabled. |
7. Техникалык шарттар
| Өзгөчөлүк | Деталь |
|---|---|
| Модел | BPDV167 |
| Screen Size | 2.4 дюйм LCD |
| Видео тартуунун резолюциясы | 720p |
| Lens Angle | 120-degree Wide-Angle |
| Сактагыч | Micro SD Card (8GB included), supports up to 32GB (Class 6 TF) |
| Байланыш технологиясы | USB |
| Өзгөчөлүктөр | Built-In Microphone, G-Sensor, Parking Monitor, Infrared Light, Loop Recording |
| Башкаруу ыкмасы | тийүү |
| Power Source | Rechargeable Battery, Car Charger (12V) |
| Элемент Салмагы | 7.4 унция |
| Пакеттин өлчөмдөрү | 5.98 x 5.08 x 2.87 дюйм |
| Өндүрүүчү | BLAUPUNKT |


