1. Киришүү
This manual provides instructions for the installation, operation, and maintenance of the Grandstream GRP2604 IP Phone. The GRP2604 is a 3-line, 6-SIP account IP phone designed for ease of use and advanced functionality, featuring a 2.7-inch LCD display and dual-port Gigabit Ethernet.
2. Коопсуздук маалыматы
- Use only the power adapter supplied with the phone.
- Аппаратты сууга же нымга тийгизбеңиз.
- Телефонду жылуулук булактарынын же түз күн нурунун жанына коюудан алыс болуңуз.
- Аппаратты өзүңүз ачууга же оңдоого аракет кылбаңыз. Бардык тейлөөлөрдү квалификациялуу кызматкерлерге тапшырыңыз.
- Ensure proper ventilation around the phone.
3. Пакеттин мазмуну
Пакетиңизде төмөнкү заттар бар экенин текшериңиз:
- GRP2604 IP телефон бирдиги
- Шну менен телефон
- Телефон стенд
- Ethernet кабели
- Кубаттуу адаптер
- Тез орнотуу боюнча колдонмо (бул колдонмо толук колдонмо катары кызмат кылат)
4. Продукт бүтүп калдыview
4.1. Phone Layout

4.1-сүрөт: Фронт view of the Grandstream GRP2604 IP Phone. This image displays the phone's main body, handset, 2.7-inch LCD display, numeric keypad, function keys, and programmable line keys.
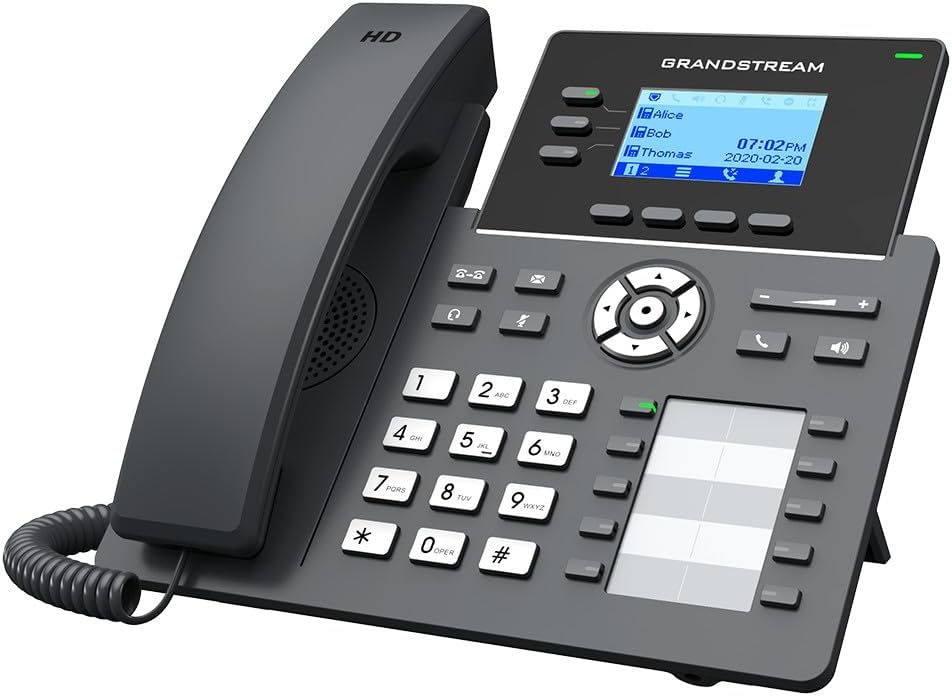
4.2-сүрөт: Бурчтуу view of the Grandstream GRP2604 IP Phone. This perspective highlights the ergonomic design of the handset and the slight tilt of the main unit, providing a clearer view of the display and keypad.

4.3-сүрөт: Side view of the Grandstream GRP2604 IP Phone with its stand attached. This image illustrates how the phone is positioned for desktop use, showing the angle provided by the stand.
4.2. Арткы панель жана порттор

4.4-сүрөт: Арткы view of the Grandstream GRP2604 IP Phone, showing the various ports and connections. From left to right, these include the handset port, headset port, two Gigabit Ethernet ports (LAN and PC), and the DC 5V power input.
The rear panel of the GRP2604 features essential connection ports:
- Телефон порту: Уюлдук телефондун шнурун туташтырат.
- Гарнитура порту: Зымдуу гарнитураны туташтыруу үчүн.
- PC Port (LAN Out): Компьютерге же башка тармактык түзмөккө туташат.
- LAN Port (Network In): Connects to your network switch or router.
- DC 5V кубат киргизүү: Кубат адаптерин туташтырат.
5. Орнотуу
- Телефондук стендди тиркөө: Align the stand with the slots on the back of the phone and slide it into place until it clicks securely.
- Телефонду туташтыруу: Plug one end of the coiled handset cord into the handset and the other end into the handset port on the rear of the phone.
- Тармакка туташуу:
- Connect one end of the Ethernet cable to the LAN port on the phone.
- Ethernet кабелинин экинчи учун тармак которуштурууга же роутерге туташтырыңыз.
- If connecting a computer, use another Ethernet cable to connect the PC port on the phone to your computer.
- Туташуу кубаты: Plug the DC 5V power adapter into the power input port on the phone, then plug the adapter into a power outlet. The phone will automatically power on and begin the boot-up sequence.
- Баштапкы конфигурация: Once the phone boots up, it will attempt to obtain an IP address via DHCP. You may need to access the phone's web interface for further SIP account configuration, as instructed by your VoIP service provider or network administrator.
6. Иштөө нускамалары
6.1. Чалууларды жасоо
- Кошумча терүү: Телефонду алыңыз же баскычты басыңыз Динамик button. Dial the number and press the Терүү soft key or wait a few seconds.
- Телефон аркылуу терүү: Dial the number first, then pick up the handset or press the Динамик баскычы.
- Сызык баскычтарын колдонуу: Press an available line key, dial the number, and press the Терүү жумшак ачкыч.
6.2. Чалууларды кабыл алуу
- Answer with Handset: Телефонду алыңыз.
- Answer with Speakerphone: басыңыз Динамик баскычы.
- Answer with Headset: басыңыз Гарнитура button (if a headset is connected).
6.3. Чалуу өзгөчөлүктөрү
- Кармап туруу: Активдүү чалуу учурунда, басыңыз кармап туруңуз Чалууну улантуу үчүн аны кайра басыңыз.
- өткөрүүсү: Активдүү чалуу учурунда, басыңыз Transfer button. Dial the transfer destination number and press the Transfer soft key again (attended transfer) or hang up (blind transfer).
- Конференция: Активдүү чалуу учурунда, басыңыз Конференция button. Dial the second party's number and press the Конференция soft key to join all parties. The GRP2604 supports 5-way voice conferencing.
- Үн почтасы: басыңыз Кабар button to access your voicemail.
6.4. Үндү тууралоо
колдонуу Көлөм +/- buttons located on the phone to adjust the ringer volume when idle, or the handset/speaker/headset volume during a call.
7. Техникалык тейлөө
- Тазалоо: Use a soft, dry cloth to clean the phone's surface. Do not use liquid cleaners or aerosol sprays.
- Сактагыч: If storing the phone for an extended period, disconnect it from power and network, and store it in a cool, dry place.
- Программалык камсыздоонун жаңыртуулары: Grandstreamди дайыма текшерип туруңуз webоптималдуу аткарууну жана коопсуздукту камсыз кылуу үчүн микропрограммаларды жаңыртуу үчүн сайт.
8. Кыйынчылыктарды
| Көйгөй | Мүмкүн чечим |
|---|---|
| Телефон күйбөйт. |
|
| Терүү үнү жок. |
|
| Чалууларды кабыл алуу же жасоо мүмкүн эмес. |
|
| Дисплей бош же тоңуп калган. |
|
9. Техникалык шарттар
- Модел: GRP2604
- Саптар: 3
- SIP эсептери: 6
- Дисплей: 2.7-inch (132x48) LCD
- Ethernet порттору: Кош порттуу Гигабит Ethernet
- Voice Conferencing: 5-жол
- Өлчөмдөрү (L x W x Y): 3.94 x 3.94 x 3.94 дюйм
- Элемент Салмагы: 1.1 фунт (500 грамм)
- Материал: Пластик
- Кубат булагы: Зымдуу электр (DC 5V)
- Түсү: Кара
10. Кепилдик жана колдоо
The Grandstream GRP2604 IP Phone comes with a manufacturer's warranty. For detailed warranty information, please refer to the warranty card included with your product or visit the official Grandstream website. For technical support, product inquiries, or service, please contact Grandstream customer support through their official channels.
Grandstream Networks Inc.
www.grandstream.com


