1. Продукт бүтүп калдыview
The XPG Defender is a mid-tower ATX PC case designed for efficient airflow and ease of assembly. It features a mesh front panel, tempered glass side panel, and supports various motherboard sizes.
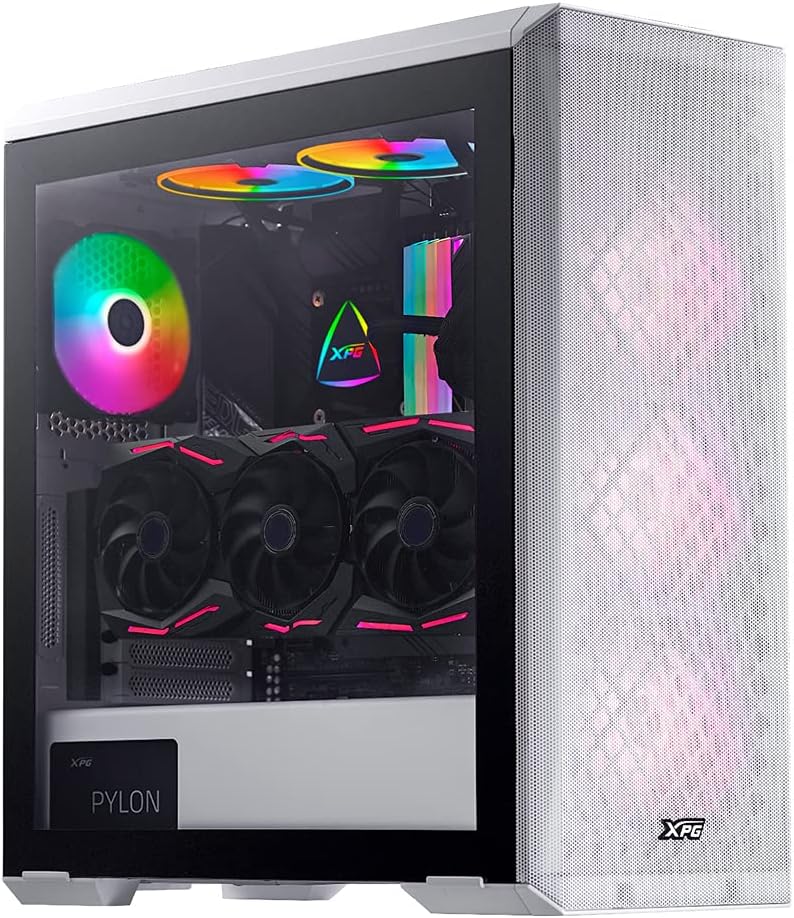
Image: XPG Defender PC Case, white, with tempered glass side panel and mesh front panel, showcasing internal components and RGB fans.
2. Орнотуу жана орнотуу
2.1 Кутудан чыгаруу жана даярдоо
- Этияттык менен анын кутусунан PC кутусун алып салуу.
- Inspect the case for any signs of damage during transit.
- Корпусту туруктуу, тегиз бетке коюңуз.
2.2 Панелдерди алып салуу
The tempered glass side panel is secured with thumbscrews. Carefully remove these screws and gently pull the panel away from the chassis. The mesh front panel is magnetic and can be pulled off directly to access front fan mounts.

Image: XPG Defender PC Case, white, with the mesh front panel detached, revealing the fan mounting points behind it.
2.3 Motherboard орнотуу
The XPG Defender supports Mini-ITX, Micro-ATX, ATX, and E-ATX motherboards. Install the necessary standoffs for your motherboard size, then secure the motherboard with screws.

Сүрөт: Ички view of the XPG Defender PC Case, white, showing the spacious interior, motherboard tray, and cable management cutouts.
2.4 Дискти орнотуу
The case provides space for two 2.5-inch drives and two convertible 2.5-inch/3.5-inch drive trays. Locate the drive bays and secure your storage devices using the provided screws or tool-less mechanisms.

Сүрөт: Ички view of the XPG Defender PC Case, white, focusing on the drive bays with trays for 2.5-inch and 3.5-inch drives.
2.5 Электр менен камсыздоону орнотуу
Install your power supply unit (PSU) into the rear mount area at the bottom of the case. Secure it with screws from the rear of the chassis.

Image: Rear internal view of the XPG Defender PC Case, white, highlighting the power supply shroud and drive bay area.
2.6 Графикалык карта жана кеңейтүү карталары
Install your graphics card and other expansion cards into the appropriate PCIe slots on your motherboard. The case offers ample space for long graphics cards.

Сүрөт: Ички view of the XPG Defender PC Case, white, showing a graphics card installed, emphasizing the ample space for long GPUs.
2.7 Кабелди башкаруу
Таза куруу жана жакшыртылган аба агымы үчүн кабелдерди башкаруу үчүн энелик плата лотоктун артындагы кабелдик маршруттук кескичтерди жана байланыш чекиттерин колдонуңуз.
3. Иштөө нускамалары
3.1 Күйгүзүү
After connecting all internal components and external peripherals, connect the power cable to your PSU and press the power button located on the top I/O panel of the case.
3.2 Аба агымы жана муздатуу
The XPG Defender is designed with an efficient airflow layout, featuring a mesh front panel for optimal air intake. It comes with three pre-installed XPG VENTO 120 fans to facilitate cooling.

Сүрөт: алдыңкы view of the XPG Defender PC Case, white, with its mesh front panel and three illuminated fans visible behind it.
4. Техникалык тейлөө
4.1 Чаң чыпкасын тазалоо
To maintain optimal airflow and prevent dust buildup, regularly clean the dust filters. The magnetic mesh front panel can be easily removed for cleaning. The bottom dust filter is also detachable for convenient maintenance.

Image: Close-up of the removable bottom dust filter of the XPG Defender PC Case, white, illustrating its easy access for cleaning.
4.2 Жалпы тазалоо
Use a soft, dry cloth to wipe down the exterior of the case. For the tempered glass panel, use a glass cleaner and a microfiber cloth. Avoid abrasive cleaners or solvents.
5. Кыйынчылыктарды
- Кубат жок: Ensure all power cables (PSU to wall, PSU to motherboard, CPU, GPU) are securely connected. Check the power switch on the PSU.
- Айланбаган күйөрмандар: Verify that the fan cables are correctly connected to the motherboard or fan controller.
- Ашыкча ысып кетүү: Ensure proper fan orientation for airflow (intake/exhaust). Clean dust filters and internal components regularly. Confirm CPU cooler and GPU fans are functioning correctly.
- Tempered Glass Handling: The tempered glass panel is durable but can shatter if subjected to sharp impacts or uneven pressure. Handle with care during installation and removal.
- Алдыңкы панелдин киргизүү/чыгаруу маселелери: Check that the front panel connectors (USB, audio, power/reset switches) are correctly plugged into the motherboard headers.
6. Техникалык шарттар
| Продукциянын өлчөмдөрү | 19.37 x 8.66 x 17.36 дюйм |
| Элемент Салмагы | 17.9 фунт |
| Элемент моделинин номери | DEFENDER-WHCWW |
| Motherboard шайкештиги | Mini-ITX, Micro-ATX, ATX, E-ATX |
| Иштин түрү | Ара Tower |
| Түс | Ак |
| Материал | Температуралуу айнек |
| Кубат менен камсыздоону орнотуу түрү | Арткы тоо |
| Муздатуу ыкмасы | Күйөрман |
| Fan Size | 120 Millimeters (3 pre-installed) |
7. Кепилдик жана колдоо
For warranty information and technical support, please refer to the official XPG website or contact XPG customer service directly. Keep your proof of purchase for warranty claims.
You can visit the XPG Store for more information: XPG Store


