1. Киришүү
This manual provides detailed instructions for the installation, operation, and maintenance of your Xigmatek Aero Black Micro-ATX Case. Please read this manual thoroughly before beginning assembly to ensure proper setup and to maximize the lifespan of your components.
2. Продукт бүтүп калдыview
The Xigmatek Aero is a compact Micro-ATX PC case designed for efficient component housing and airflow. It features a simple and stylish design, incorporating a tempered glass front panel and an acrylic side panel for visibility of internal components.
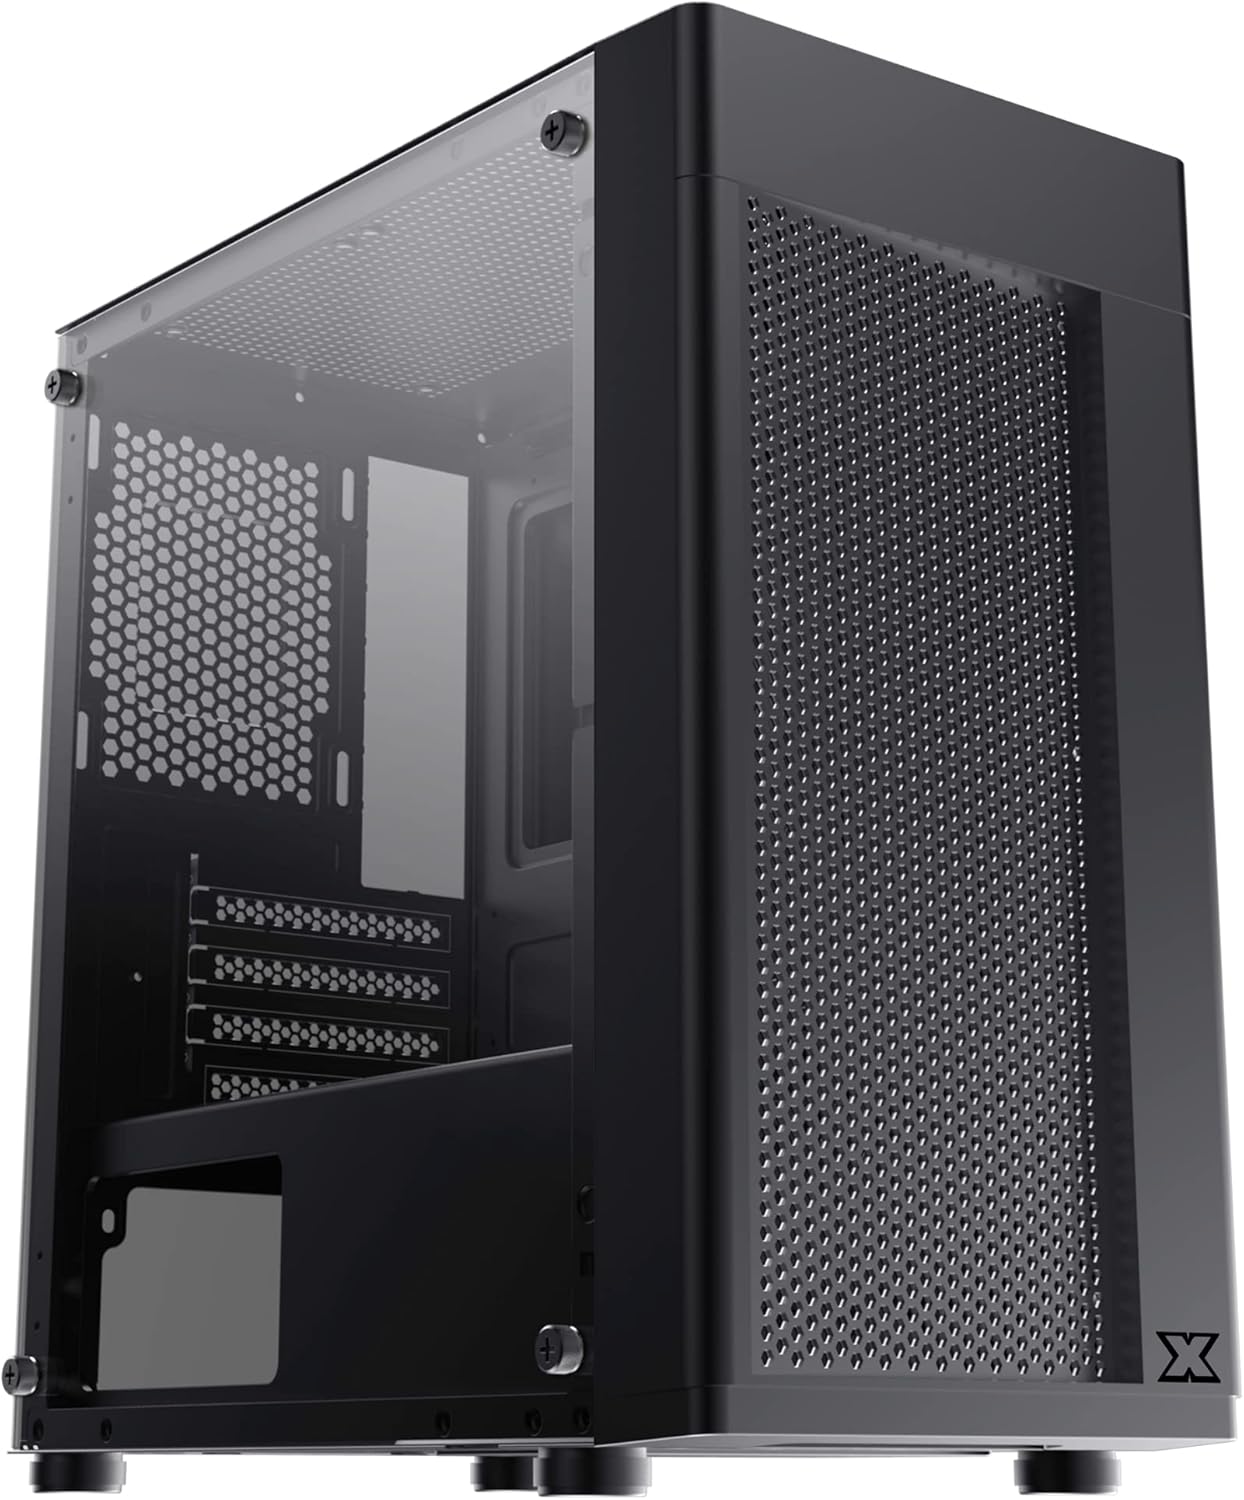
Сүрөт 2.1: Алдыңкы-сол view of the Xigmatek Aero Black Micro-ATX Case, showcasing the tempered glass front panel and acrylic side panel.
3. Негизги өзгөчөлүктөрү
- Температуралуу айнек каптал панели: ачык-айкын камсыз кылат view ички компоненттеринин.
- Bottom Mounted PSU: Dedicated compartment for power supply unit, aiding in thermal management and cable routing.
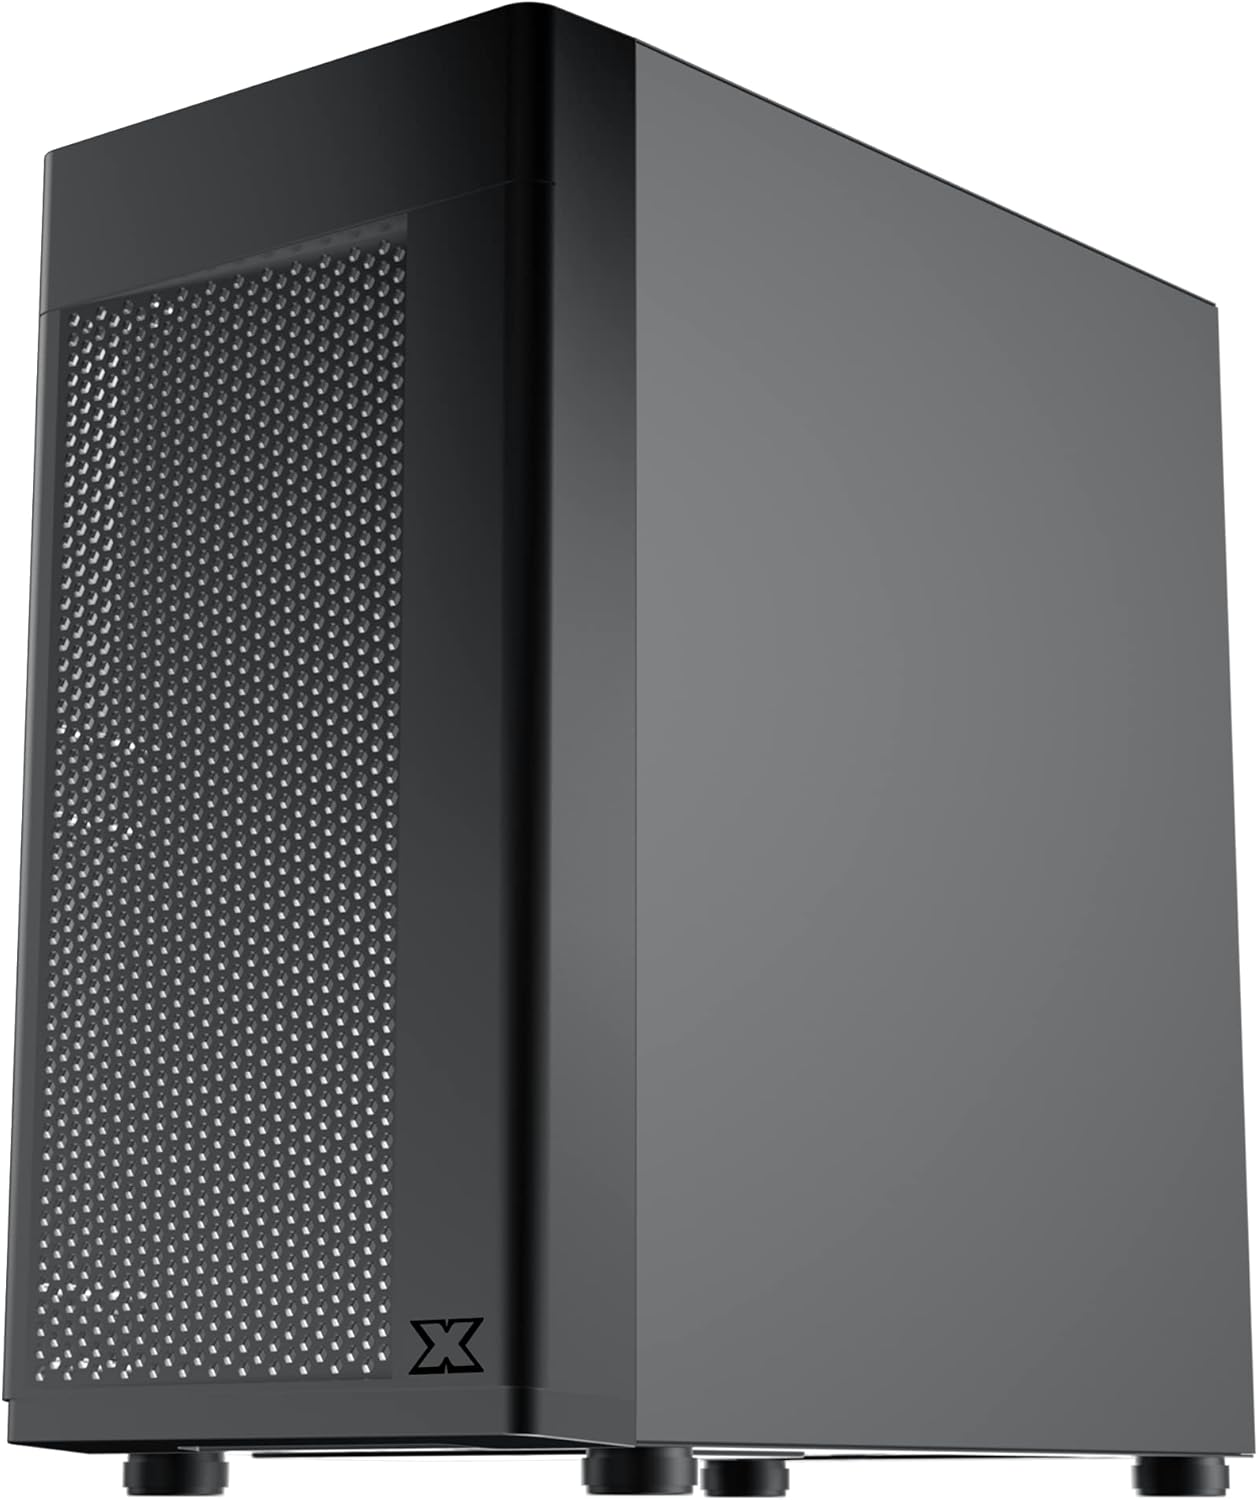
- Mesh Design Front Panel: Enhances airflow for improved cooling performance.
- Жеңил кабелдик башкаруу: Designed with routing options and a PSU shroud to facilitate neat cable organization.
- Compact Micro-ATX Form Factor: Optimized for smaller builds while maintaining compatibility with standard components.
4. Пакеттин мазмуну
Орнотууну улантуудан мурун, таңгактагы бардык буюмдардын бар экендигин текшериңиз:
- Xigmatek Aero Black Micro-ATX Case
- Accessory Box (containing screws, standoffs, zip ties)
- Колдонуучунун Колдонмосу (бул документ)
5. Орнотуу жана орнотуу
Follow these steps carefully for proper installation of your PC components into the Xigmatek Aero case.
5.1 Ишти даярдоо
- Корпусту тегиз, туруктуу бетке коюңуз.
- Carefully remove the tempered glass side panel by unscrewing the four thumb screws. Set the panel aside on a soft, non-abrasive surface to prevent scratches.
- Remove the rear side panel (solid metal panel) by unscrewing the two thumb screws at the back and sliding it off. This provides access for cable management.
5.1-сүрөт: Каптал view of the case, showing the tempered glass panel secured by four thumb screws.
5.2 Электр менен камсыздоо блогун (PSU) орнотуу
- Locate the PSU mounting area at the bottom rear of the case, within the PSU shroud.
- Slide your PSU into the designated slot from the rear of the case. Ensure the PSU fan faces downwards (if the case has a bottom vent) or upwards, depending on your cooling preference and PSU design.
- PSUну корпустун артындагы бурамалар менен бекитиңиз.
- Route necessary PSU cables through the cutouts in the PSU shroud to the main compartment.

5.2-сүрөт: Ички view highlighting the PSU shroud and cable routing options.
5.3 Motherboard орнотуу
- Киргизүү/чыгаруу калканчын (эгер бар болсо) корпустун арткы тешигине орнотуңуз.
- Align your Micro-ATX motherboard with the pre-installed standoffs. Ensure the screw holes on the motherboard match the standoffs.
- Берилген бурамалар менен энелик платаны бекитиңиз. Өтө катуу тартпаңыз.

5.3-сүрөт: Ички view of the case, showing the motherboard tray and standoff locations.
5.4 Сактоочу дискти орнотуу
The case supports 3.5-inch HDDs and 2.5-inch SSDs.
- 3.5 дюймдук катуу диск: Locate the drive cage under the PSU shroud. Slide the HDD into the drive bay and secure with screws. Note: Some users find it easier to remove the drive caddy by unscrewing from the underside of the case first.
- 2.5 дюймдук SSD: SSDs can typically be mounted on dedicated brackets behind the motherboard tray or on top of the PSU shroud. Secure with screws.
5.5 Графикалык карта жана кеңейтүү карталары
- Remove the necessary expansion slot covers from the rear of the case. These are break-off covers, so bend them carefully until they detach.
- Графикалык картаңызды же башка кеңейтүү карталарын энелик платаңыздагы тиешелүү PCIe уячаларына салыңыз.
- Карталарды бурамалар менен бекитиңиз.

5.4-сүрөт: Арткы view of the case, showing expansion slots and I/O shield opening.
5.6 Fan and Cooling Installation
The Xigmatek Aero supports multiple fan configurations for optimal airflow.
- Алдыңкы: Up to 2x 120mm or 140mm fans. Can also support a 240mm AIO liquid cooler.
- Жогорку: 2x 120мм желдеткичтерге чейин.
- Арткы: 1x 120mm fan.
Install fans by aligning them with the screw holes and securing them with fan screws. Pay attention to airflow direction (intake vs. exhaust).
5.7 Кабелди башкаруу
Кабельдерди багыттоо жана бекитүү үчүн энелик плата лотоктун артындагы кесилген жерлерди жана байлаган жерлерди колдонуңуз. Бул аба агымын жана эстетиканы жакшыртат.

5.5-сүрөт: View from the rear of the motherboard tray, showing space for cable routing.
5.8 Front Panel Connections
Connect the front panel cables (USB 3.0, USB 2.0, Audio, Power LED, HDD LED, Power Switch, Reset Switch) to the corresponding headers on your motherboard. Refer to your motherboard manual for exact pin layouts.

5.6-сүрөт: Жогорку view of the case, illustrating the front I/O ports including USB 3.0 and audio jacks.
5.9 Жыйынтыктоочу Ассамблея
- Бардык компоненттер орнотулуп, кабелдер башкарылгандан кийин, арткы каптал панелди кайра бекитиңиз.
- Carefully reattach the tempered glass side panel and secure it with the four thumb screws.
6. Операциялык кароо
To ensure optimal performance and longevity of your system:
- Аба агымы: Ensure proper fan configuration for intake and exhaust to maintain good internal temperatures. The mesh front panel is designed for excellent air intake.
- Жайгашкан жери: Place the PC case on a hard, flat surface to allow adequate airflow to the bottom-mounted PSU and any bottom intake fans. Avoid placing it on carpet.
7. Техникалык тейлөө
Regular maintenance helps preserve your system's performance and extends its lifespan:
- Чаңды тазалоо: Periodically clean dust from the case interior and fan filters. The top panel features a magnetic dust filter for easy removal and cleaning.
- Тышкы тазалоо: жумшак колдонуу, damp cloth to clean the exterior surfaces. Avoid abrasive cleaners. For the tempered glass and acrylic panels, use a microfiber cloth and a gentle glass cleaner.
8. Кыйынчылыктарды
Эгерде сиз орнотуу учурунда же андан кийин көйгөйлөргө туш болсоңуз, төмөнкүлөрдү карап көрүңүз:
- Система күйбөй жатат:
- Ensure all PSU cables are securely connected to the motherboard and components.
- Алдыңкы панелдеги кубат которгучунун кабели энелик платага туура туташкандыгын текшериңиз.
- PSU которгучу "ON" абалында экенин текшериңиз.
- Айланбаган күйөрмандар:
- Confirm fan cables are properly connected to motherboard fan headers or a fan controller.
- Начар аба агымы/Жогорку температура:
- Check fan orientation (intake/exhaust).
- Ensure dust filters are clean.
- Аба агымына эч кандай кабелдер тоскоол болбогонун текшериңиз.
9. Техникалык шарттар
| Өзгөчөлүк | Деталь |
|---|---|
| Модель номери | EN46584 |
| Форма фактору | Micro-ATX Tower |
| Өлчөмдөрү (L x W x Y) | 34.5 x 20 x 29 см |
| Салмагы | 3.53 кг |
| Материал | Tempered Glass, Acrylic, Steel |
| Motherboard шайкештиги | Micro ATX, Mini-ITX |
| PSU монтаждоо | Төмөнкү тоо |
| Drive Bays | 1x 3.5" HDD, 2x 2.5" SSD (or 2x 3.5" HDD, 1x 2.5" SSD depending on configuration) |
| Кеңейтүү уячалары | 4 |
| Күйөрмандарды колдоо (алдыңкы) | 2х 120мм / 140мм |
| Күйөрмандарды колдоо (жогорку) | 2х 120мм |
| Желдетүүчү колдоо (арткы) | 1х 120мм |
| Радиатордук колдоо (алдыңкы) | 240 мм чейин |
| Алдыңкы I / O порттору | 1x USB 3.0, 2x USB 2.0, HD Audio (Mic & Headphone) |
10. Кепилдик жана колдоо
For warranty information and technical support, please refer to the official Xigmatek webсайтына кириңиз же жергиликтүү сатуучуңузга кайрылыңыз. Кепилдик талаптары үчүн сатып алганыңызды тастыктаган документти сактап коюңуз.


