1. Киришүү
Thank you for choosing the WilTec XPOtool 1280W Wall and Ceiling Sander. This manual provides essential information for the safe operation, setup, maintenance, and troubleshooting of your new tool. Please read these instructions carefully before use and keep them for future reference.
2. Жалпы коопсуздук нускамалары
ЭСКЕРТҮҮ: Бул электр куралы менен берилген бардык коопсуздук эскертүүлөрүн, нускамаларды, иллюстрацияларды жана спецификацияларды окуңуз. Төмөндө саналып өткөн бардык көрсөтмөлөрдү аткарбоо электр шокуна, өрткө жана/же олуттуу жаракатка алып келиши мүмкүн.
- Жумуш аймагынын коопсуздугу: Жумушчу жерди таза жана жакшы жарыктандырыңыз. Башаламан же караңгы жерлер кырсыкка чакырат. Жарылуучу чөйрөдө, мисалы, күйүүчү суюктуктар, газдар же чаң бар жерде электр шаймандарын иштетпеңиз.
- Электр коопсуздугу: Электр шайманынын сайгычтары розеткага дал келиши керек. Эч качан сайгычты эч кандай жол менен өзгөртпөңүз. Эч кандай адаптер сайгычтарды жерге туташтырылган (жерге туташтырылган) электр шаймандары менен колдонбоңуз. Жерге туташтырылган же жерге төшөлгөн беттерге денеге тийбеңиз.
- Жеке коопсуздук: Always wear eye protection. Use dust masks, non-skid safety shoes, hard hats, or hearing protection for appropriate conditions. Do not overreach. Keep proper footing and balance at all times.
- Электр куралын колдонуу жана сактоо: Электр аспапты күчтөп албаңыз. Колдонмоңуз үчүн туура электр шайманын колдонуңуз. Кандайдыр бир тууралоолорду жасоодон, аксессуарларды алмаштыруудан же электр шаймандарын сактоодон мурда вилканы кубат булагынан ажыратыңыз.
- Чаңды чогултуу: This tool features an integrated dust collection system. Ensure the dust bag is properly attached and emptied regularly to maintain efficiency and reduce airborne dust.
3. Продукт бүтүп калдыview
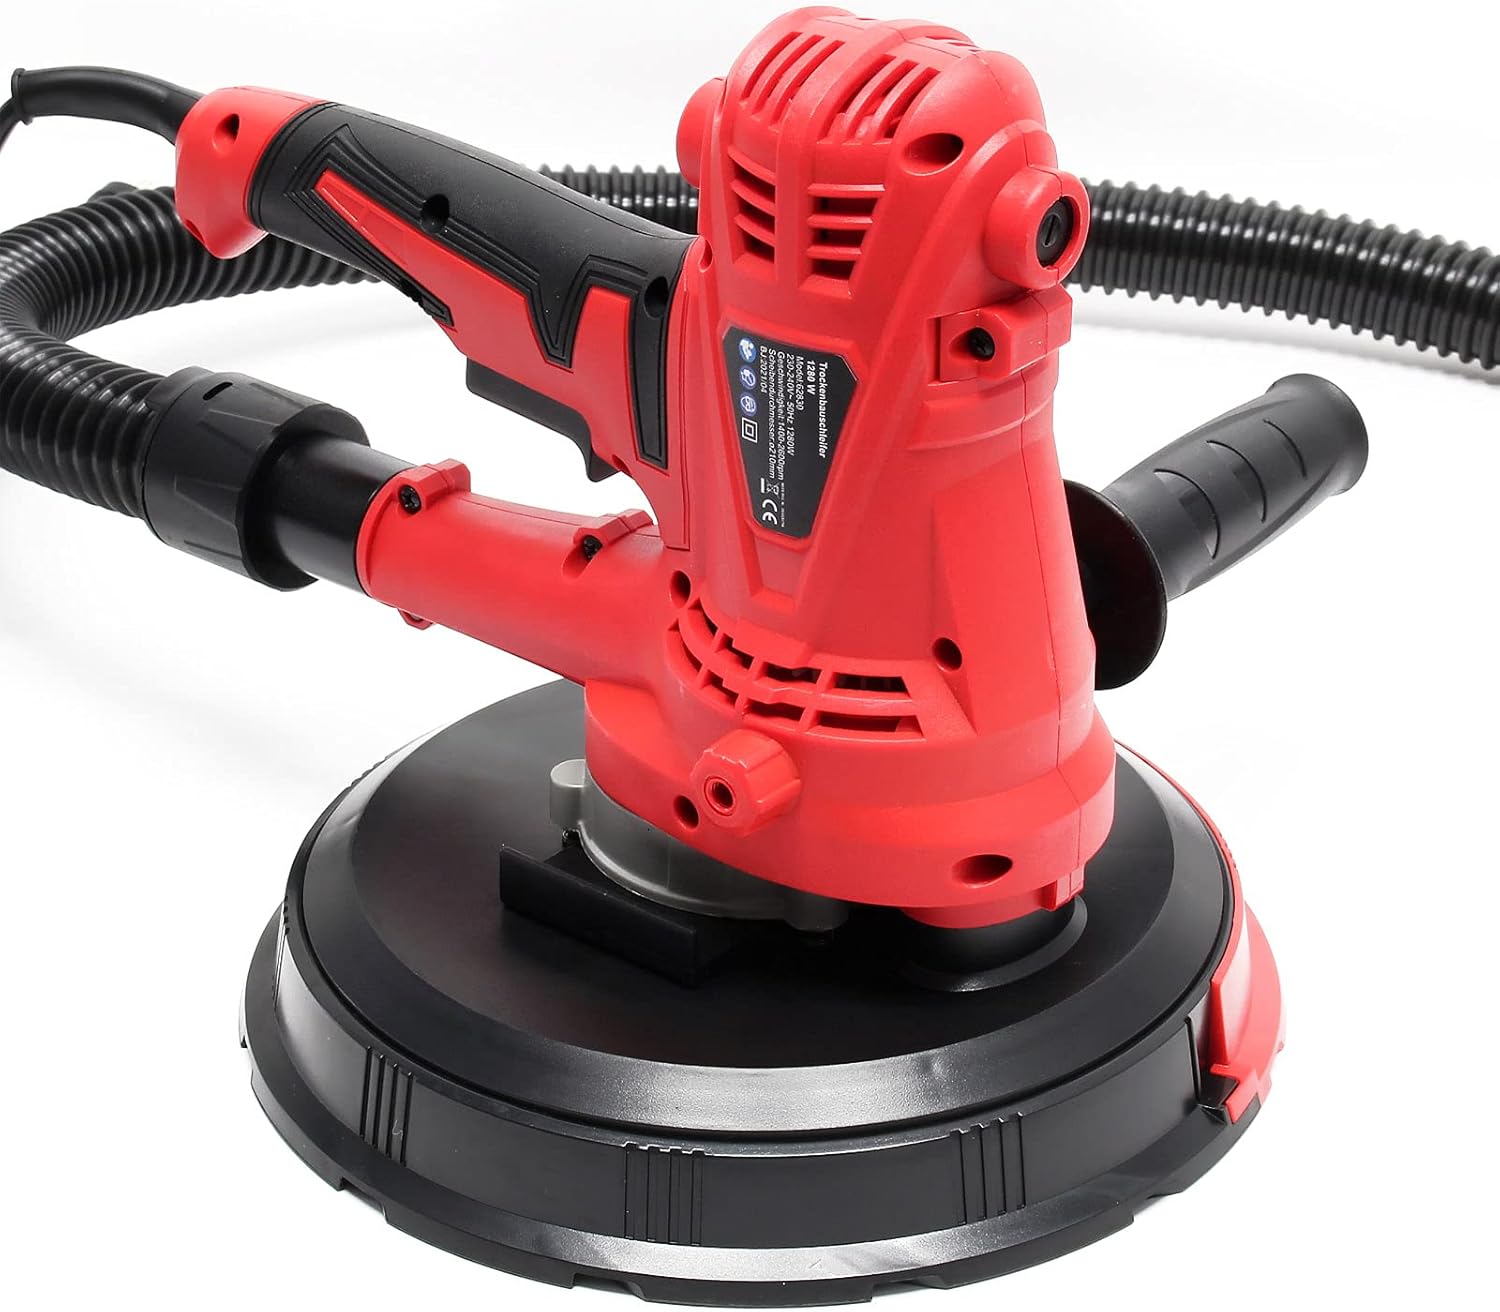
The XPOtool 1280W Wall and Ceiling Sander is designed for efficient sanding of large surfaces such as plasterboard, wood, and other materials. It features a powerful motor, variable speed control, and an integrated vacuum system for a cleaner working environment.
Компоненттери:
- Main Sander Unit
- Көмөкчү тутка
- Чаңды чогултуучу шланг
- Чаң топтоочу баштык
- Sanding Discs (various grits)
- Электр кабели

1-сүрөт: Бүттүview of the XPOtool 1280W Wall and Ceiling Sander, including the main unit, auxiliary handle, dust collection hose, dust bag, and several sanding discs.
4. Орнотуу
4.1 Көмөкчү тутканы бекитүү
- Locate the auxiliary handle and the designated mounting point on the sander body.
- Screw the auxiliary handle firmly into place. Ensure it is securely fastened for stable operation.
4.2 Connecting the Dust Collection System
- Connect one end of the dust collection hose to the dust outlet port on the sander.
- Attach the other end of the hose to the inlet of the dust collection bag.
- Ensure all connections are tight to prevent dust leakage and maximize suction efficiency.
2-сүрөт: Side view of the sander demonstrating the attachment point for the dust collection hose.
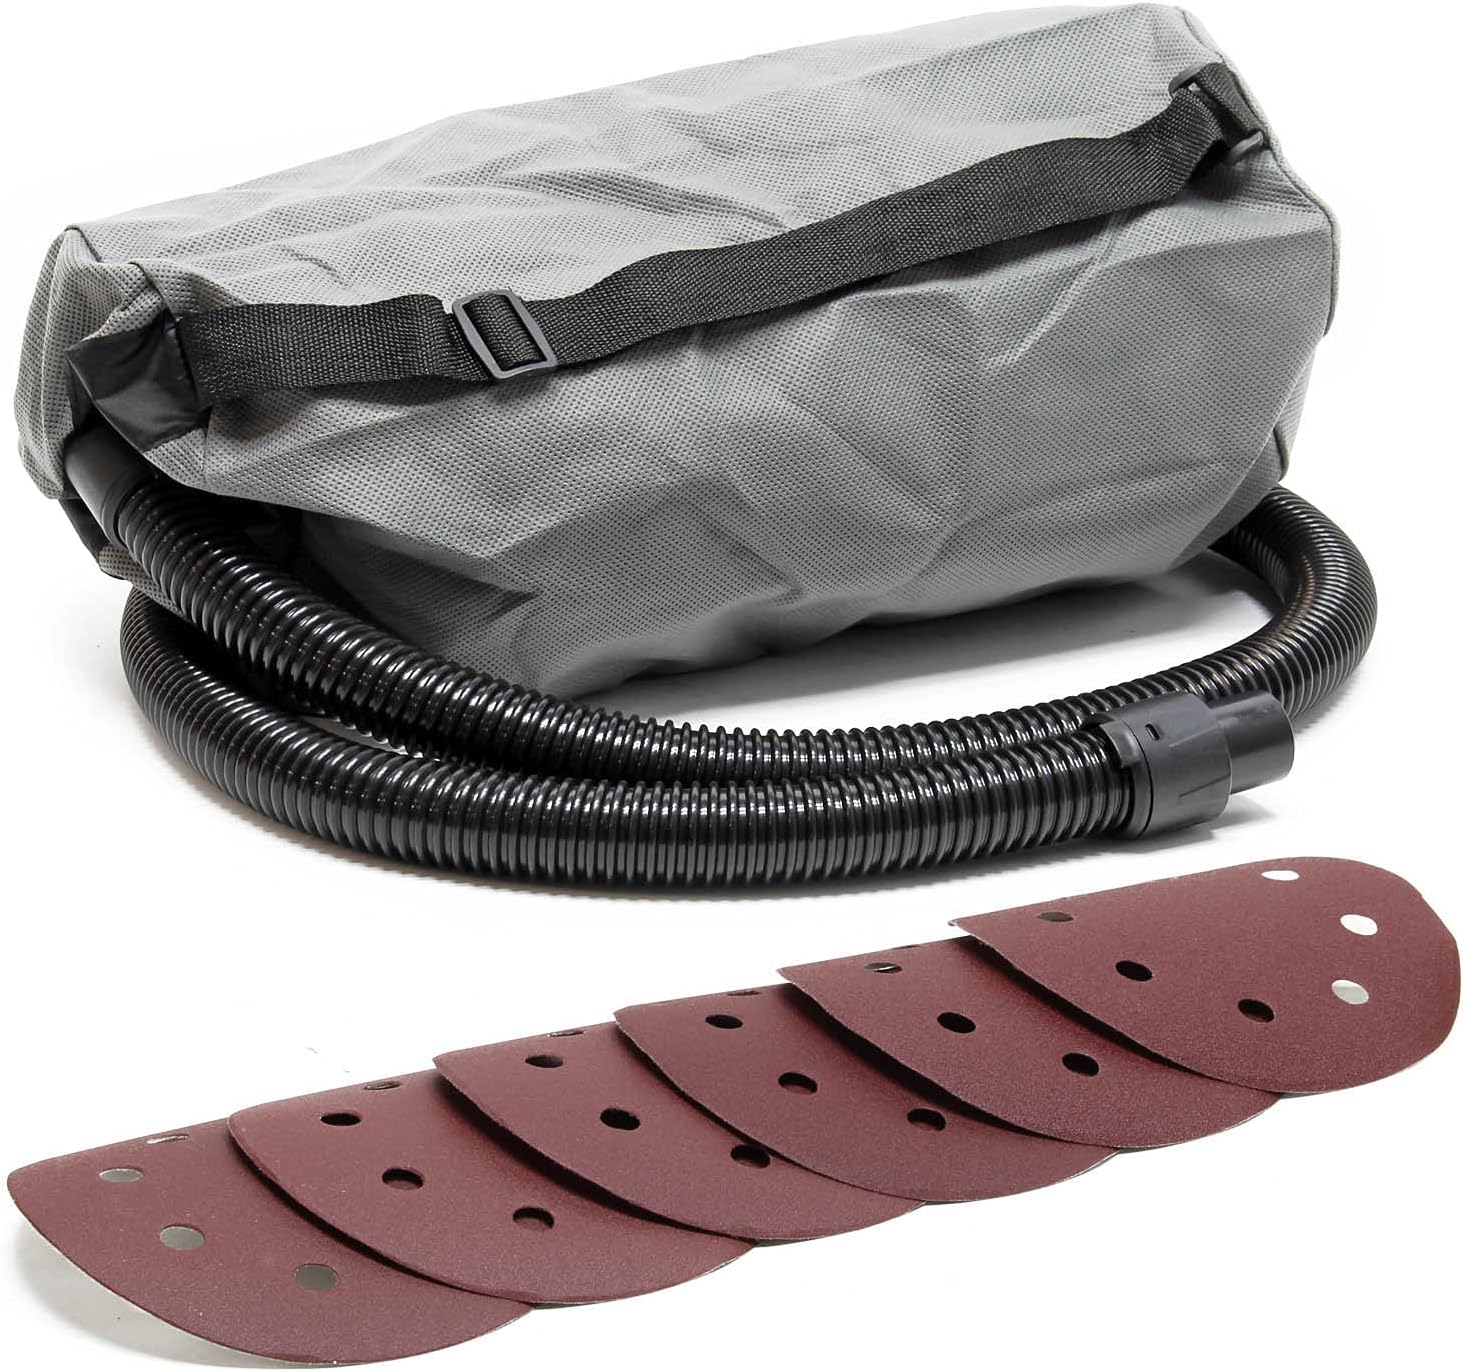
3-сүрөт: The dust collection bag and various sanding discs included with the sander.
4.3 Кумдоочу дисктерди орнотуу
- Сандер кубат булагынан ажыратылганын текшериңиз.
- The sanding pad uses a hook-and-loop fastening system. Align the holes on the sanding disc with the holes on the sanding pad.
- Press the sanding disc firmly onto the pad to secure it.
- To remove, simply peel the disc off the pad.

4-сүрөт: Төмөнкү view of the sander, showing the hook-and-loop sanding pad for disc attachment.
4.4 Кубат туташтыруу
Connect the power cord to a suitable electrical outlet. The sander is equipped with an extra-long 4-meter power cord for extended reach.
5. Иштөө нускамалары
5.1 Күйгүзүү/өчүрүү
- Ensure the sander is properly set up and connected to power.
- To turn on the sander, press the power switch. The integrated soft-start function will ensure a smooth startup.
- To turn off, release or press the power switch again, depending on the switch type (toggle or momentary with lock).
5.2 Ылдамдыкты жөндөө
The sander features five variable speed levels, adjustable between 1400 and 2600 revolutions per minute. Use the speed adjustment dial to select the appropriate speed for your material and application.
- Lower speeds are suitable for delicate surfaces or fine finishing.
- Higher speeds are effective for aggressive material removal on robust surfaces.

5-сүрөт: Жакын план view of the sander's controls, including the variable speed dial and power switch.
5.3 Using the Integrated Vacuum System
The integrated vacuum system directly collects sanding dust into the attached dust bag, significantly reducing airborne particles. The suction power is adjustable up to 98% for optimal dust management.
- Ensure the dust bag is empty before starting work.
- Monitor the dust bag and empty it when it becomes full to maintain effective suction.
5.4 Тыюу техникасы
- Жалпы жылмалоо: Apply even, moderate pressure. Move the sander in smooth, overlapping passes across the surface.
- Дубалдар жана шыптар: The 215mm sanding disc and 360° rotatable head are ideal for large surfaces. The auxiliary handle provides enhanced control.
- Edges and Corners: The removable sanding cover allows access to joints, corners, and edges. Carefully remove the cover when working in these areas.
5.5 LED Light (Optional)
The device allows for the connection of an external LED lamp (not included). If an LED lamp is connected, it can be activated via a dedicated switch to illuminate dark work areas.
6. Техникалык тейлөө
6.1 Cleaning the Dust Bag
Regularly empty the dust collection bag to maintain optimal suction performance and prevent clogging. Detach the bag, empty its contents, and reattach it securely.
6.2 Cleaning the Sanding Pad and Discs
Inspect the sanding pad for wear or damage. Replace if necessary. Remove any dust or debris from the hook-and-loop surface to ensure proper adhesion of new sanding discs. Replace sanding discs when they become worn or lose their abrasive quality.
6.3 Жалпы тазалоо
After each use, wipe down the exterior of the sander with a clean, damp cloth. Do not use harsh chemicals or abrasive cleaners. Ensure ventilation openings are clear of dust and debris to prevent overheating. The motor is protected by a specially designed blade that helps prevent dust ingress.
7. Кыйынчылыктарды
| Көйгөй | Мүмкүн себеп | Чечим |
|---|---|---|
| Сандер баштабайт | No power supply; Faulty power cord/plug; Power switch issue | Check power connection and outlet; Inspect power cord for damage; Contact customer support if switch is faulty. |
| Жылмалоо натыйжалуулугунун төмөндөшү | Worn sanding disc; Incorrect grit for material; Insufficient pressure | Replace sanding disc; Use appropriate grit; Apply even, moderate pressure. |
| Чаң чогултуу начар | Dust bag full; Hose clogged; Loose connections | Empty dust bag; Clear any blockages in the hose; Secure all hose connections. |
| Ашыкча титирөө/ызы -чуу | Damaged sanding pad; Loose components; Motor issue | Inspect sanding pad for damage; Check for loose screws; Discontinue use and contact support if motor issue is suspected. |
8. Техникалык шарттар
| Өзгөчөлүк | Спецификация |
|---|---|
| Бренд | WilTec |
| Модель номери | 62830 |
| Күч | 1280 Вт |
| Тtage | 230 вольт |
| Power Source | Электр зымдары |
| Диск диаметри | 215 мм |
| Өзгөрмө ылдамдык | 5 levels (1400 - 2600 RPM) |
| Максималдуу айлануу ылдамдыгы | 10000 RPM (Note: This might refer to motor speed, not disc speed) |
| Integrated Vacuum | Yes, with adjustable suction up to 98% |
| Элемент Салмагы | 3.42 килограмм |
| Пакеттин өлчөмдөрү | 30.5 x 30.5 x 28.9 см |
| Камтылган Sanding Discs | 8 discs (2x G150, 2x G180, 2x G240, 2x G400) |
| Электр шнурунун узундугу | 4 метр |
9. Кепилдик жана колдоо
For warranty information, technical support, or spare parts inquiries, please refer to the purchase documentation or contact your retailer. Keep your proof of purchase for any warranty claims.


