Introduction
Thank you for choosing the Xgody 3-Channel Dash Cam. This manual provides detailed instructions for the installation, operation, and maintenance of your new dash camera. Please read this manual thoroughly before using the product to ensure proper function and to maximize your user experience. Keep this manual for future reference.
Продукт бүттүview жана кутучанын ичинде эмне бар
The Xgody 3-Channel Dash Cam is designed to record video from the front, inside, and rear of your vehicle simultaneously, providing comprehensive coverage. It features high-definition recording, infrared night vision, G-sensor for emergency locking, loop recording, and parking monitoring.
Пакеттин мазмуну:
- Xgody Dash Cam Unit
- Арткы View Camera (6M cable)
- Унаа заряддагыч
- USB маалымат кабели
- User Manual
- 64 ГБ SD карта
- Чаптама чаптама
- Card Pin
- Screws (for rear camera installation)
- 3M Glue Stick Card Line
- Лом (кабелдерди өткөрүү үчүн)

Figure 1: Xgody Dash Cam and Included Accessories
Негизги өзгөчөлүктөрү
Three-Channel Recording
The dash cam simultaneously records video from three perspectives: front (1080p), inside (720p), and rear (720p). For clearer internal and external footage, the front and cabin dual-lens cameras can operate independently at 1080p+1080p.

Figure 2: Three-Channel Recording Overview
Инфракызыл (ИК) түнкү көрүү
The inside-facing camera is equipped with 4 IR LED lights and an F/2.0 aperture. This technology automatically increases exposure in low-light or dark conditions, ensuring clear video footage of the vehicle's interior. The operating temperature range is -31°F to 167°F (-35°C to 75°C).

3-сүрөт: Иштеп жаткан инфракызыл түнкү көрүү
Loop жаздыруу
Continuous loop recording automatically overwrites the oldest unlocked video files when the memory card is full. This ensures that recording never stops due to a full card, providing uninterrupted surveillance.

4-сүрөт: Циклди жаздыруу функциясы
G-сенсор (авариялык кулпу)
The built-in G-sensor detects sudden shocks or collisions. When such an event occurs, the dash camera automatically locks the current video footagд, анын циклдик жаздыруу менен кайра жазылышына жол бербейт. Бул маанилүү далилдердин сакталышын камсыз кылат.
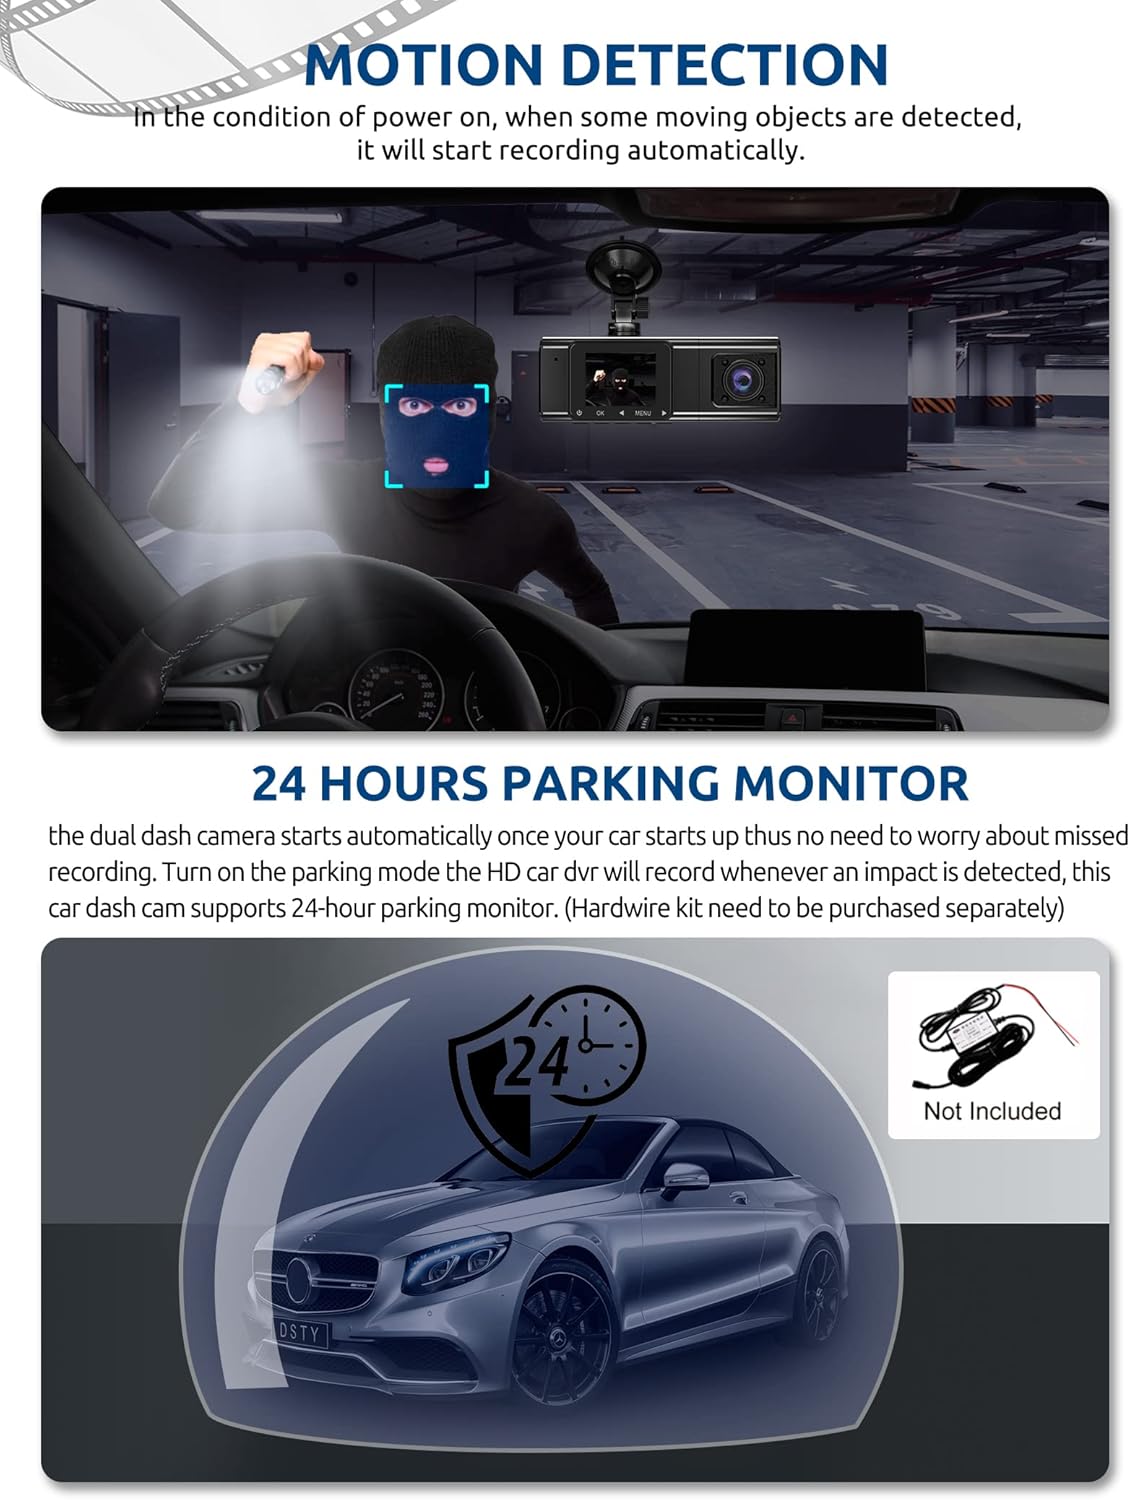
Figure 5: G-Sensor Activating During an Impact
Motion Detection & 24-Hour Parking Mode
In motion detection mode, the video recorder begins recording automatically when it detects movement in front of the camera. For continuous 24-hour surveillance, even when the car is off, the dash cam can be connected to the car battery via a hardwire kit (not included). This enables parking mode, which records when an impact is detected.

Figure 6: Motion Detection and Parking Monitoring
Орнотуу нускамалары
1. Insert the SD Card
- SD карта уячасын камеранын капталынан табыңыз.
- Берилген 64 ГБ SD картаны алтын түстүү контакттарын камеранын артына каратып, ордуна чыкылдаганча салыңыз.
- Картанын толук салынганын текшериңиз.
2. Mount the Dash Cam
- Камераны орното турган алдыңкы айнекти тазалаңыз.
- Сорох чөйчөктү сызык камерасына бекитиңиз.
- Соргучту алдыңкы айнекке бекем басып, ордуна бекитиңиз. Камераны тунук кылып коюңуз view of the road ahead without obstructing your driving vision.
3. Арткы камераны орнотуңуз
- Арткы камеранын кабелин негизги видеорегистратор блогуна туташтырыңыз.
- Route the cable neatly along the vehicle's headliner and trim to the rear of the car. Use the provided crowbar to tuck the cable under panels.
- Mount the rear camera on the rear windshield using the adhesive sticker or screws, ensuring it has a clear view артындагы жолдун.
4. Кубатты туташтырыңыз
- Унаа кубаттагычты унааңыздын тамеки от алгыч розеткасына сайыңыз.
- Connect the other end of the car charger cable to the dash cam's power input port.
- Камера адатта унаа ишке киргенде автоматтык түрдө күйөт жана унаа өчүрүлгөндө өчүрүлөт.
Иштөө нускамалары
Күйгүзүү/өчүрүү
- Автоматтык: The dash cam powers on and starts recording automatically when connected to power and the vehicle ignition is on. It powers off automatically when the ignition is turned off.
- Кол менен: Press and hold the power button for a few seconds to manually turn the device on or off.
Жазуу режимдери
- Кадимки жаздыруу: The default mode, continuously recording video in segments.
- Өзгөчө кырдаалдарда жаздыруу (G-сенсор): Automatically activated upon impact, locking the current video file.
- Кыймылды аныктоо жазуусу: Records when motion is detected while the vehicle is parked (requires activation in settings).
- Паркинг мониторинги: Records when an impact is detected while the vehicle is parked (requires hardwire kit and activation in settings).
Меню Багыттоо
- Use the 'MENU' button to access settings.
- Use the 'UP' and 'DOWN' arrow buttons to navigate through menu options.
- Press the 'OK' button to confirm selections.
- Common settings include video resolution, loop recording duration, G-sensor sensitivity, parking mode, date/time, and language.
Viewing Footage
- Түзмөктө: Enter playback mode via the menu to view recorded videos directly on the dash cam screen.
- Компьютерде: Remove the SD card from the dash cam and insert it into a computer's card reader. The video files can then be accessed and played using standard media player software.
Техникалык тейлөө
SD картаны форматтоо
It is recommended to format the SD card regularly (e.g., once a month) to ensure optimal performance and prevent data corruption. This can typically be done through the dash cam's menu settings. Formatting will erase all data on the card, so back up any important fileс биринчи.
Линзаны тазалоо
Periodically clean the lenses of the front, inside, and rear cameras with a soft, lint-free cloth. Avoid using abrasive cleaners that could scratch the lens surface. Clean lenses ensure clear video quality.
Орнотулган программаны жаңыртуу
Check the official Xgody website periodically for any available firmware updates. Updates can improve performance, add new features, or fix bugs. Follow the instructions provided with the firmware update carefully.
Проблемаларды чечүү
| Көйгөй | Мүмкүн себеп | Чечим |
|---|---|---|
| Dash камерасы күйбөйт. | Электр менен камсыздоо жок; унаанын кубаттагычы бузук; байланышы бош. | Check car charger connection; ensure vehicle's cigarette lighter socket is functional; try a different power source if available. |
| Жаздыруу токтотулат же fileлар бузулган. | SD card full; SD card error; incompatible SD card. | Format the SD card regularly; use a high-speed (Class 10 or U3) SD card; replace the SD card if issues persist. |
| Screen is unresponsive or distorted. | Extreme temperatures; software glitch. | Allow the device to return to normal operating temperature; perform a factory reset (refer to manual for specific steps); ensure the device is not exposed to direct sunlight for extended periods in hot climates. |
| Видеонун сапаты начар. | Кир линза; линзада коргоочу пленка дагы эле бар; чечилиш туура эмес коюлган. | Clean camera lenses; remove any protective film; check video resolution settings in the menu. |
| G-сенсор өтө сезгич/жетиштүү сезимтал эмес. | G-sensor sensitivity setting is too high/low. | Adjust G-sensor sensitivity in the dash cam's settings menu. |
Техникалык шарттар
| Өзгөчөлүк | Спецификация |
|---|---|
| Продукциянын өлчөмдөрү | 4.25 x 1.77 x 1.57 дюйм |
| Элемент Салмагы | 1.26 фунт |
| Байланыш технологиясы | USB, зымсыз |
| Видео тартуунун резолюциясы | 1080p (Front), 720p (Inside), 720p (Rear) |
| Screen Size | 1.5 дюйм |
| Flash эс тутум түрү | SD |
| Иштөө температурасы | -31°F – 167°F (-35°C – 75°C) |
| Камтылган компоненттер | Эстутум картасы (64 ГБ) |
| Түс | Кара |
Кепилдик жана колдоо
Xgody provides 18 months of service for this product. If you have any questions or require assistance regarding your Xgody Dash Cam, please contact our customer support. We aim to respond with helpful advice within 24 hours.
For support, please refer to the contact information provided in the packaging or on the official Xgody webсайт.


