1. Киришүү
This instruction manual provides essential information for the safe and efficient use of your continuus RCA 13-inch Clearview HDTV, Model J13SE820. Please read this manual thoroughly before operating the television and retain it for future reference.
The continuus RCA 13-inch Clearview HDTV features a unique transparent design, a 720p LED display, and multiple connectivity options including HDMI and VGA, making it suitable for various entertainment and computing needs.
2. Пакеттин мазмуну
Пакетте бардык буюмдар бар экенин текшериңиз:
- RCA 13-inch Clearview HDTV (Model J13SE820)
- Толук Функцияны Алыстан башкаруу
- Кубаттуу адаптер
- Колдонуучунун Колдонмосу (бул документ)
3. Орнотуу
3.1 Пакеттен чыгаруу жана жайгаштыруу
Carefully remove the television from its packaging. Place the TV on a stable, flat surface. Ensure adequate ventilation around the unit. Avoid placing it in direct sunlight or near heat sources.
3.2 Электр кубатын туташтыруу
Connect the power adapter to the DC input port on the television, then plug the adapter into a standard electrical outlet.
3.3 Киргизүү байланыштары
The RCA 13-inch Clearview HDTV offers various input ports for connecting external devices.

Сүрөт: Арткы view of the television with labeled input ports. This image displays the back panel of the TV, highlighting the Service Jack, HDMI, VGA, PC Audio, Component (YPbPr), RF, and Headphone ports. The side panel shows RG-6 Coax, Video In, and Audio In (L & R).
- HDMI порту: Connect HDMI-enabled devices such as Blu-ray players, gaming consoles, or streaming devices.
- VGA порту: Connect a computer or laptop to use the TV as a monitor.
- RF (Antenna) Input: Connect an antenna or cable TV signal for over-the-air or basic cable channels.
- Component (YPbPr) Input: Connect older video devices using component cables.
- Video In (Composite): Connect devices using a single yellow RCA video cable.
- Audio In (L & R): Connect audio from external devices using red and white RCA cables.
- Гарнитура уячасы: Жеке угуу үчүн гарнитураны туташтырыңыз.
3.4 Алыстан башкарууну жөндөө
The included remote control requires two AA batteries (sold separately). Open the battery compartment on the back of the remote and insert the batteries, ensuring correct polarity (+/-). Close the compartment.

Image: The transparent remote control. This image shows the full function remote control, which matches the transparent design of the television.
4. Иштөө нускамалары
4.1 Күйгүзүү/өчүрүү
басыңыз КҮЧ button on the remote control or on the top panel of the TV to turn the unit on or off.

Сүрөт: алдыңкы view of the television. This image shows the front of the RCA 13-inch Clearview HDTV, displaying the screen and the control buttons (Power, Source, Menu, Vol-, Vol+, Ch-, Ch+) located on the top edge of the transparent casing.
4.2 Киргизүү булагын тандоо
басыңыз БУЛАК button on the remote or TV to cycle through available input sources (HDMI, VGA, RF, Component, Video In). Select the input corresponding to your connected device.
4.3 Adjusting Volume and Channels
- колдонуу VOL+ жана VOL- үн баскычын жөндөө үчүн баскычтар.
- колдонуу CH+ жана CH- buttons to change channels when using the RF input.
- басыңыз БАСУУ аудиону убактылуу басуу үчүн пульттун баскычын басыңыз.
4.4 Меню Навигациясы
басыңыз МЕНЮ button on the remote or TV to access the on-screen display (OSD) menu. Use the arrow buttons to navigate and the OK button to confirm selections. Common menu options include:
- Сүрөт жөндөөлөрү: Жарыктыгын, контрастын, түсүн жана курчтугун тууралаңыз.
- Үн орнотуулары: Adjust bass, treble, balance, and select sound modes. Ensure audio settings are configured for optimal sound quality.
- Каналды сканерлөө: Automatically scan for available channels when using an antenna.
- Убакыт жөндөөлөрү: Set current time and sleep timer.
4.5 Using as a Second Monitor
Connect your computer or laptop to the TV using an HDMI or VGA cable. Select the corresponding input source on the TV. You may need to adjust display settings on your computer to extend or duplicate your desktop.
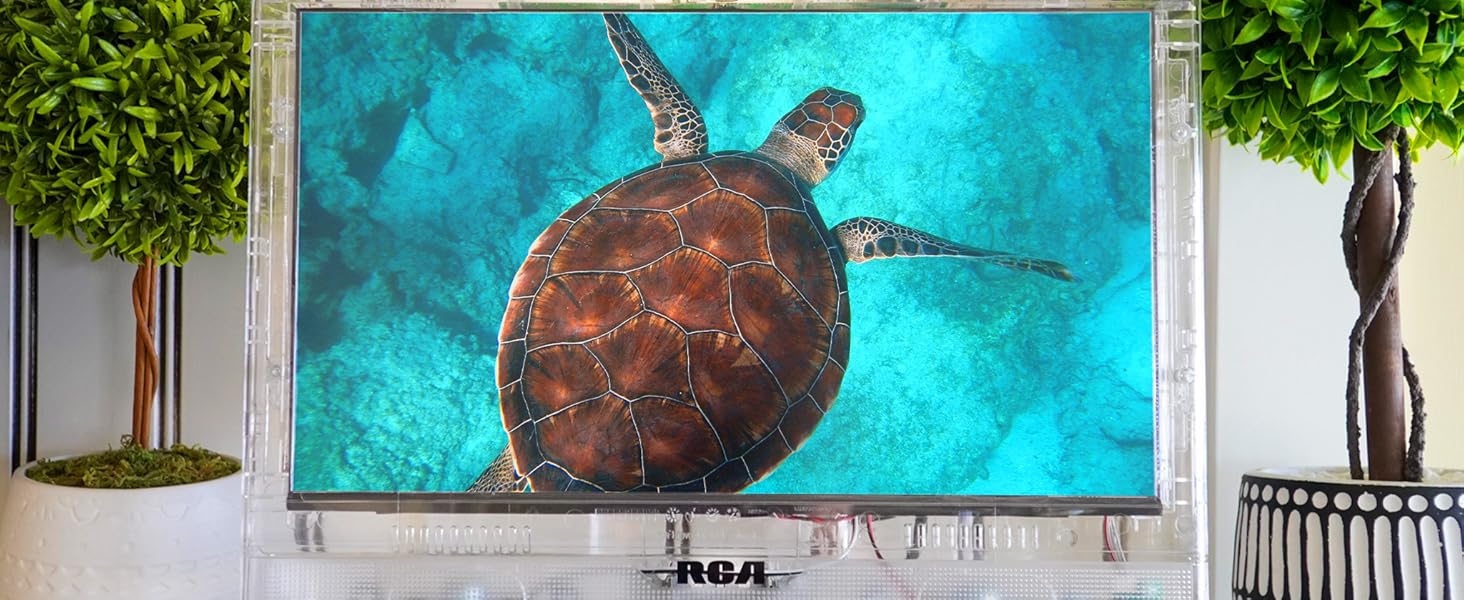
Image: Television used as a second monitor. This image shows the RCA Clearview HDTV connected to a laptop, displaying an extended desktop, demonstrating its functionality as a secondary display.
4.6 Third-Party Streaming
While this television is not a smart TV, you can easily convert it into one by connecting a third-party streaming device (e.g., Roku, Amazon Fire Stick) to an available HDMI port. This allows access to various streaming services.
Image: Television displaying streaming content. This image illustrates the television screen showing a grid of streaming service icons, indicating its compatibility with external streaming devices.
5. Техникалык тейлөө
5.1 Cleaning the Screen and Casing
Экранды тазалоо үчүн аны жумшак, түксүз чүпүрөк менен акырын сүртүңүз. Кежир белгилер үчүн, гampen the cloth with a small amount of screen cleaner. Avoid using harsh chemicals or abrasive materials. The transparent casing can be cleaned with a soft, damp кездеме.
5.2 Жалпы кам көрүү
- Тазалоодон мурун же узак убакыт бою пайдаланылбаганда сыналгыны розеткадан сууруп алыңыз.
- Желдетүүчү тешиктерди жаппаңыз.
- Сыналгыга экстремалдык температуранын же нымдуулуктун таасирин тийгизбеңиз.
6. Кыйынчылыктарды
Телевизоруңузда көйгөйлөргө туш болсоңуз, төмөнкү жалпы көйгөйлөрдү жана чечимдерди караңыз:
| Көйгөй | Мүмкүн себеп | Чечим |
|---|---|---|
| Күч жок | Электр зымы ажыратылган; розетка иштебейт. | Электр шнурунун бекем туташтырылганын текшериңиз. Розетканы башка аспап менен текшериңиз. |
| No Picture/Poor Picture Quality | Incorrect input source; loose cable connection; viewбурч. | Select the correct input source. Check all cable connections. Adjust viewоптималдуу ачыктык үчүн бурчту тандаңыз. |
| No Sound/Poor Sound Quality | Volume too low; Mute activated; incorrect audio settings; external speaker issue. | Increase volume. Deactivate Mute. Check audio settings in the menu. If using external speakers, ensure they are connected and powered correctly. |
| Пульт иштебейт | Dead batteries; obstruction; remote not pointed at TV. | Replace batteries. Remove any obstructions between remote and TV. Point remote directly at the TV's sensor. |
Бул чечимдерди колдонууга аракет кылгандан кийин көйгөйлөр чечилбесе, кардарларды колдоо кызматына кайрылыңыз.
7. Техникалык шарттар
| Өзгөчөлүк | Спецификация |
|---|---|
| Бренд | континуус |
| Модель номери | J13SE820-21 |
| Screen Size | 13 дюйм |
| Дисплей технологиясы | LED |
| Резолюция | 720p |
| Жаңыртуу ылдамдыгы | 60 Гц |
| Аспект катышы | 1.77:1 |
| Байланыш технологиясы | HDMI, VGA, Headphone |
| Продукциянын өлчөмдөрү (D x W x Y) | 5 x 15.3 x 12.5 дюйм |
| Элемент Салмагы | 4.34 фунт |
| Өзгөчө өзгөчөлүк | Clear Body |
| Камтылган компоненттер | Баяндамачылар |

Image: Dimensional diagram of the television. This diagram illustrates the physical measurements of the RCA 13-inch Clearview HDTV, including its width (13.5"), height (9.8"), screen diagonal (13.25"), base width (7.875"), and base height (1.5").
8. Кепилдик маалыматы
Specific warranty details for the continuus RCA 13-inch Clearview HDTV (Model J13SE820) are typically provided with your purchase documentation or can be obtained directly from the manufacturer. Please refer to the warranty card included in your product packaging or visit the continuus webакыркы маалымат алуу үчүн сайт.
9. Колдоо
For technical assistance, troubleshooting beyond this manual, or general inquiries, please contact continuus customer support. Our team is available to provide assistance via phone or email.
You can find contact information on the official continuus webсайт:

Image: QR code for customer support. This QR code provides a direct link to the continuus contact page for customer support.