1. Киришүү
This manual provides essential information for the safe and efficient operation, maintenance, and troubleshooting of your Profile GE Automatic Espresso Machine + Milk Frother. Please read these instructions thoroughly before first use and retain for future reference.

Image 1.1: The Profile GE Automatic Espresso Machine with a prepared espresso and a latte.
2. Коопсуздук маалыматы
Өрт, электр тогуна урунуу жана адамдардын жаракат алуу коркунучун азайтуу үчүн электр шаймандарын колдонууда ар дайым негизги коопсуздук чараларын сактаңыз.
- Ensure the appliance is connected to a grounded outlet.
- Машинаны, шнурду же сууга же башка суюктуктарга батырбаңыз.
- Колдонбогондо жана тазалоодон мурун розеткадан ажыратыңыз.
- Эч кандай шайманды зымы же сайы бузулган иштетпеңиз.
- Колдорду жана шнурларды ысык беттерден алыс кармаңыз.
- Өндүрүүчү сунуштаган тиркемелерди гана колдонуңуз.
3. Продукт бүтүп калдыview
The Profile GE Automatic Espresso Machine is designed for convenience and quality, featuring an integrated grinder, milk frother, and smart connectivity.
3.1 Компоненттер
- Башкаруу панели: Touch-sensitive buttons for various drink selections and functions.
- буурчак хоппер: Stores whole coffee beans for grinding.
- Суу сактагыч: Суу менен камсыздоо үчүн алынуучу резервуар.
- Кофе түтүгү: Демделген кофе берет.
- Буу таякчасы: Сүттү көбүктүрүү үчүн.
- Тамчылатма табак: Ашыкча суюктуктарды чогултат.
- Негизги контейнер: Колдонулган кофенин калдыктарын чогултат.

Image 3.1: The top control panel with buttons for Espresso, Americano, My Brew, Steam, and Hot Water.

Image 3.2: The integrated bean hopper with whole coffee beans and grind size adjustment knob.

Image 3.3: The removable water reservoir being lifted from the machine.
4. Орнотуу
4.1 Таңгактан чыгаруу жана алгачкы жайгаштыруу
- Бардык таңгактоочу материалдарды кылдаттык менен алып салыңыз.
- Place the machine on a stable, level surface away from heat sources and direct sunlight.
- Вентиляция жана тетиктерге жетүү үчүн машинанын айланасында жетиштүү мейкиндикти камсыз кылыңыз.
4.2 Алгачкы тазалоо
Before first use, clean all removable parts with warm water and mild detergent. Rinse thoroughly and dry. Wipe the exterior of the machine with a damp кездеме.
4.3 Суу сактагычты толтуруу
- Remove the water reservoir from the machine (refer to Image 3.3).
- Fill with fresh, cold drinking water up to the MAX line.
- Replace the reservoir securely into the machine.
4.4 Кофе дандарын кошуу
- Open the lid of the bean hopper (refer to Image 3.2).
- Pour whole coffee beans into the hopper. Do not overfill.
- Капкакты бекем жабыңыз.
4.5 Күйгүзүү жана баштапкы чайкоо
- Электр шнурын жерге туташтырылган электр розеткасына сайыңыз.
- Press the power button on the control panel. The machine will perform an initial rinse cycle.
- Place a container under the coffee spout to collect the rinse water.
4.6 SmartHQ App Connection
For enhanced customization and software updates, connect your espresso machine to the SmartHQ app.
- Download the SmartHQ app from your device's app store.
- Follow the in-app instructions to pair your espresso machine.
- Customize drink preferences, volume, and strength through the app.

Image 4.1: Using the SmartHQ app to control and customize the espresso machine.
5. Иштөө нускамалары
5.1 Кофе кайнатуу
The machine offers Espresso, Americano, Lungo, and Hot Water options. The 'My Cup' setting is pre-set to Ristretto and can be adjusted via the SmartHQ app.
- Ensure the water reservoir is filled and the bean hopper contains coffee beans.
- Кофе түтүгүнүн астына чөйчөктү коюңуз.
- Select your desired drink (Espresso, Americano, Lungo, My Cup) from the control panel.
- The machine will automatically grind the beans, brew, and dispense your coffee.

Image 5.1: The espresso machine dispensing a fresh shot of espresso.
5.2 Майдалоо өлчөмүн жөндөө
The integrated conical burr grinder allows for 5 levels of grind size adjustment, from coarsest to finest, to optimize flavor extraction.
- Locate the grind size adjustment knob inside the bean hopper (refer to Image 3.2).
- Turn the knob to select your desired grind setting. Finer grinds are suitable for espresso, while coarser grinds are better for longer coffee types.
5.3 Using the Steam Frother
The steam frother creates various milk textures for cappuccinos, lattes, and more.
- Fill the included stainless steel frothing pitcher with cold milk.
- Буу таякчасын сүткө салыңыз.
- Press the 'Steam' button on the control panel.
- Move the pitcher to achieve desired foam texture.
- Once finished, press the 'Steam' button again to stop.
- Immediately clean the steam wand after each use to prevent milk residue buildup.
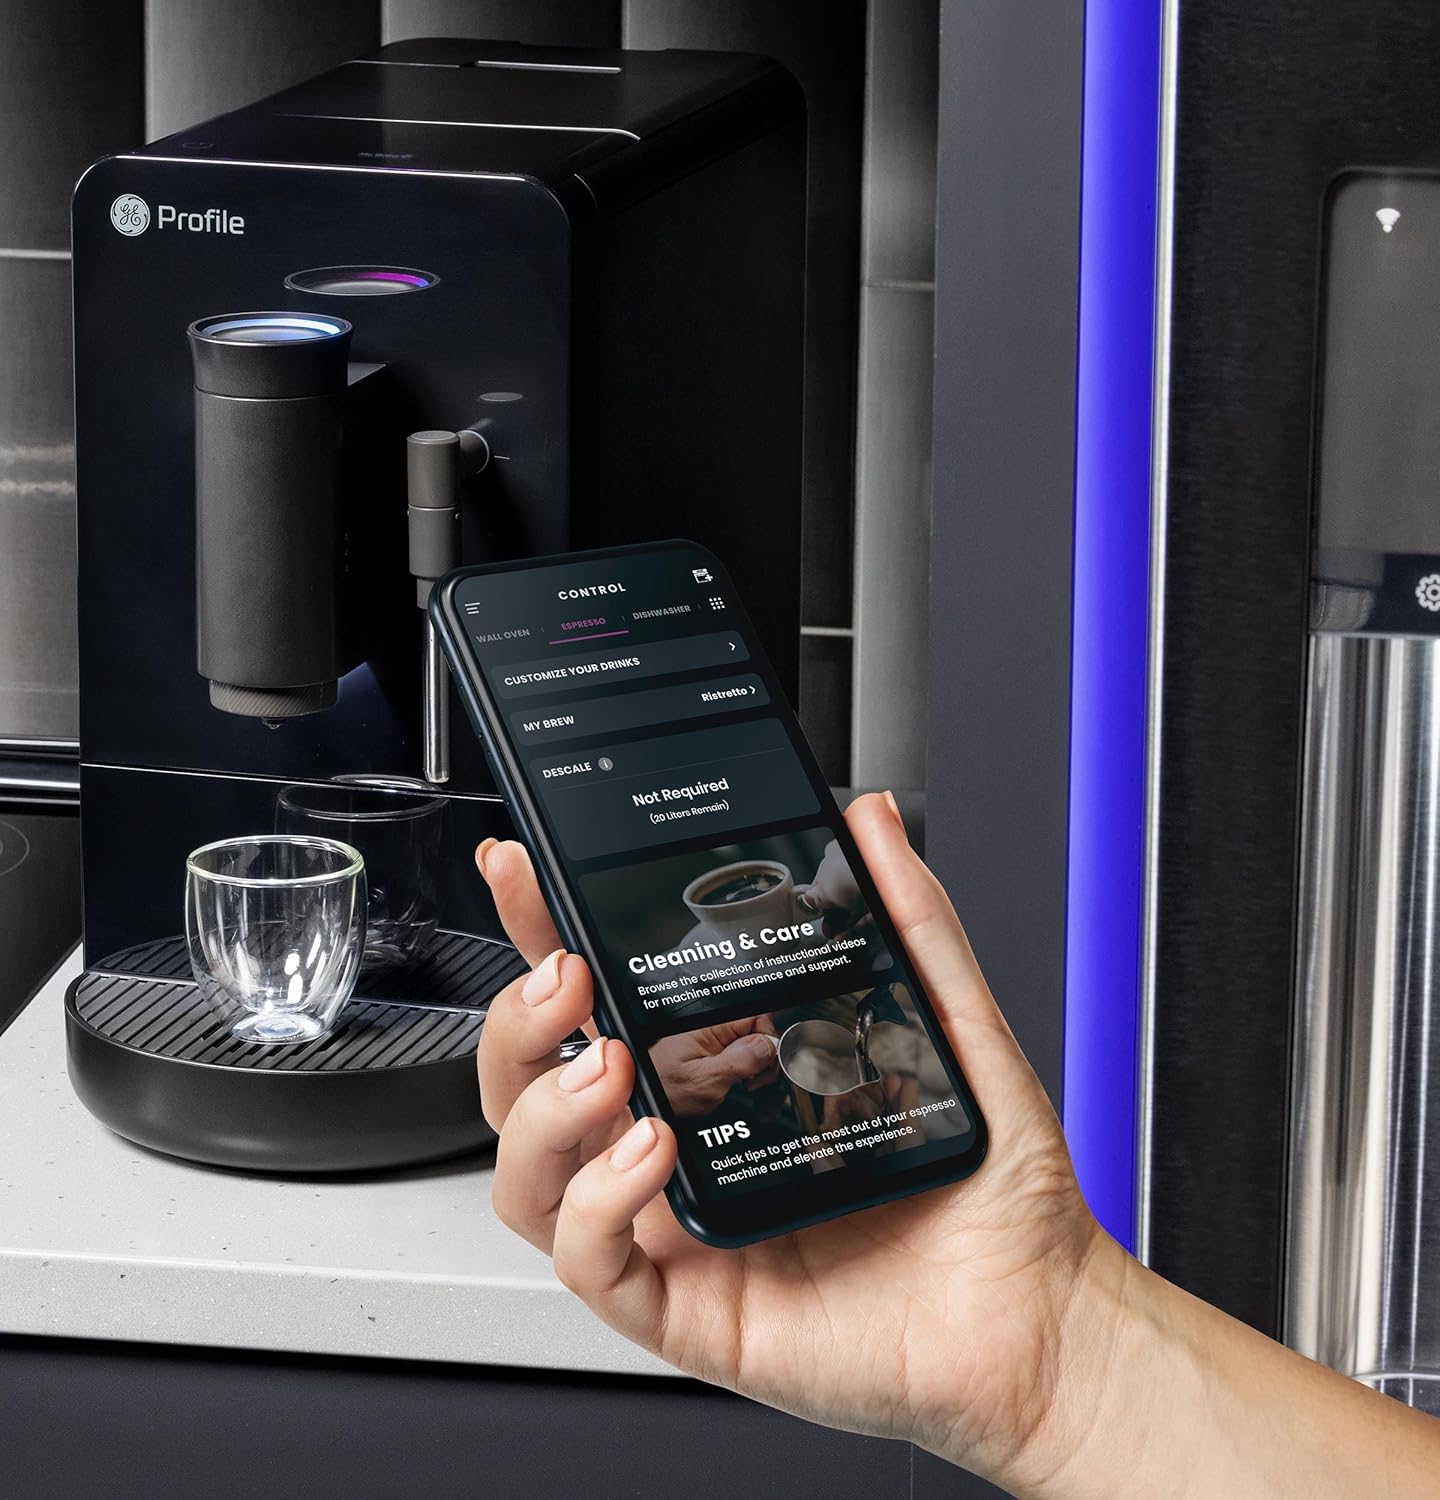
Image 5.2: A hand using the steam wand to froth milk in a stainless steel pitcher.
6. Техникалык тейлөө
Үзгүлтүксүз тазалоо жана тейлөө эспрессо машинаңыздын оптималдуу иштешин жана узак иштөөсүн камсыздайт.
6.1 Күнүмдүк тазалоо
- Буу таякчасы: Ар бир колдонгондон кийин, буу таякчасын жарнама менен сүртүңүзamp cloth. Purge steam briefly to clear any milk residue from the nozzle.
- Тамчылатуучу лоток жана жер контейнери: Күн сайын бошотуп, жууп туруңуз. Машина жер контейнерин качан бошотуш керектигин көрсөтөт.
- Суу сактагыч: Күн сайын жууп, таза суу менен толтуруңуз.
6.2 Апталык тазалоо
- Кайнатуу бирдиги: The brew unit is typically removable for rinsing under running water. Refer to the included cleaning kit instructions for detailed steps.
- буурчак хоппер: Periodically clean out any oil residue or old beans.
6.3 Тазалоо
The machine will prompt you when descaling is required. Use a descaling solution specifically designed for espresso machines and follow the instructions provided with the descaling agent or in the SmartHQ app.
7. Кыйынчылыктарды
Бул бөлүмдө эспрессо машинаңыз менен кездешиши мүмкүн болгон жалпы көйгөйлөр каралат.
| Көйгөй | Мүмкүн себеп | Чечим |
|---|---|---|
| No coffee dispensed / "Add Beans" message | Bean hopper empty or beans not feeding correctly. | Refill bean hopper. Gently stir beans to ensure they feed into the grinder. |
| Кофе өтө алсыз же суулуу | Grind size too coarse, insufficient coffee dose, or descaling needed. | Adjust grind size to a finer setting. Check SmartHQ app for strength settings. Perform descaling if prompted. |
| Сүт туура көбүрбөйт | Steam wand clogged, milk type unsuitable, or insufficient steam pressure. | Clean steam wand thoroughly. Use fresh, cold milk. Ensure machine is heated to steam temperature. |
| Машина иштебей жатат | Электр розеткасына кошулган жок, кубат бериңизtage, же автоматтык өчүргүч иштен чыгып калган. | Check power connection. Verify power outlet functionality. Reset circuit breaker if necessary. |
| SmartHQ app connectivity issues | Incorrect Wi-Fi password, network interference, or app bug. | Verify Wi-Fi credentials. Ensure machine is within Wi-Fi range. Restart app and machine. Check for app updates. |
8. Техникалык шарттар
- Бренд: Profile
- Модель аты: GE Profile Automatic Espresso Machine + Frother
- Модель номери: P7CEBBS6RBB
- Түсү: Кара
- Продукциянын өлчөмдөрү: 7"D x 16"W x 12.5"H
- Элемент Салмагы: 16 фунт
- Тtage: 120V
- Иштөө режими: Толугу менен автоматтык
- Өзгөчөлүктөр: Built-In Bean Hopper, Built-In Conical Burr Grinder & Adjustable Grind Size, Programmable My Brew Setting, Steam Frother & Frothing Pitcher, WiFi Connected
- Камтылган компоненттер: Cleaning Kit, Coffee Bean Container, Espresso Machine, Steam Wand, Milk Pitcher, Water Tank
- Кофе киргизүү түрү: Whole Beans
- Адам интерфейсинин киргизүүсү: Сенсордук экран

Image 8.1: Product dimensions of the espresso machine.
9. Кепилдик жана колдоо
This product is covered by a manufacturer's warranty. For specific warranty details, registration, or technical support, please refer to the warranty card included with your product or visit the official GE Profile website. You may also contact customer service through the SmartHQ app for assistance.


