1. Киришүү
Thank you for choosing the InFocus P120 INL412 Multimedia Projector. This manual provides essential information for the safe and efficient operation of your projector. Please read it thoroughly before using the device and retain it for future reference. The InFocus P120 INL412 is designed for versatile multimedia presentations, offering clear and vibrant images for various applications.
2. Коопсуздук маалыматы
To ensure safe operation and prevent damage to the projector, please observe the following safety precautions:
- Желдетүүчү тешиктерди жаппаңыз. Ашыкча ысып кетүүнүн алдын алуу үчүн проектордун айланасында абанын туура айланышы үчүн жетиштүү орун бар экенин текшериңиз.
- l болгондо проектордун объективине түз кароодон качыңызamp күйүп турат, анткени жаркыраган жарык көзгө зыян келтириши мүмкүн.
- Do not place the projector on an unstable cart, stand, or table. The projector may fall, causing serious injury to a child or adult, and serious damage to the unit.
- Disconnect the power cord from the wall outlet if the projector will not be used for an extended period.
- Бардык тейлөөлөрдү квалификациялуу тейлөө кызматкерлерине тапшырыңыз. Проекторду өзүңүз ачууга же оңдоого аракет кылбаңыз.
- Keep the projector away from water or moisture. Do not expose it to rain or immerse it in liquid.
- Use only the power cord supplied with the projector or an authorized replacement.
3. Пакеттин мазмуну
Төмөндө көрсөтүлгөн бардык буюмдар проекторуңуздун топтомуна киргенин текшериңиз:
- InFocus P120 INL412 Multimedia Projector
- Электр кабели
- Батареялар менен алыстан башкаруу
- VGA кабели
- Колдонуучунун Колдонмосу (бул документ)
- Quick Start Guide
4. Продукт бүтүп калдыview
Familiarize yourself with the main components of your InFocus P120 INL412 projector.
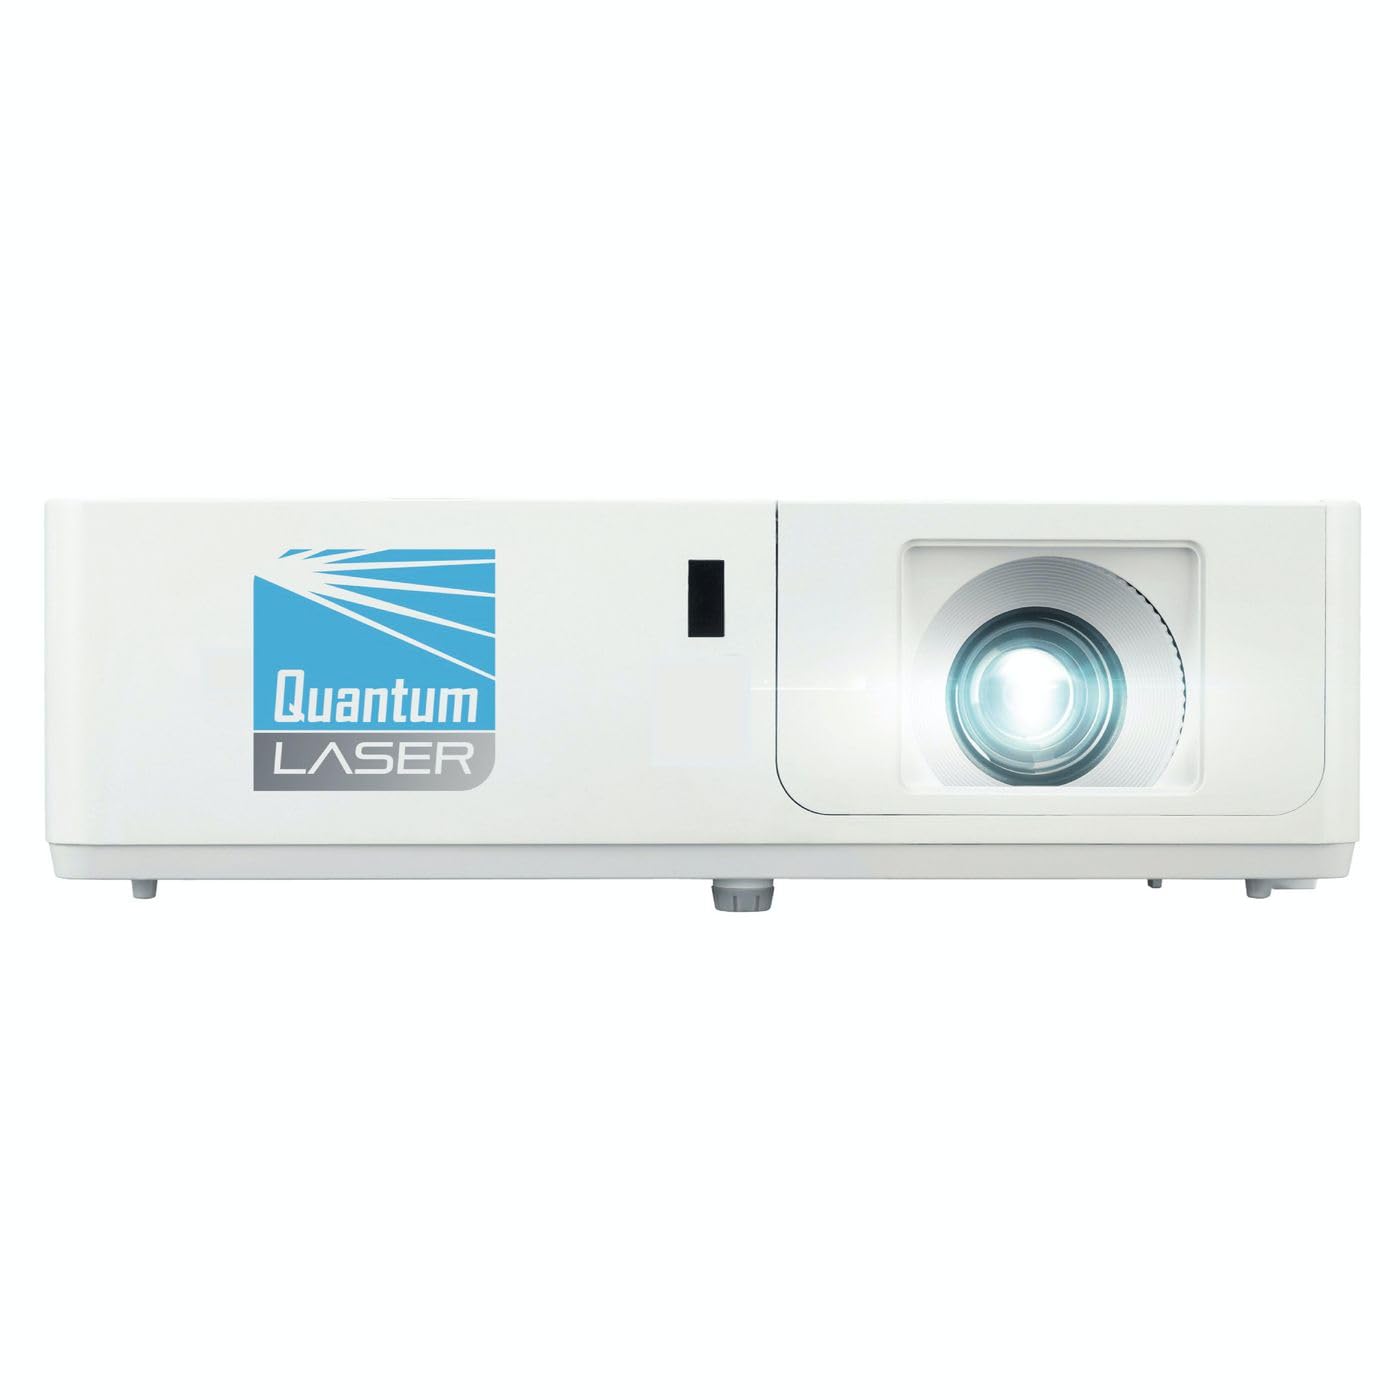
Сүрөт 1: Алдыңкы view of the InFocus P120 INL412 Multimedia Projector, showing the lens and ventilation grilles.
4.1 алдыңкы панели
- Проекциялык линза: Сүрөттү экранга чыгарат.
- Фокус шакеги: Проекцияланган сүрөттүн ачыктыгын тууралайт.
- Масштабдуу шакек: Проекцияланган сүрөттүн өлчөмүн тууралайт.
- IR алуучу: Алыстан башкаруу пультунан сигналдарды алат.
4.2 Жогорку панель
- Башкаруу панели: Buttons for power, menu navigation, source selection, and keystone correction.
- Индикатор жарыктары: Display the projector's status (e.g., power, lamp, temperature).
4.3 Арткы панель (туташуу)
- HDMI киргизүү: Connects to HDMI-enabled devices (laptops, Blu-ray players).
- VGA киргизүү: VGA чыгышы бар компьютерлерге туташат.
- USB порт: For service or connecting USB devices (if supported by model).
- Аудио кириш/чыгыш: Тышкы аудио булактарын же динамиктерди туташтыруу үчүн.
- Power Inlet: Электр шнурун туташтырат.
5. Орнотуу
Проекторуңузду баштапкы орнотуу үчүн бул кадамдарды аткарыңыз:
- Жайгашкан жери: Place the projector on a stable, flat surface or mount it securely. Ensure the projector is positioned at an appropriate distance from the screen to achieve the desired image size.
- Кубат туташуу: Connect the power cord to the projector's power inlet and then to a grounded electrical outlet.
- Түзмөктү туташтыруу: Connect your source device (e.g., laptop, DVD player) to the projector using an appropriate cable (HDMI, VGA, etc.). Ensure the cable is securely connected to both the source and the projector.
- Күйгүзүү: Press the power button on the projector's control panel or the remote control to turn on the projector. The power indicator light will illuminate.
- Adjust Focus and Zoom: Once an image is projected, rotate the focus ring on the lens until the image is sharp and clear. Use the zoom ring to adjust the image size to fit your screen.
- Негизги ташты оңдоо: If the image appears trapezoidal, use the keystone correction function (either via buttons on the projector/remote or through the on-screen menu) to square the image.
6. Иштөө нускамалары
6.1 Күйгүзүү/өчүрүү
- Күйгүзүү үчүн: Press the power button once. The projector will go through a warm-up sequence.
- Өчүрүү үчүн: Press the power button twice. The first press will prompt a shutdown confirmation; the second press will initiate shutdown. Allow the projector to cool down completely before unplugging.
6.2 Булакты тандоо
Press the 'Source' button on the projector or remote control to cycle through available input sources (HDMI, VGA, etc.) until your desired source is displayed.
6.3 Меню Навигациясы
Press the 'Menu' button to access the on-screen display (OSD) menu. Use the arrow buttons to navigate through options and 'Enter' or 'OK' to select. Use the 'Exit' or 'Menu' button to close the OSD.
- Сүрөт жөндөөлөрү: Adjust brightness, contrast, color, aspect ratio, and picture mode.
- Дисплейдин жөндөөлөрү: Configure keystone, projection mode (front/rear, desktop/ceiling), and resolution.
- Аудио жөндөөлөрү: Control volume and audio output options.
- Системанын жөндөөлөрү: Manage language, timer, power-saving modes, and factory reset.
7. Техникалык тейлөө
Үзгүлтүксүз тейлөө оптималдуу иштешин камсыз кылат жана проекторуңуздун иштөө мөөнөтүн узартат.
- Линзаны тазалоо: Проектордун линзасын оптикалык беттер үчүн атайын жасалган жумшак, түксүз чүпүрөк менен акырын сүртүңүз. Абразивдүү тазалагычтарды же ашыкча күч колдонбоңуз.
- Кабинетти тазалоо: Use a soft, dry cloth to clean the projector's exterior. For stubborn marks, dampen the cloth slightly with water. Avoid using harsh chemicals.
- Аба чыпкасын тазалоо/алмаштыруу: Check the air filter periodically. If your model has a removable filter, clean it with a soft brush or vacuum cleaner. Replace the filter as recommended in the on-screen menu or when visibly dirty to maintain proper ventilation.
- Lamp Алмаштыруу: Проектор лamp чектүү өмүрү бар. Качан лamp life indicator appears, or the image brightness significantly decreases, replace the lamp according to the instructions provided in the full service manual or by a qualified technician. Always allow the projector to cool down completely before attempting lamp алмаштыруу.
8. Кыйынчылыктарды
Жалпы маселелер жана аларды чечүү үчүн төмөнкү таблицага кайрылыңыз:
| Көйгөй | Мүмкүн себеп | Чечим |
|---|---|---|
| Сүрөт көрсөтүлгөн жок | Power cord disconnected, incorrect input source, source device off. | Check power connections. Select correct input source. Ensure source device is powered on. |
| Сүрөт бүдөмүк | Lens out of focus, incorrect projection distance. | Adjust the focus ring on the lens. Reposition the projector closer or further from the screen. |
| Сүрөт трапеция түрүндө | Проектор экранга перпендикуляр эмес. | Use keystone correction (manual or automatic) to square the image. |
| Проектор ысып, өчүп калат | Бөгөттөлгөн желдетүү, кир аба чыпкасы. | Ensure clear space around vents. Clean or replace the air filter. |
| Пульт иштебей жатат | Dead batteries, obstruction between remote and projector, incorrect angle. | Replace batteries. Ensure clear line of sight to IR receiver. Point remote directly at the projector. |
9. Техникалык шарттар
Key technical specifications for the InFocus P120 INL412 Multimedia Projector:
| Өзгөчөлүк | Спецификация |
|---|---|
| Модель номери | P120 INL412 (Item model number: 7296144) |
| Дисплей түрү | DLP |
| Native Resolution | 1280 x 800 |
| Дисплейдин максималдуу чечилиши | 1280 x 800 |
| Байланыш технологиясы | USB (and other standard inputs like HDMI, VGA) |
| Продукциянын өлчөмдөрү | 5.25 x 0.31 x 1.66 дюйм |
| Элемент Салмагы | 6.6 фунт |
| Өндүрүүчү | Фокуста |
10. Кепилдик жана колдоо
The InFocus P120 INL412 Multimedia Projector comes with a standard manufacturer's warranty. Please refer to the warranty card included in your package for specific terms and conditions, including warranty duration and coverage details. For technical support, service, or further inquiries, please visit the official InFocus support webсайтка же кардарларды тейлөө бөлүмүнө кайрылыңыз.
Эң акыркы колдоо маалыматы үчүн төмөнкү дарекке кайрылыңыз: www.infocus.com/support


