1. Киришүү
This manual provides detailed instructions for the installation, operation, and maintenance of your Vivotek IB9380-H 5MP IR Outdoor Network Bullet Camera. Please read this manual thoroughly before using the product to ensure proper setup and optimal performance. This camera is designed for outdoor security surveillance, offering high-resolution imaging and infrared capabilities for reliable monitoring.
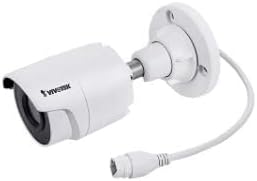
Image 1.1: Vivotek IB9380-H 5MP IR Outdoor Network Bullet Camera overview.
2. Коопсуздук маалыматы
- Кубат булагы: Use only the specified AC/DC power adapter. Ensure the power supply is stable and meets the camera's requirements (3.5 watts).
- Орнотуу чөйрөсү: This camera is rated for outdoor use (IP9380). Avoid installing in locations with extreme temperatures, high humidity, or corrosive substances beyond its operating specifications.
- Колдонуу: Do not drop or subject the camera to severe shock. Avoid touching the lens directly.
- Демонтаж: Камераны бөлүктөргө бөлүүгө же өзгөртүүгө аракет кылбаңыз. Бул кепилдикти жокко чыгарып, зыян келтириши мүмкүн.
- Кабелдик: Ensure all cables are properly secured and protected from environmental damage or tampring.
3. Пакеттин мазмуну
Пакетте бардык буюмдар бар экенин текшериңиз:
- Vivotek IB9380-H 5MP IR Outdoor Network Bullet Camera
- Орнотуу комплекти (бурамалар, дубал анкерлери)
- Ыкчам орнотуу колдонмосу
- Waterproof Connector for Ethernet Cable
4. Орнотуу
4.1. Физикалык орнотуу жана бекитүү
The Vivotek IB9380-H camera is designed for wall mount installation. Choose a suitable location that provides the desired field of view жана кубатка жана тармактык байланыштарга жетет.
- Монтаждоо бетин даярдаңыз: Mark the drilling points on the wall using the mounting template (if provided) or by holding the camera's base against the surface.
- Бургулоо тешиктери: Drill pilot holes at the marked positions. Insert wall anchors if mounting on drywall or masonry.
- Камераны коргоо: Attach the camera's mounting base to the wall using the provided screws. Ensure it is firmly secured.
- Бурчту тууралоо: Loosen the adjustment screws on the camera body to set the desired viewing angle. Tighten the screws once the angle is satisfactory.

Image 4.1: Camera dimensions and mounting diagram for installation planning.
4.2. Кабель туташтыруу
Connect the necessary cables to the camera:
- Ethernet кабели: Connect a standard Ethernet cable (RJ45) to the camera's network port. Use the waterproof connector to protect the connection if exposed to weather.
- Кубат кабели: Connect the power adapter to the camera's power input. Ensure the connection is secure.

Image 4.2: Close-up of an Ethernet cable connector, similar to what is used for the camera's network connection.
4.3. Баштапкы күйгүзүү
Once all cables are connected, plug the power adapter into an electrical outlet. The camera will power on and initiate its startup sequence. Observe any indicator lights for status.
5. Иштөө нускамалары
5.1. Network Configuration and Access
The Vivotek IB9380-H supports Wi-Fi connectivity. For initial setup, it is recommended to connect via Ethernet to configure network settings.
- Камераны табуу: Use the Vivotek IP Search utility or your network router's client list to find the camera's assigned IP address.
- Мүмкүнчүлүк Web Интерфейс: ачуу а web browser and enter the camera's IP address. Log in using the default credentials (refer to the Quick Installation Guide for details).
- Wi-Fi'ды конфигурациялоо: Navigate to the network settings within the web interface. Select your Wi-Fi network, enter the password, and save the settings. Once configured, you may disconnect the Ethernet cable if desired.
5.2. Түз эфир View жана Жаздыруу
After network setup, you can access the camera's live feed and configure recording options.
- Live View: From web interface or a compatible mobile application, select the camera to view анын жандуу тоюту.
- Жаздырууну орнотуу: Configure recording schedules, continuous recording, or event-triggered recording (e.g., motion detection). Recordings can be stored on a network video recorder (NVR) or a local storage device if supported.
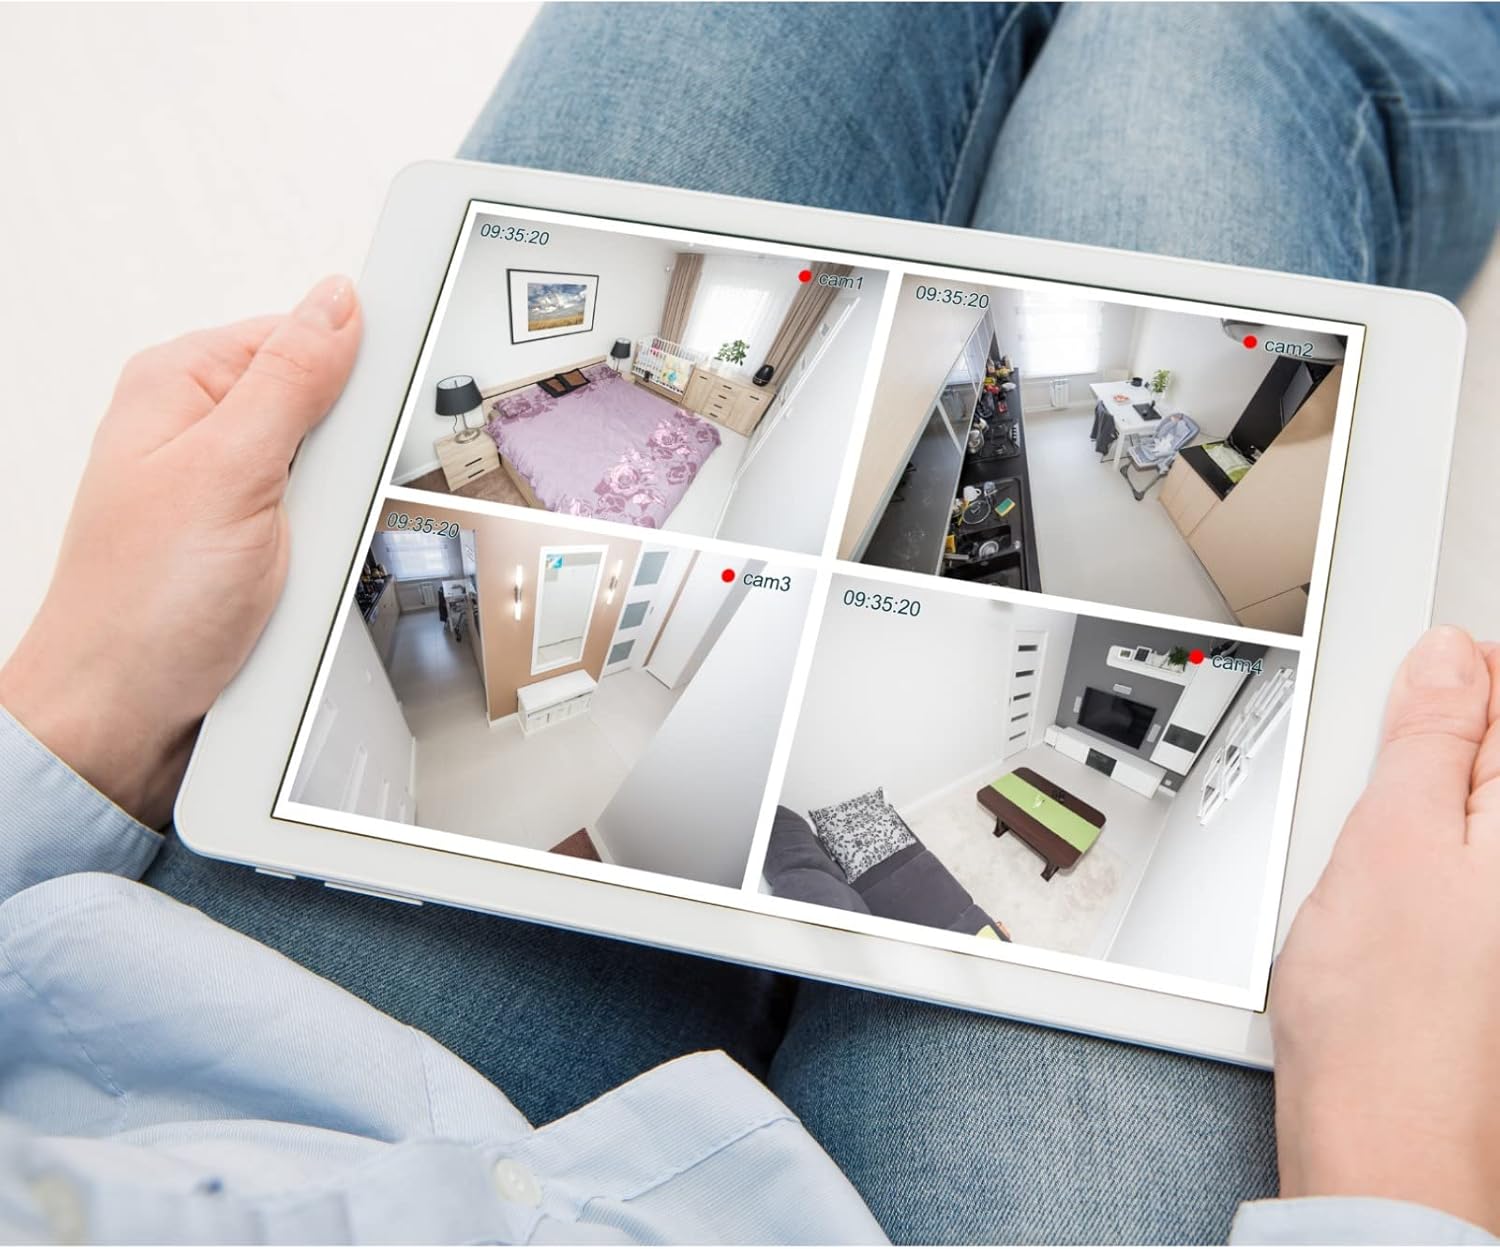
Сүрөт 5.1: Мисample of a tablet displaying multiple camera feeds, illustrating remote monitoring capabilities.
5.3. Кыймылды аныктоону орнотуу
The camera supports motion-only alerts.
- Access Alert Settings: Камераларда web interface, navigate to the event or alert settings section.
- Configure Motion Detection: Enable motion detection and define the detection zones and sensitivity levels.
- Аракеттерди коюу: Specify actions to be taken upon motion detection, such as recording, sending email notifications, or triggering alarms.
5.4. Түнкү көрүнүш
The camera features IR (Infrared) and Night Color low light technology for clear imaging in various lighting conditions. These features typically activate automatically based on ambient light levels.
6. Техникалык тейлөө
- Линзаны тазалоо: Камера линзасын жумшак, таза чүпүрөк менен акырын сүртүңүз. Өтө кир болсо, оптикалык беттер үчүн арналган линза тазалоочу эритмени колдонуңуз. Абразивдүү тазалоочу каражаттарды колдонбоңуз.
- Программалык камсыздоонун жаңыртуулары: Vivotekти мезгил-мезгили менен текшерип туруңуз webмикропрограммалык камсыздоону жаңыртуу сайты. Микропрограмманы жаңыртып туруу оптималдуу иштөөнү, коопсуздукту жана жаңы функцияларга жетүүнү камсыз кылат.
- Экологиялык текшерүү: Regularly inspect the camera and its mounting for any signs of wear, damage, or loose connections, especially after severe weather conditions.
- Power Cycle: If the camera experiences minor issues, try power cycling it by disconnecting and reconnecting the power supply.
7. Кыйынчылыктарды
| Көйгөй | Мүмкүн себеп | Чечим |
|---|---|---|
| Күч жок | Кубат адаптери суурулган же бузук; розеткада көйгөй бар. | Check power connections. Test the outlet with another device. Try a different power adapter if available. |
| Video Feed жок | Network connection issue; incorrect IP address; camera not configured. | Verify network cable connection or Wi-Fi settings. Confirm camera's IP address. Ensure camera is properly configured in your viewпрограммалык камсыздоо. |
| Сүрөттүн сапаты начар | Кир линза; жарык аз шарттар; чечилиш жөндөөлөрү туура эмес. | Clean the camera lens. Ensure sufficient lighting or verify night vision is active. Check video resolution settings in the camera's interface. |
| Кыймылды аныктоо иштебейт | Motion detection disabled; incorrect sensitivity; detection zones not set. | Enable motion detection in settings. Adjust sensitivity and define detection zones. |
8. Техникалык шарттар
| Өзгөчөлүк | Деталь |
|---|---|
| Модел | IB9380-H |
| Натыйжалуу дагы эле чечим | 5 депутат |
| Видео тартуунун резолюциясы | 1080p |
| Frame Rate | 20 кадр/сек |
| Төмөн жарык технологиясы | Түнкү түс |
| Форма фактору | Ок |
| Ички/тышкы колдонуу | Сыртта |
| Монтаж түрү | Дубалга орнотуу |
| Зымсыз байланыш | Wi-Fi |
| Connectivity Protocol | Wi-Fi |
| Power Source | AC/DC |
| Ватtage | 3.5 ватт |
| Эскертүү түрү | Кыймыл гана |
| Башкаруу ыкмасы | Алыстан |
| Өлчөмдөрү (L x W x Y) | 3.59 x 3.59 x 6.96 дюйм |
| Эл аралык коргоо рейтинги | IP9380 |
| UPC | 655255870887, 681541834035 |
9. Кепилдик маалыматы
This Vivotek product is covered by a manufacturer's limited warranty. Please refer to the warranty card included in your package or visit the official Vivotek website for detailed terms and conditions regarding warranty coverage, duration, and claims procedures. Keep your proof of purchase for warranty service.
10. Кардарларды колдоо кызматы
For technical assistance, troubleshooting beyond this manual, or warranty inquiries, please contact Vivotek customer support. You can typically find contact information (phone, email, support portal) on the official Vivotek webсайтында же продуктуңуз менен бирге берилген документтерде.
Онлайн ресурстар: www.vivotek.com


