Introduction
The TechniSat VIOLA CR 1 is a DAB+/FM radio alarm clock designed for reliable timekeeping, radio reception, and convenient charging. This manual provides essential information for setting up, operating, and maintaining your device.

Сүрөт: алдыңкы view of the TechniSat VIOLA CR 1 DAB+ Radio Alarm Clock, displaying the time and radio station.
Жайгашуу
1. Пакеттен чыгаруу жана мазмуну
Таңгактан бардык компоненттерди этияттык менен алып салыңыз. Төмөнкү нерселердин камтылганын текшериңиз:
- TechniSat VIOLA CR 1 unit
- Род антенна
- Кубаттуу адаптер
- Колдонуучунун колдонмосу (бул документ)
2. Power Connection
- Connect the power adapter to the DC IN port on the rear of the VIOLA CR 1.
- Кубат адаптерин стандарттуу электр розеткасына сайыңыз.
3. Антенна туташтыруу
Connect the supplied rod antenna to the ANT port on the rear of the unit. Extend the antenna fully for optimal radio reception.
4. Initial Power On and Time Setting
Upon first power-on, the device will typically initiate a scan for DAB+ radio stations and automatically set the time and date. If automatic synchronization is not successful, manual time setting may be required (refer to the Operating section).

Сүрөт: Арткы view of the TechniSat VIOLA CR 1, highlighting the headphone jack, USB-A charging port, and DC IN power input.
Иштөө нускамалары
1. Негизги башкаруу элементтери
The VIOLA CR 1 features several buttons and a rotary knob for navigation and control. Refer to the labels on the device for specific functions such as Power, Mode, Menu, Alarm, Preset, and Volume/Select.
2. Radio Operation (DAB+ and FM)
- Которуу режимдери: басыңыз Mode button to switch between DAB+ and FM radio.
- Станцияны сканерлөө: In DAB+ mode, the device will automatically scan for available stations. In FM mode, use the tuning knob or scan function to find stations.
- Алдын ала орнотууларды сактоо: Tune to your desired station, then press and hold the Алдын ала коюлган button. Select a preset number using the rotary knob and confirm. The device supports up to 30 presets.
- Алдын ала орнотууларды эстөө: басыңыз Алдын ала коюлган button briefly, then use the rotary knob to select and confirm your desired preset station.

Image: The TechniSat VIOLA CR 1 displaying a DAB+ radio station, indicating its digital radio capabilities.
3. Ойготкучтун функциялары
The VIOLA CR 1 supports two independent alarms, a snooze function, and a sleep timer.

Image: The TechniSat VIOLA CR 1 on a bedside table, accompanied by icons representing its comfort functions: two adjustable alarm times, wake-up via radio or signal tone, sleep timer, and snooze.
- Ойготкучтарды орнотуу: басыңыз Ойготкуч button. Use the rotary knob to select Alarm 1 or Alarm 2. Follow the on-screen prompts to set the alarm time, source (radio or buzzer), volume, and frequency (daily, weekdays, weekends, or once).
- Чырым Function: Ойготкуч чыкканда, басыңыз Тындыр баскычын басыңыз.
- Уйку таймери: To fall asleep to music, activate the sleep timer. This function will automatically turn off the radio after a specified duration. Access this feature via the Меню баскычы.
4. Зымсыз заряддоо
The top surface of the VIOLA CR 1 features a wireless charging pad. Place your Qi-compatible smartphone directly on the charging pad to initiate charging. Ensure the phone is centered for optimal contact.
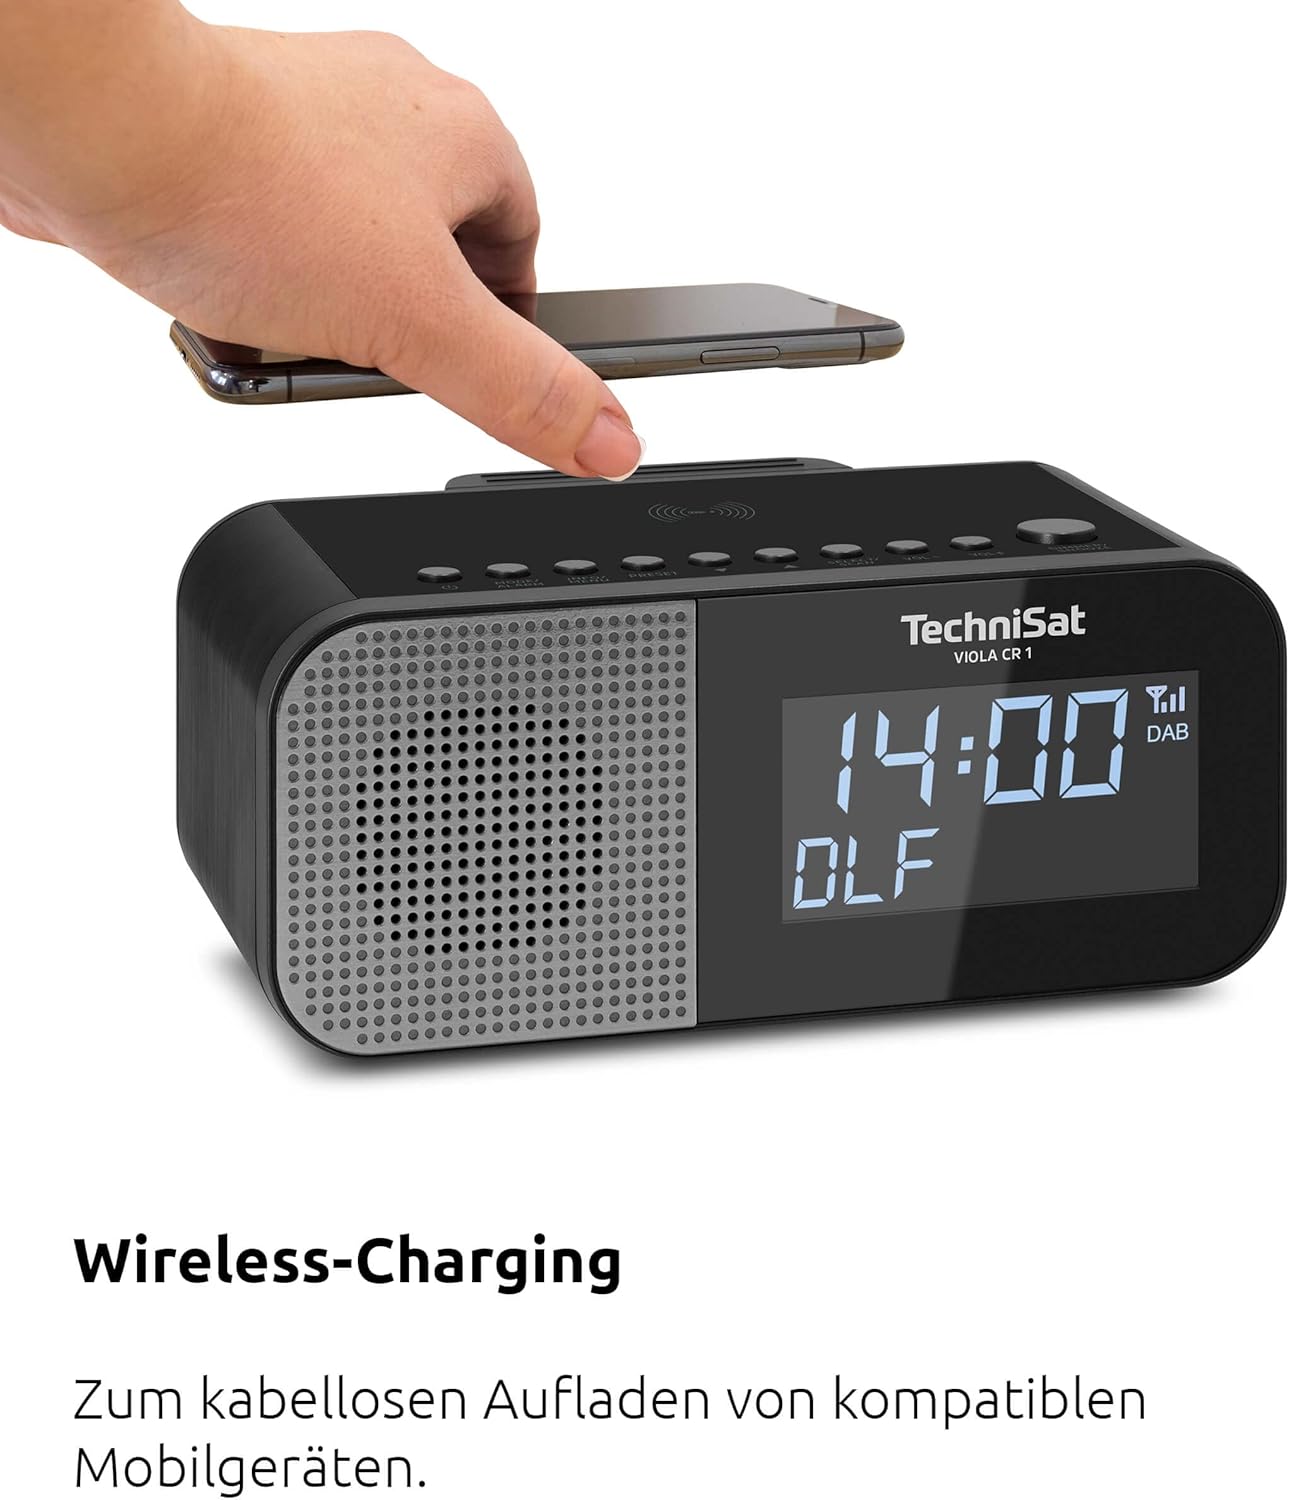
Image: A hand placing a smartphone onto the top surface of the TechniSat VIOLA CR 1, demonstrating the wireless charging function.
5. USB кубаттоо
A USB-A port is located on the rear of the unit. Connect your smartphone or other USB-powered device using a compatible USB cable to charge it.
6. Дисплейдин жарыктыгын жөндөө
The 3.5-inch VA Crystal Clear display is dimmable. Adjust the brightness level through the device's menu settings to suit your preference, especially for nighttime use.

Сүрөт: жакын план view of the TechniSat VIOLA CR 1's large, dimmable display, showing its clear readability.
7. Кулакчынды колдонуу
A 3.5mm headphone jack is available on the rear of the unit for private listening. Connecting headphones will mute the internal speaker.
Техникалык тейлөө
1. Тазалоо
To clean the device, use a soft, dry, lint-free cloth. Do not use abrasive cleaners, waxes, or solvents, as these can damage the surface. Ensure the device is unplugged before cleaning.
2. Жалпы кам көрүү
- Түзмөктү өтө жогорку температурага, түз күн нуруна же жогорку нымдуулукка дуушар кылбаңыз.
- Желдетүүчү тешиктерди жаппаңыз.
- Аппаратты күчтүү магнит талаасынан алыс кармаңыз.
Проблемаларды чечүү
If you encounter issues with your TechniSat VIOLA CR 1, refer to the following common problems and solutions:
| Көйгөй | Мүмкүн себеп | Чечим |
|---|---|---|
| Күч жок | Кубат адаптери туташкан эмес же туура эмес розетка. | Кубат адаптери бекем туташтырылганын жана розетка иштеп турганын текшериңиз. |
| Радио кабыл алуу начар | Антенна узартылган эмес же сигналдын начар аймагы. | Extend the rod antenna fully and try repositioning the unit for better signal. |
| Зымсыз кубаттоо иштебейт | Smartphone not Qi-compatible or not correctly placed. | Verify smartphone compatibility and ensure it is centered on the charging pad. Remove thick cases. |
| Сигнал чыкпай жатат | Ойготкуч иштетилген эмес же үнү өтө төмөн. | Check alarm settings and ensure alarm volume is set appropriately. |
Бул чечимдерди колдонуу аракетинен кийин көйгөй чечилбесе, кардарларды колдоо кызматына кайрылыңыз.
Техникалык шарттар
- Бренд: TechniSat
- Модел: VIOLA CR 1 (0000/2969)
- Радио тюнер: DAB+, FM (RDS жана PLL менен)
- Алдын ала орнотуулар: Up to 30 stations
- Дисплей: 3.5-inch VA Crystal Clear, dimmable LCD
- Аудио чыгаруу: 3.3 W Mono speaker
- Ойготкуч функциялары: Two independent alarms, Snooze, Sleep Timer, Wake by radio or buzzer
- Заряддоо: Wireless charging (Qi-compatible), USB-A charging port (5V, 1A)
- Байланыштары: 3.5mm Headphone Jack, DC IN power input
- Кубат булагы: Тышкы кубат адаптери
- Продукциянын өлчөмдөрү (У x Б x Т): 19.00 x 8.50 x 9.60 см
- Түсү: Black (Neutral)
- Колдонуу максаты: Indoor, Bedroom
Кепилдик жана колдоо
Өндүрүүчүнүн Кепилдиги
The TechniSat VIOLA CR 1 comes with a 2-year manufacturer's warranty. Please retain your proof of purchase for warranty claims. The warranty covers defects in materials and workmanship under normal use.
Кардарларды колдоо
For technical assistance, troubleshooting beyond this manual, or warranty inquiries, please contact TechniSat customer support. Refer to the official TechniSat webакыркы байланыш маалыматы үчүн сайтка же продуктунун таңгагына кайрылыңыз.


