1. Киришүү
Сатып алганыңыз үчүн рахматasing the DOOMAY Digital Alarm Clock. This compact and versatile alarm clock is designed for convenience and readability, featuring an adjustable LCD display, snooze function, weekend mode, and temperature display. This manual will guide you through the setup, operation, and maintenance of your new alarm clock to ensure optimal performance.
2. Коопсуздук маалыматы
- Түзмөктү суудан жана нымдуулугу жогору чөйрөлөрдөн алыс кармаңыз.
- Avoid exposing the clock to direct sunlight or extreme temperatures.
- Аппаратты өз алдынча бөлүүгө же оңдоого аракет кылбаңыз. Тейлөө үчүн квалификациялуу кызматкерлерге кайрылыңыз.
- Use only the specified battery type (2 x AAA batteries).
- Агып кетпеш үчүн аппарат узак убакыт бою колдонулбаса, батареяларды алып салыңыз.
- Батареяларды балдар жетпеген жерде сактаңыз.
3. Пакеттин мазмуну
- DOOMAY Digital Alarm Clock (1 unit)
- AAA Batteries (2 units)
- Колдонуучунун Колдонмосу (бул документ)
4. Продукт бүтүп калдыview
Familiarize yourself with the components and controls of your DOOMAY Digital Alarm Clock.
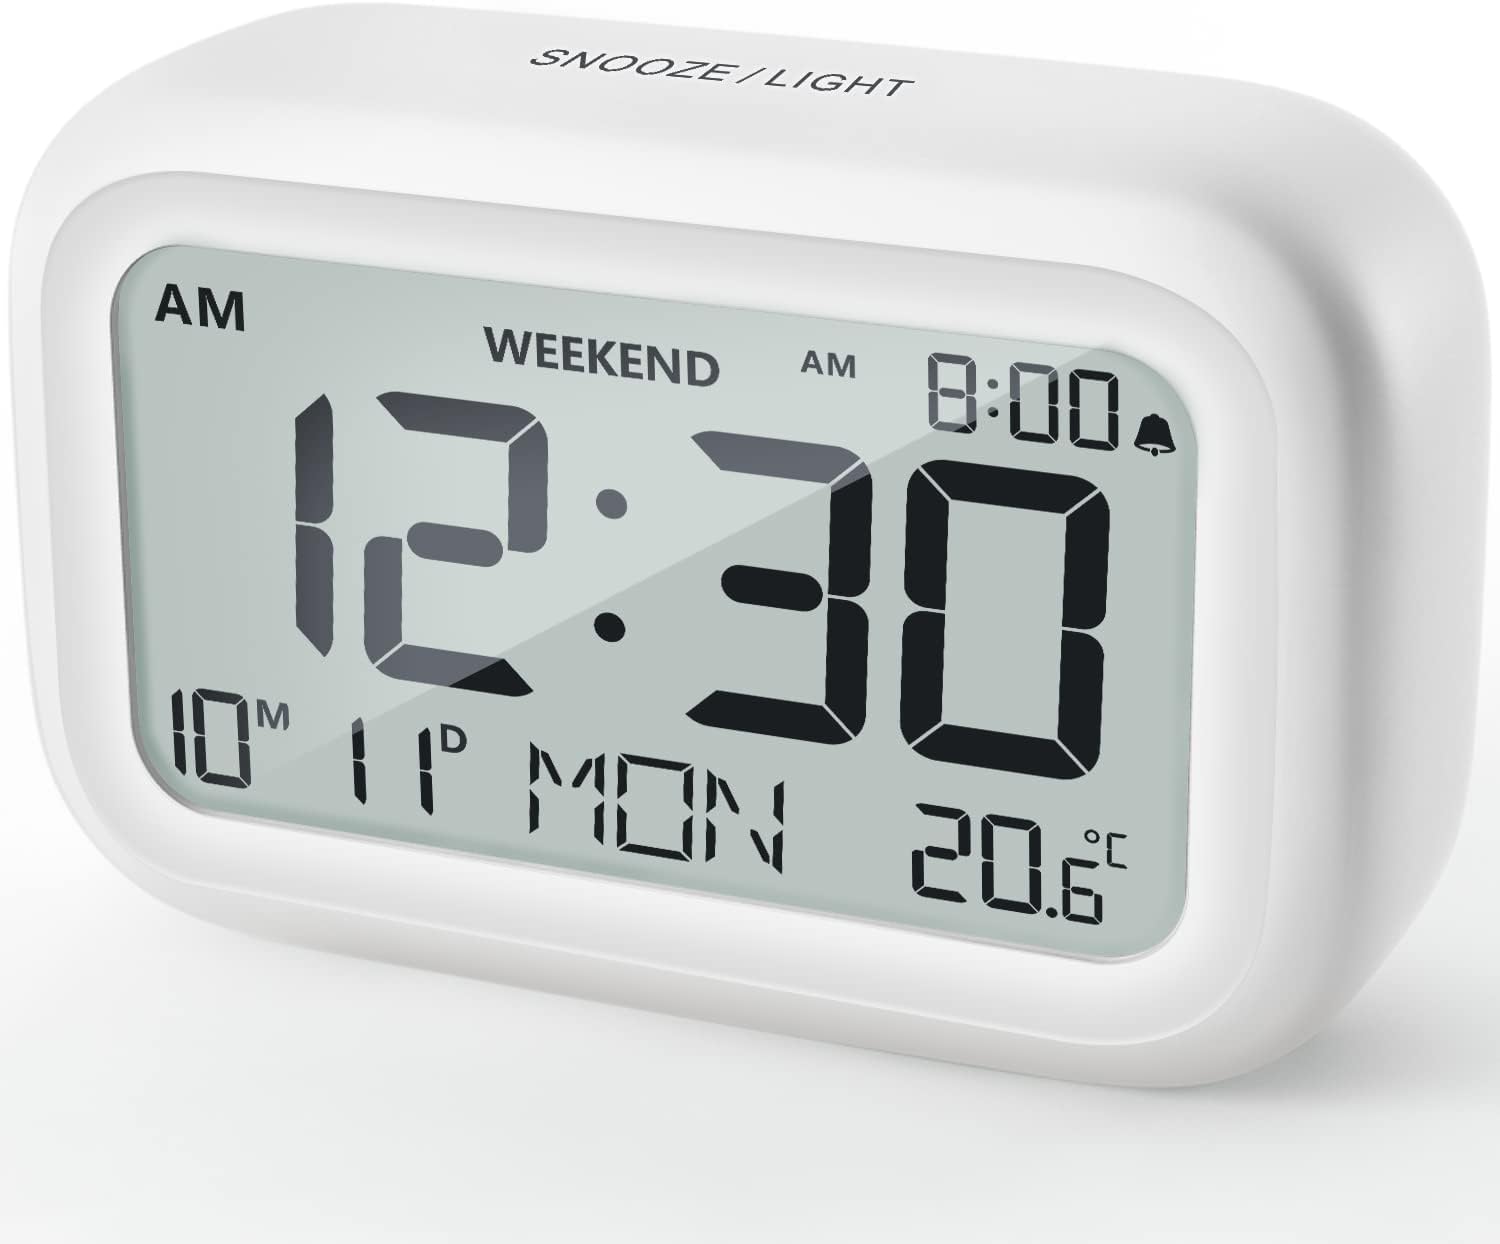
Сүрөт 4.1: Алдыңкы View of the Alarm Clock
This image displays the front of the DOOMAY Digital Alarm Clock, highlighting its large, clear LCD screen. The screen shows the current time (12:30), AM indicator, day of the week (MON), date (10th month, 11th day), and indoor temperature (20.6°C). The top of the clock has a "SNOOZE/LIGHT" button.

4.2-сүрөт: Негизги өзгөчөлүктөр бүттүview
This diagram illustrates the main functionalities of the alarm clock: 12/24H time display, calendar, alarm setting, adjustable volume, snooze function, backlight, weekend mode, and temperature display. The clock itself is shown on a wooden table, displaying 7:00 AM, Friday, and 28.8 degrees.

Figure 4.3: Back Panel Controls
This image shows the rear of the alarm clock, detailing the various control buttons and the battery compartment. Buttons are clearly labeled for: 12/24H time format, Alarm setting, Weekend mode, Date setting, Minus (-) for decreasing values, Plus (+) for increasing values, and °C/°F for temperature unit selection. The battery compartment is visible, designed for two AAA batteries.
Башкаруу жана дисплей:
- LCD дисплей: Shows time, date, day of week, AM/PM indicator, alarm status, and temperature.
- SNOOZE/LIGHT Button (Top): Activates snooze function during alarm; illuminates backlight for 5 seconds.
- 12/24H Button (Back): 12 сааттык жана 24 сааттык убакыт форматтарынын ортосунда которулат.
- ALARM Button (Back): Сигнал орнотуу режимине кирет.
- WEEKEND Button (Back): Activates/deactivates weekend mode.
- DATE Button (Back): Enters date setting mode.
- MINUS (-) Button (Back): Decreases values during setting; adjusts alarm volume.
- PLUS (+) Button (Back): Increases values during setting; adjusts alarm volume.
- °C/°F Button (Back): Цельсий жана Фаренгейт температура бирдиктери ортосунда которулат.
5. Орнотуу
5.1 Батареяны орнотуу
- Сааттын арткы бетинде жайгашкан батарея бөлүкчөсүнүн капкагын ачыңыз.
- Туура полярдуулукту (+ жана -) камсыз кылып, эки (2) AAA батарейкасын салыңыз.
- Батарея уясынын капкагын бекем жабыңыз.
- The display will light up, and the clock will be ready for initial setup. A low battery symbol will appear when batteries need replacement. If the display shows "8888" flashing, it's also an indication to change batteries.
5.2 Алгачкы убакытты жана датаны орнотуу
- Убакытты коюу:
- басыңыз 12/24H button to switch between 12-hour (with AM/PM) and 24-hour formats.
- басып, кармап туруңуз 12/24H Убакытты орнотуу режимине өтүү үчүн баскычын 3 секунд басып туруңуз. Сааттын сандары күйүп-өчүп турат.
- колдонуу + or - саатты тууралоо үчүн баскычтар.
- басыңыз 12/24H Саатты ырастоо жана мүнөт жөндөөсүнө өтүү үчүн баскычын кайра басыңыз. Мүнөттөрдүн сандары күйүп-өчүп турат.
- колдонуу + or - мүнөттү тууралоо үчүн баскычтар.
- басыңыз 12/24H button one more time to exit time setting.
- Дата коюу:
- басып, кармап туруңуз DATE button for 3 seconds to enter date setting mode. The year digits will flash.
- колдонуу + or - жылды тууралоо үчүн баскычтар.
- басыңыз DATE button again to confirm the year and move to month setting.
- Adjust the month using + or -.
- Басыңыз DATE again to move to day setting.
- Adjust the day using + or -.
- Басыңыз DATE one more time to exit date setting. The day of the week will automatically adjust.
6. Иштөө нускамалары
6.1 Сигналды коюу
- басып, кармап туруңуз АЛАРМ баскычын 3 секунд басып туруңуз. Ойготкуч сааттын сандары күйүп-өчүп турат.
- колдонуу + or - каалаган ойготкуч саатын коюу үчүн баскычтар.
- басыңыз АЛАРМ Саатты ырастоо жана мүнөт жөндөөсүнө өтүү үчүн баскычын кайра басыңыз. Ойготкучтун мүнөттүк сандары күйүп-өчүп турат.
- колдонуу + or - buttons to set the desired alarm minute.
- басыңыз АЛАРМ button one more time to exit alarm setting. The alarm icon (bell symbol) will appear on the display, indicating the alarm is active.
- To turn the alarm ON/OFF, simply press the АЛАРМ button once. The bell icon will appear/disappear.
6.2 Тындыруу функциясы
When the alarm sounds, gently tap the large SNOOZE / LIGHT button on the top of the clock. The alarm will pause for 9 minutes and then sound again. This can be repeated multiple times.

Сүрөт 6.1: Тындырууну активдештирүү
This image demonstrates how to activate the snooze function by touching the top of the alarm clock. The text highlights that this action provides an additional 9 minutes of sleep after the alarm sounds.
To completely turn off the alarm after it sounds (without snoozing), press any button on the back of the clock.
6.3 Дем алыш күндөрү режими
The weekend mode allows the alarm to sound only from Monday to Friday, preventing it from ringing on Saturday and Sunday.

Figure 6.2: Weekend Mode Activated
This image shows the alarm clock display with the "WEEKEND" indicator prominently displayed, signifying that the weekend mode is active. The accompanying text clarifies that in this mode, the alarm will only sound from Monday to Friday, ensuring undisturbed weekends.
- To activate Weekend Mode, press the WEEKEND button once. The "WEEKEND" indicator will appear on the display.
- To deactivate Weekend Mode, press the WEEKEND button again. The "WEEKEND" indicator will disappear.
6.4 Adjustable Alarm Volume
The alarm clock offers two volume levels: Low (70 dB) and High (85 dB).

Figure 6.3: Alarm Volume Levels
This image visually represents the two available alarm volume settings: L01 (85 dB) for a louder alarm and L02 (70 dB) for a softer alarm. The alarm clock is shown in a bedroom setting, emphasizing its use as a bedside device.
- Кадимки убакытты көрсөтүү режиминде турганда, баскычын басыңыз + or - buttons to cycle between the two alarm volume levels. The current volume level will be briefly displayed.
6.5 Арткы жарык функциясы
To illuminate the display in low light conditions, simply tap the SNOOZE / LIGHT button on the top of the clock. The backlight will activate for approximately 5 seconds, providing clear visibility of the time and other information.
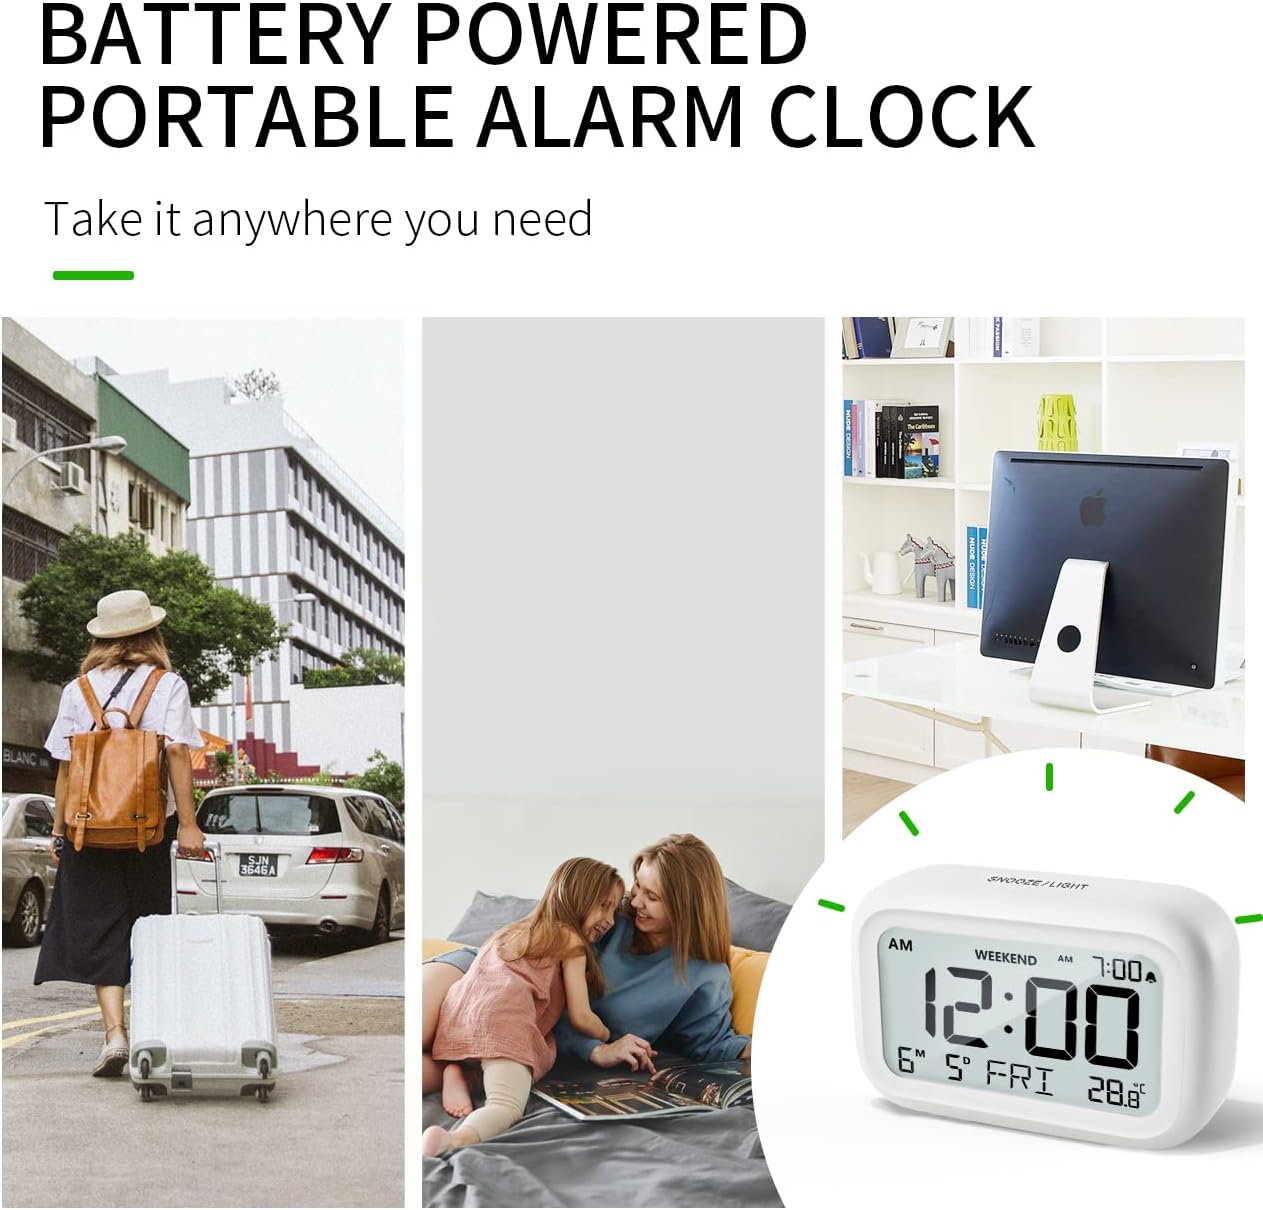
Figure 6.4: Backlight in Action
This image provides a side-by-side comparison of the alarm clock's display. On the left, the clock is shown in a well-lit environment. On the right, the same clock is shown in a dark setting with its 5-second backlight activated, demonstrating how the display becomes clearly visible at night.
6.6 Температура дисплейи
The clock displays the indoor temperature. You can switch between Celsius (°C) and Fahrenheit (°F) units.
- To change the temperature unit, press the ° C / ° F сааттын артындагы баскыч.
7. Техникалык тейлөө
7.1 Тазалоо
Саатты жумшак, кургак чүпүрөк менен сүртүңүз. Абразивдүү тазалагычтарды же эриткичтерди колдонбоңуз, анткени алар бетке зыян келтириши мүмкүн.
7.2 Батареяны алмаштыруу
When the low battery indicator appears on the display, or if the display shows "8888" flashing, it is time to replace the batteries. Follow the steps in Section 5.1 Battery Installation to replace the two AAA batteries.
8. Кыйынчылыктарды
| Көйгөй | Мүмкүн себеп | Чечим |
|---|---|---|
| Дисплей бош же күңүрт. | Батареялар өлүп калган же туура эмес орнотулган. | Туура полярдуулукту камсыз кылуу менен батарейкаларды жаңы AAA батарейкалары менен алмаштырыңыз. |
| Ойготкуч угулбайт. | Alarm is not activated, or Weekend Mode is ON. | Ensure the alarm icon is displayed. Check if Weekend Mode is active and deactivate if necessary. |
| Тындыруу функциясы иштебей жатат. | Not tapping the SNOOZE/LIGHT button correctly. | Ensure a firm, brief tap on the top SNOOZE/LIGHT button when the alarm is sounding. |
| Убакыт/дата туура эмес. | Not set correctly or batteries were removed. | Refer to Section 5.2 Initial Time and Date Setting to re-set. |
9. Техникалык шарттар
| Өзгөчөлүк | Деталь |
|---|---|
| Модель номери | 5293UK |
| Бренд | DOOMAY |
| Өлчөмдөрү (L x W x Y) | 10.9 x 3.81 x 6.9 см (4.29 x 1.5 x 2.72 дюйм) |
| Салмагы | 127.01 грамм (0.28 фунт) |
| Материал | Акрилонитрил бутадиен стирол (ABS) |
| Power Source | 2 x AAA Батареялар (кошулган) |
| Дисплей түрү | Санарип LCD |
| Alarm Volume Levels | Low (70 dB), High (85 dB) |
| Тындыруунун узактыгы | 9 мүнөт |
| Арткы жарыктын узактыгы | 5 секунд |
| Температура бирдиктери | Цельсий (°C) / Фаренгейт (°F) |
10. Кепилдик жана колдоо
DOOMAY products are designed for reliability and performance. For any questions, technical support, or warranty claims, please contact your retailer or visit the official DOOMAY webжардам үчүн сайт. Сураныч, кепилдик максаттары үчүн сатып алганыңыздын далилин сактап коюңуз.
For further information, you may visit the brand's Amazon store page: DOOMAY Store on Amazon


