1. Киришүү
This manual provides comprehensive instructions for the safe and effective operation, setup, maintenance, and troubleshooting of your Stayer MIG 131 Multi Welding Equipment. This versatile electronic welding machine supports Flux Core (FCAW) welding without gas, TIG Lift Arc welding, and coated electrode (MMA) welding. Please read this manual thoroughly before using the equipment to ensure proper function and safety.
2. Коопсуздук маалыматы
ЭСКЕРТҮҮ: Ширетүү кооптуу болушу мүмкүн. Жаракат алуунун же өлүмдүн алдын алуу үчүн ар дайым коопсуздук чараларын сактаңыз.
- Always wear appropriate personal protective equipment (PPE), including a welding helmet with proper shade, flame-resistant clothing, welding gloves, and safety shoes.
- Ensure adequate ventilation to avoid inhaling welding fumes, which can be hazardous to your health.
- Protect bystanders from arc rays and hot metal. Use welding screens or barriers.
- Never weld near flammable materials or in explosive atmospheres.
- Ширетүүчү машина туура жерге туташтырылганын текшериңиз.
- Disconnect power before performing any maintenance or changing accessories.
- Электр тогу бар бөлүктөргө тийбеңиз.
- Балдарды жана уруксаты жок адамдарды ширетүү аймагына жакын алып барбаңыз.
3. Пакеттин мазмуну
Төмөндө тизмеленген нерселердин баары пакетиңизге камтылганын текшериңиз:
- Stayer MIG 131 Multi Welding Equipment with integrated torch
- Power cable (3m x 1.5mm²)
- Жер кабели clamp (1.5m x 10mm²)
- Electrode cable with clamp (2.5m x 10mm²)
- Колдонуучунун колдонмосу жана Кепилдик маалыматы
4. Продукт бүтүп калдыview
The Stayer MIG 131 Multi is a compact and lightweight welding machine designed for versatility. It features an integrated torch for Flux Core welding and connections for MMA and TIG Lift Arc welding.

Сүрөт 1: Алдыңкы view of the Stayer MIG 131 Multi Welding Equipment, showing the integrated MIG torch, control panel, and cable connections.
4.1 Башкаруу панели
The control panel features classic analog controls for precise adjustment of welding parameters.

Figure 2: Close-up of the control panel, indicating mode selection (MMA, Flux, Lift TIG), current/voltage adjustment, and wire speed control.
- Режим тандагыч: Switch between MMA (Coated Electrode), FLUX (Flux Core), and LIFT TIG (TIG Lift Arc) welding modes.
- Учур/Томtage Тууралоо: Dial to set the welding current for MMA/TIG or voltage for Flux Core.
- Зым ылдамдыгын жөндөө: Dial to control the wire feed speed for Flux Core welding.
- Көрсөткүчтөр: Power, Overheat, and Welding Mode indicators.
5. Орнотуу
5.1 Кубат туташтыруу
- Ensure the welding machine's power switch is in the OFF position.
- Connect the power cable to a suitable AC power outlet (230V). The machine is suitable for use with generators, tolerating +/-15% for MIG/TIG and AC 210V - 264V for MMA.
5.2 Flux Core Welding Setup
- Open the side panel to access the wire feeder compartment.
- Install a flux-cored wire spool (up to 1kg, 0.8mm to 1.0mm diameter, e.g., 0.9mm E71T-GS) onto the spindle.
- Thread the wire through the feeder mechanism and into the integrated torch liner.
- Жерди туташтырыңыз clamp жакшы электр байланышын камсыз кылуу, даярдоо бөлүгүнө.

Figure 3: Installation of a flux-cored wire spool into the internal wire feeder.
5.3 MMA (Coated Electrode) Welding Setup
- Connect the electrode cable with its clamp to the positive (+) terminal on the front panel.
- Connect the ground cable with its clamp to the negative (-) terminal on the front panel.
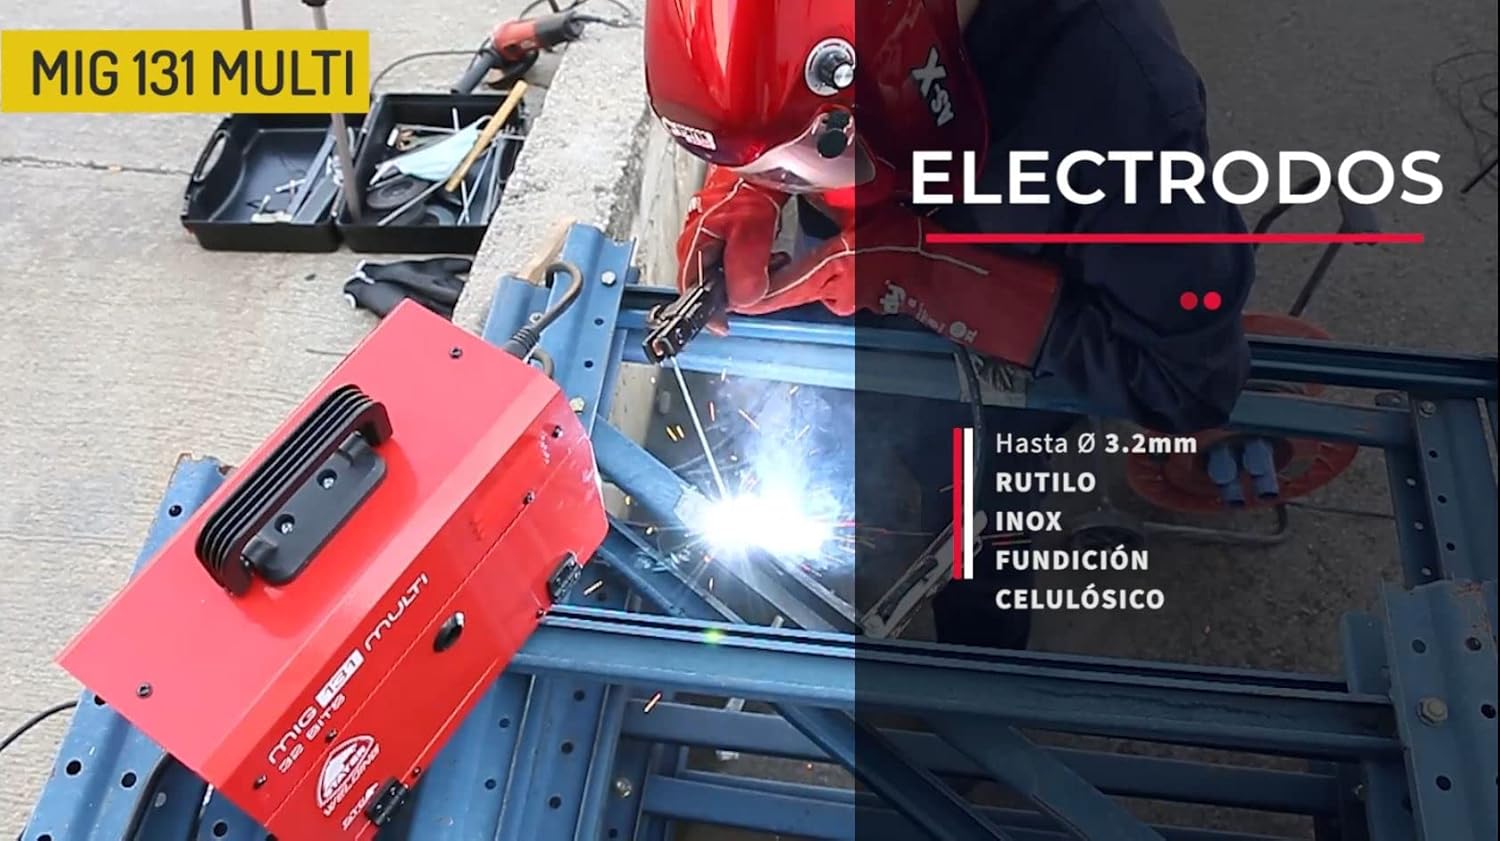
- Securely insert the desired coated electrode (up to Ø 3.2mm, suitable for Rutile, Stainless Steel, Cast Iron, Cellulosic) into the electrode holder.
- Жерди туташтырыңыз clamp жумуш бөлүгүнө.
5.4 TIG Lift Arc Welding Setup
- Connect the TIG torch (not included, but the integrated torch is for MIG/Flux) to the negative (-) terminal. The product description mentions an integrated torch for versatility, but TIG Lift Arc typically uses a separate TIG torch. For TIG Lift Arc, the TIG torch must go to the negative terminal.
- Connect the ground cable with its clamp оң (+) терминалына.
- Install a tungsten electrode (maximum 2.0mm diameter) into the TIG torch.
- If using inert gas (e.g., Argon), connect the gas hose from the regulator to the TIG torch.
- Жерди туташтырыңыз clamp жумуш бөлүгүнө.
6. Иштөө нускамалары
6.1 Flux Core Welding (FCAW)
- Ширетүүчү машинаны иштетиңиз.
- Select the 'FLUX' mode on the control panel.
- Томду тууралаңызtage and wire speed according to the wire diameter and material thickness. Start with recommended settings and fine-tune as needed. The machine offers adjustable wire speed with current and voltage, up to 120A and 11m/min.
- Position the integrated torch at the start of the weld joint.
- Press the trigger on the torch to start welding. Maintain a consistent travel speed and arc length.
6.2 MMA (Coated Electrode) Welding
- Ширетүүчү машинаны иштетиңиз.
- Select the 'MMA' mode on the control panel.
- Токту тууралоо (Amperage) based on the electrode type and diameter, and the material thickness. The machine supports electrodes from 1.6mm to 3.2mm.
- Strike the arc by lightly touching the electrode to the workpiece and quickly lifting it slightly to establish the arc.
- Maintain a consistent arc length and travel speed to create a uniform weld bead.
4-сүрөт: Мисample of MMA (Coated Electrode) welding in action.
6.3 TIG Lift Arc Welding
- Ширетүүчү машинаны иштетиңиз.
- Select the 'LIFT TIG' mode on the control panel.
- Токту тууралоо (Amperage) based on the tungsten electrode diameter and material thickness. The machine supports tungsten electrodes up to 2.0mm.
- Initiate the arc by gently touching the tungsten electrode to the workpiece and then lifting it slightly. The arc will ignite without high-frequency start.
- Maintain a short arc length and feed filler rod (if required) into the weld puddle.

5-сүрөт: Мисample of TIG Lift Arc welding, suitable for carbon steel and stainless steel.
7. Техникалык тейлөө
Regular maintenance ensures the longevity and optimal performance of your welding equipment.
- Тазалоо: Periodically clean the machine's exterior with a dry, soft cloth. Use compressed air to blow out dust from inside the machine, especially from cooling vents, ensuring the power is disconnected first.
- Кабелдик текшерүү: Regularly inspect all cables (power, ground, electrode, torch) for cuts, fraying, or damage. Replace damaged cables immediately.
- Torch Maintenance: For Flux Core, regularly check and clean the contact tip and nozzle. For TIG, ensure the tungsten electrode is sharp and free of contamination.
- Сактагыч: Store the welding machine in a clean, dry environment, protected from dust and moisture.
8. Кыйынчылыктарды
This section addresses common issues you might encounter with your Stayer MIG 131 Multi welding equipment.
| Көйгөй | Мүмкүн себеп | Чечим |
|---|---|---|
| Машинага кубат жок | Power cable disconnected, faulty outlet, tripped circuit breaker. | Check power cable connection, test outlet, reset circuit breaker. |
| No arc (MMA/TIG) | Poor ground connection, incorrect current setting, damp electrode (MMA), contaminated tungsten (TIG). | Ensure good ground contact, adjust current, use dry electrodes, clean/sharpen tungsten. |
| Wire feeding issues (Flux Core) | Incorrect wire tension, clogged liner, wrong contact tip size, tangled wire spool. | Adjust wire tension, clean/replace liner, use correct contact tip, untangle wire. |
| Ашыкча ысып кетүү көрсөткүчү күйүк | Exceeded duty cycle, blocked cooling vents. | Allow machine to cool down, ensure proper ventilation, clear any obstructions from vents. |
| Ширетүү сапаты начар | Incorrect settings (current, voltage, wire speed), improper technique, dirty workpiece. | Adjust settings, practice technique, clean workpiece thoroughly. |
9. Техникалык шарттар
Technical specifications for the Stayer MIG 131 Multi Welding Equipment:
| Өзгөчөлүк | Спецификация |
|---|---|
| Өндүрүүчү | STAYER |
| Модель номери | 1.2682 |
| Ширетүү процесстери | Flux Core (FCAW), TIG Lift Arc, MMA (Coated Electrode) |
| Power Type | AC (230V) |
| No-load Voltage | 60 Vdc |
| Current Range (X=30%) | 20-120 А. |
| Flux Core Wire Diameter | 0.8mm - 1.0mm (up to 1kg spool) |
| MMA электродунун диаметри | 1.6 мм - 3.2 мм |
| TIG Tungsten Electrode Diameter | Макс 2.0мм |
| Өлчөмдөрү (L x W x Y) | 26.8 x 16.6 x 36.2 cm (Package: 39.7 x 30.1 x 24.7 cm) |
| Салмагы | 5.8 kg (Package: 7.26 kg) |
| Түс | Кызыл |
| Келип чыккан өлкө | Германия |
| Европалык стандарттар | 2011/65/EU, 2014/35/EU, 2014/30/EU, EN 60974 |
10. Кепилдик жана колдоо
Your Stayer MIG 131 Multi Welding Equipment comes with a manufacturer's warranty. Please refer to the warranty information included in your package for details on coverage and duration. For technical support, spare parts, or service inquiries, please contact your authorized Stayer dealer or visit the official Stayer webсайт.
Запастык бөлүктөрдүн бар экендиги тууралуу маалымат учурда жеткиликтүү эмес.


