1. Киришүү жана коопсуздук маалыматы
This manual provides essential information for the safe operation, installation, and maintenance of your POLESTAR 12V DC ATV/UTV Electric Winch. Please read this manual thoroughly before operating the winch to ensure proper use and to prevent personal injury or property damage.

Figure 1.1: POLESTAR 3500 lb. Electric Winch with steel cable, roller fairlead, and hook.
Маанилүү коопсуздук эскертүүлөрү:
- Read and understand manual: Always read and fully understand the owner's manual before operating the winch.
- Коргоочу шаймандарды кийүү: Always wear safety goggles and heavy-duty leather gloves when operating the winch.
- Never exceed rated capacity: Do not exceed the winch's rated load capacity of 3500 lbs.
- Winch is for pulling only: This winch is intended for pulling applications only, not for lifting.
- Keep clear of cable: Always keep hands, body, and loose clothing clear of the wire rope, hook, and fairlead during operation.
- Колдонуудан мурун текшерүү: Always inspect the winch, cable, and all connections for damage before each use.
- Балдарды алыс кармаңыз: Do not allow children to operate or play near the winch.
- Secure vehicle: Always ensure the vehicle is properly secured and braked before winching operations.
2. Product Components and What's in the Box
Your POLESTAR Electric Winch package includes the following components. Please verify all parts are present and undamaged upon unpacking.

Figure 2.1: Complete kit contents including the winch, roller fairlead, hook, wiring, remote control, and mounting hardware.
Камтылган компоненттер:
- POLESTAR 3500 lb. Electric Winch with Steel Cable
- Roller Fairlead
- Wired Remote Control (10 ft. ergonomic handheld)
- Heavy-Duty Hook with Safety Latch
- Control Box / Solenoid Assembly
- Power Cables and Wiring Harness
- Монтаждоочу жабдуулар (болт, гайкалар, шайбалар)
- Лебедка боосу
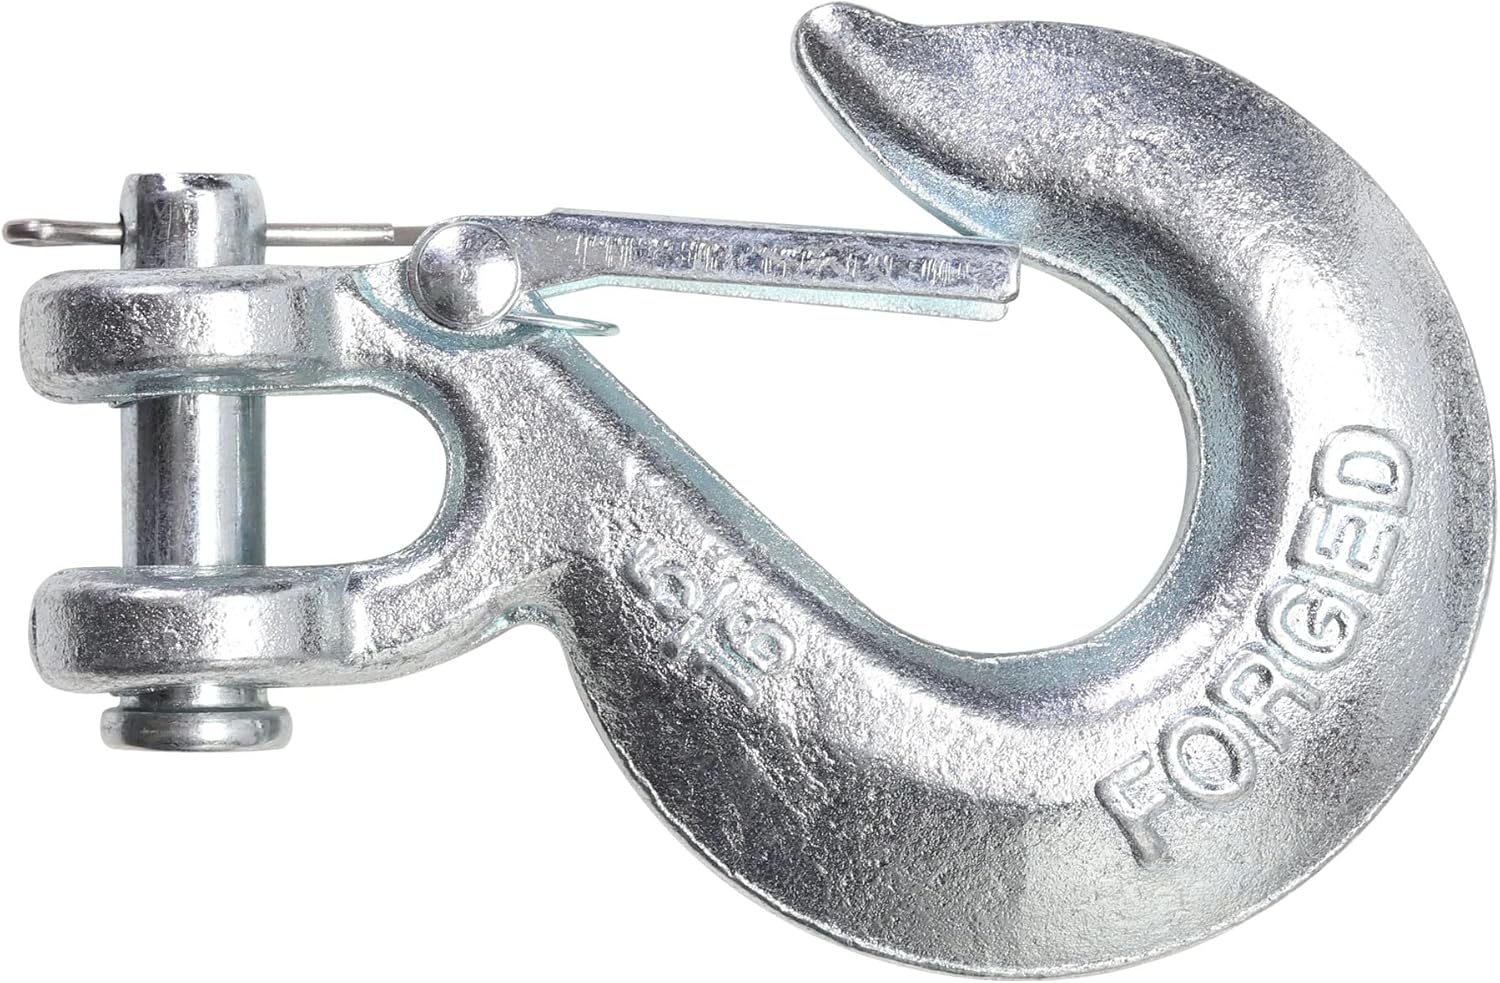
Figure 2.2: Detail of the heavy-duty hook with its safety latch mechanism.
3. Орнотуу жана орнотуу
Proper installation is crucial for the safe and effective operation of your winch. If you are unsure about any step, consult a qualified professional.
3.1 Mounting the Winch
- Choose a mounting location on your ATV/UTV that is structurally sound and can support the winch's weight and pulling forces. A dedicated winch mounting plate is recommended.
- Position the winch and mark the drilling points for the mounting bolts.
- Drill appropriate holes and secure the winch using the provided mounting hardware. Ensure all bolts are tightened securely.
- Mount the roller fairlead to the vehicle's bumper or winch plate, aligning it with the winch drum.

Figure 3.1: The winch securely mounted on a vehicle, ready for operation.
3.2 Электр байланыштары
ЭСКЕРТҮҮ: Disconnect the vehicle's battery before making any electrical connections to prevent accidental short circuits or injury.
- Mount the control box/solenoid assembly in a dry, protected location near the winch, ensuring easy access for wiring.
- Connect the thick power cables from the winch motor to the corresponding terminals on the control box. Refer to the wiring diagram provided with your winch for specific connections (usually color-coded).
- Connect the main positive (+) cable from the control box to the positive terminal of your vehicle's 12V battery.
- Connect the main negative (-) cable from the control box to the negative terminal of your vehicle's battery or a suitable chassis ground point.
- Connect the remote control cable to the designated port on the control box.
- Once all connections are secure, reconnect the vehicle's battery.
4. Иштөө нускамалары
Familiarize yourself with the winch controls and functions before attempting any recovery operations.
4.1 Free Spooling the Cable
The free spooling clutch allows you to manually pull out the wire rope quickly without using motor power.
- Locate the clutch lever on the side of the winch.
- Rotate the clutch lever to the "Free Spool" or "Disengaged" position.
- Carefully pull the wire rope out to the desired length, ensuring it unwinds smoothly from the drum.
- Once the desired length is reached, rotate the clutch lever back to the "Engaged" or "Locked" position before any winching operation. Ensure it is fully engaged.
4.2 Winching Operation
Always ensure the vehicle is stable and the winch is properly anchored before beginning a pull.
- Ensure the clutch is fully engaged.
- Attach the hook securely to a suitable anchor point (e.g., tree saver strap around a tree, recovery point on another vehicle). Ensure the hook's safety latch is closed.
- Stand clear of the wire rope and the path of the vehicle. Use the wired remote control for safe operation at a distance (10 ft. reach).
- Press the "IN" button on the remote to begin retracting the wire rope and pulling the load.
- Press the "OUT" button to pay out the wire rope.
- Operate the winch in short bursts to prevent overheating and to allow the motor to cool.
- Monitor the wire rope for proper winding on the drum. Avoid piling up on one side.
- Once the recovery is complete, release the remote button, disengage the clutch, and carefully unhook the cable.
- Rewind the wire rope neatly onto the drum under light tension.

Figure 4.1: An ATV utilizing the winch for recovery in challenging terrain.
5. Техникалык тейлөө
Regular maintenance will extend the life and ensure the safe operation of your POLESTAR winch.
- Кабелдик текшерүү: Regularly inspect the steel wire rope for kinks, fraying, broken strands, or corrosion. Replace damaged cable immediately.
- Тазалык: Keep the winch and its components clean from dirt, mud, and debris. Use a damp беттерин сүртүүчү чүпүрөк.
- Электр байланыштары: Periodically check all electrical connections for corrosion or looseness. Clean and tighten as necessary.
- Майлоо: Consult a professional for internal lubrication of gears and bearings if necessary. The motor and gearbox are generally sealed units.
- Сактагыч: When not in use, store the winch in a dry, protected environment to prevent exposure to harsh elements.

5.1-сүрөт: Ички view illustrating the winch drum and cable winding. Proper cable winding is essential for longevity.
6. Кыйынчылыктарды
If you encounter issues with your winch, refer to the following common troubleshooting steps:
| Көйгөй | Мүмкүн себеп | Чечим |
|---|---|---|
| Winch does not operate (no power) |
|
|
| Winch operates slowly or with reduced power |
|
|
| Cable does not free spool |
|
|
For issues not covered here, or if problems persist, please contact POLESTAR customer support.
7. Техникалык шарттар
Detailed technical specifications for your POLESTAR 3500 lb. Electric Winch:
- Модел: 12V DC ATV/UTV Electric Winch
- Жүктөө жөндөмдүүлүгү: 3500 фунт (1587 кг)
- Мотор: 12V DC 1.3 HP Туруктуу магнит
- Тиштүү поезд: 3-Planetary Gear
- Тишти азайтуу коэффициенти: 167:1
- Тормоздоо: Автоматтык жүк кармоочу тормоз
- Зым аркан: Steel Cable, 1/4" (0.2") Diameter x 50' Length
- Fairlead: Roller Fairlead
- Алыстан башкаруу: 10 ft. Ergonomic Wired Handheld Remote
- Өлчөмдөрү: 13.3 X 4.7 X 4.6 дюйм
- Салмагы: 22.93 lbs (Product Item Weight: 26.1 pounds, Package Dimensions: 16.85 x 12.17 x 6.57 inches)
- Designed, Engineered, and Tested: АКШда


Figure 7.1: Illustrations of the winch's powerful motor and efficient 3-planetary gear train.
8. Кепилдик жана колдоо
POLESTAR stands behind the quality of its products.
- Өндүрүүчүнүн Кепилдиги: Бул продукт менен келет 1 жылдык кепилдик сатып алынган күндөн тартып. Бул кепилдик нормалдуу колдонуудагы материалдардагы жана жасалгадагы кемчиликтерди камтыйт.
- Кардарларды колдоо: For technical assistance, warranty claims, or replacement parts, please contact POLESTAR customer service. Refer to the contact information provided with your product packaging or visit the official POLESTAR webсайт.
- Онлайн ресурстар: Кошумча маалымат, көп берилүүчү суроолор жана өнүмдөрдү каттоо үчүн, баш багыңыз POLESTAR Store on Amazon.


