1. Киришүү
Thank you for choosing the Domo DOS721K Automatic 12-Cup Coffee Machine. This appliance is designed to provide you with freshly brewed coffee from whole beans or pre-ground coffee. Please read this manual carefully before first use to ensure proper operation, maintenance, and safety.

Image 1.1: Domo DOS721K Automatic Coffee Machine with included milk jug.
2. Маанилүү коопсуздук нускамалары
- Шайманды колдонуудан мурун бардык нускамаларды окуп чыгыңыз.
- ысык беттерге тийбеңиз. Туткаларды же туткаларды колдонуңуз.
- Өрттөн, электр тогуна урунуудан жана адамдардын жаракат алышынан коргоо үчүн шнурду, вилкаларды же шайманды сууга же башка суюктукка салбаңыз.
- Кандайдыр бир шайманды балдар же алардын жанында колдонуп жатканда, катуу көзөмөл керек.
- Колдонбогондо жана тазалоодон мурун розеткадан ажыратыңыз. Тетиктерди кийүүдөн же чечүүдөн мурун жана шайманды тазалоодон мурун муздатыңыз.
- Эч кандай шайманды зымы же сайы бузулган, же шайман иштебей калгандан кийин же кандайдыр бир түрдө бузулгандан кийин иштетпеңиз.
- Шаймандын өндүрүүчүсү сунуш кылбаган кошумча тиркемелерди колдонуу өрткө, электр шокуна же адамдардын жаракат алышына алып келиши мүмкүн.
- Сыртта колдонбоңуз.
- Шнур столдун же столдун четине илинип калышына же ысык беттерге тийбеңиз.
- Ыстык газ же электр мешине же ысытылган мештин жанына коюуга болбойт.
- Ар дайым алгач сайгычты шайманга, андан кийин шнурду розеткага сайыңыз. Ажыратуу үчүн каалаган башкарууну “өчүрүү” абалына буруңуз, андан соң розеткадан сайгычты чыгарыңыз.
- Шайманды максаттуу колдонуудан башка максатта колдонбоңуз.
3. Пакеттин мазмуну
Таңгактан чыгаргандан кийин, бардык буюмдар бар экенин жана жакшы абалда экендигин текшериңиз:
- Domo DOS721K Automatic Coffee Machine
- Glass Carafe (1.5 Liters)
- Туруктуу чыпка
- Өлчөө кашык
- 300ml Glass Milk Jug with Stainless Steel Screw Lid
- Instruction Manual

Сүрөт 3.1: Жарылып кеткен view showing the main components of the coffee machine, including the permanent filter, filter holder, bean container lid, and glass carafe.
4. Бөлүктөрдү идентификациялоо
- Bean Container with Lid
- Grind Setting Dial
- Деңгээлинин көрсөткүчү бар суу резервуары
- Башкаруу панели / Санарип дисплей
- Чыпка кармоочу
- Туруктуу чыпка
- Айнек графин
- Жылытуу плитасы
- Электр кабели

Сүрөт 4.1: Жогорку view of the coffee machine, highlighting the transparent bean container for whole coffee beans.
5. Баштапкы орнотуу
5.1 Пакеттен чыгаруу
Carefully remove all packaging materials and ensure no parts are missing or damaged. Keep packaging for future storage or transport.
5.2 Биринчи колдонуудагы тазалоо
- Айнек графинди, туруктуу чыпканы жана чыпка кармагычты жылуу, самындуу сууда жууңуз. Жакшылап чайкап, кургатыңыз.
- Жарнама менен машинанын сыртын сүртүңүзamp кездеме.
- Run two full cycles with only water (no coffee) to clean the internal components. Discard the water after each cycle.
5.3 Орнотуу
Place the coffee machine on a stable, flat, heat-resistant surface, away from water sources and direct heat. Ensure adequate ventilation around the appliance.
6. Иштөө нускамалары
6.1 Суу резервуарын толтуруу
Open the water tank lid and fill with fresh, cold water up to the desired level indicated on the side of the machine. The maximum capacity is 1.5 liters (12 cups).
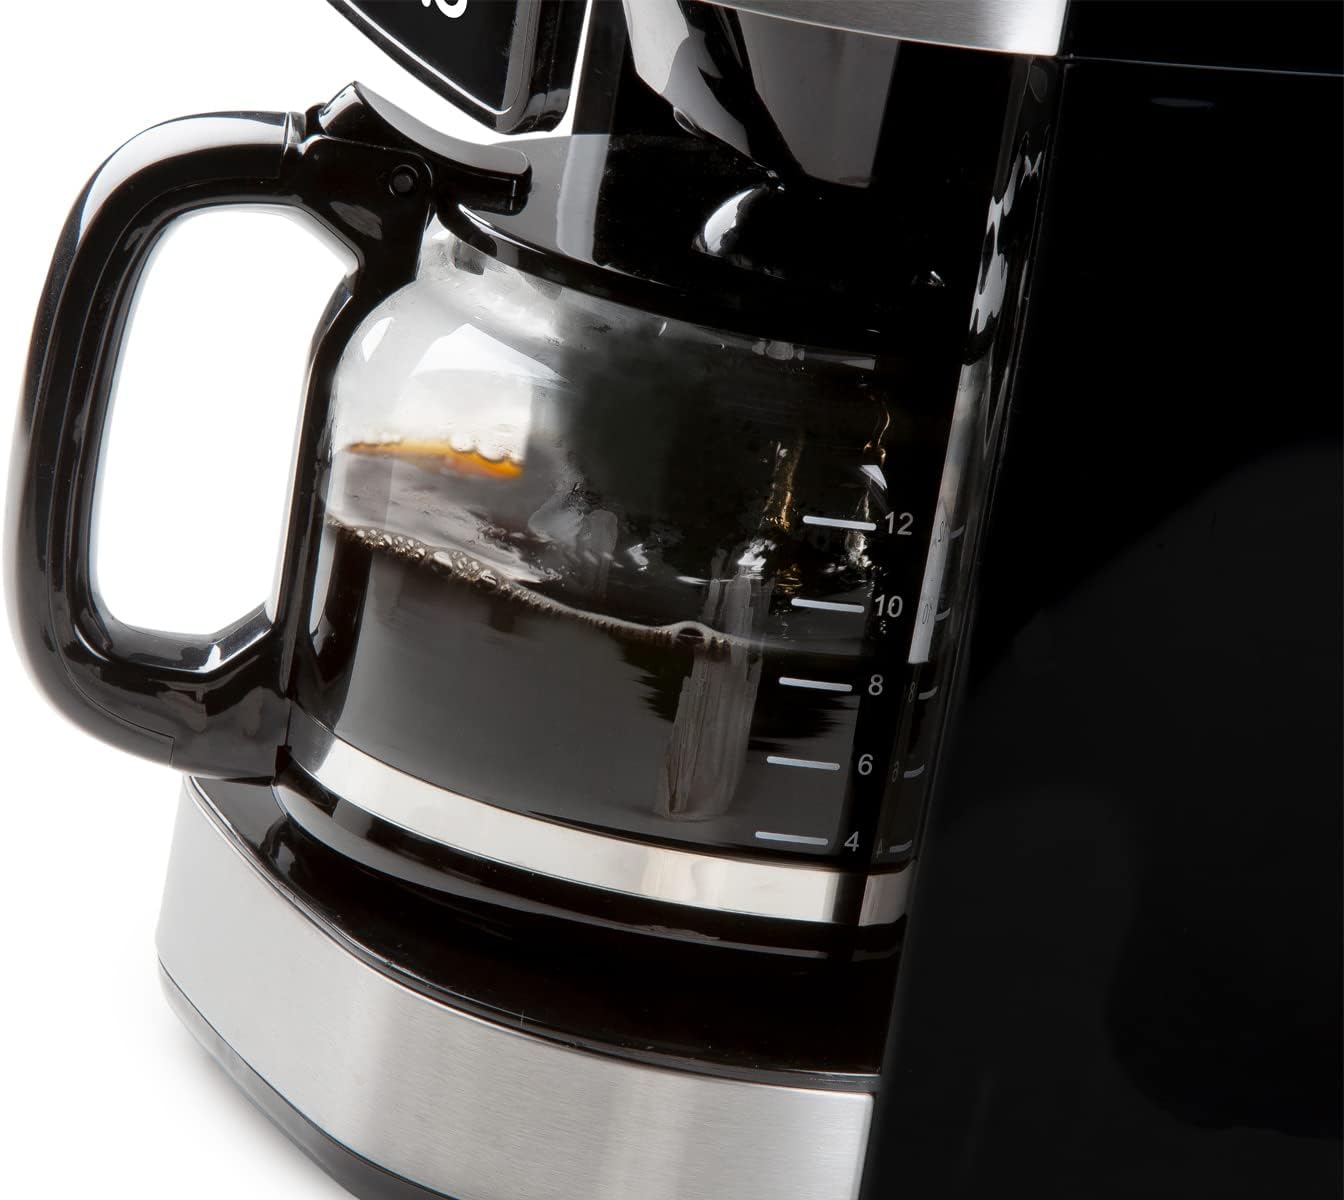
Image 6.1: The glass carafe features clear markings for measuring coffee volume.
6.2 Adding Coffee Beans (Grind & Brew Function)
- Open the lid of the bean container and fill with whole coffee beans. The container has a capacity of 200 grams.
- Adjust the grind setting using the dial located near the bean container. Finer grinds result in stronger coffee.
- Place the permanent filter into the filter holder, ensuring it is correctly seated.
- Select the desired coffee strength (mild, medium, strong) and number of cups using the digital display controls.

Image 6.2: Close-up of the grind setting dial, allowing adjustment for desired coffee fineness.
6.3 Алдын ала тартылган кофени колдонуу
If using pre-ground coffee, the integrated grinder can be deactivated:
- Ensure the grinder is turned off via the control panel.
- Place the permanent filter into the filter holder.
- Add the desired amount of pre-ground coffee to the permanent filter using the measuring spoon.
- Select the number of cups using the digital display controls.

Image 6.3: A hand adding pre-ground coffee into the permanent filter, demonstrating the option to bypass the integrated grinder.
6.4 Сыра кайнатуу процессин баштоо
After filling water and adding coffee (beans or ground), press the start button on the digital display. The machine will begin grinding (if selected) and brewing.

Image 6.4: The digital display showing time and various function icons, with a finger interacting with the controls.
6.5 Таймер функциясы
The 24-hour timer allows you to program the machine to start brewing at a specific time. Set the current time, then set the desired brew time using the timer function on the control panel.
6.6 Жылы кармоо функциясы
After brewing, the machine automatically activates a keep-warm function, maintaining the coffee's temperature for approximately 40 minutes. The machine will automatically shut off after this period.

Image 6.5: Freshly brewed coffee being poured from the glass carafe into a cup.
7. Техникалык тейлөө
7.1 Күнүмдүк тазалоо
- After each use, discard used coffee grounds.
- Wash the glass carafe, permanent filter, and filter holder in warm, soapy water. Rinse thoroughly and dry. These parts may also be dishwasher safe (check product specifications for confirmation).
- Машинанын сыртын жумшак менен сүртүңүз, гamp кездеме. Абразивдүү тазалагычтарды же тазалоочу жайларды колдонбоңуз.
7.2 Тазалоо
Over time, mineral deposits (limescale) can build up in your coffee machine, affecting performance and coffee taste. Descale your machine regularly, depending on water hardness and frequency of use (e.g., every 2-3 months).
- Prepare a descaling solution according to the descaler manufacturer's instructions (e.g., white vinegar and water, or a commercial descaling agent).
- эритмени суу идишке куюп.
- Бош графинди жылыткыч табакка салыңыз.
- Кофесиз демдөө циклин иштетиңиз.
- After the cycle, let the machine cool for 15 minutes, then run two full cycles with fresh, clean water to rinse thoroughly.
8. Кыйынчылыктарды
| Көйгөй | Мүмкүн себеп | Чечим |
|---|---|---|
| Кофе кайнатылбайт. | Бакта суу жок; машина розеткага сайылган эмес; электр кубаты өчүкtage. | Fill water tank; check power connection; check circuit breaker. |
| Кофе өтө алсыз. | Insufficient coffee grounds; coarse grind setting; too much water. | Add more coffee; select finer grind; use less water. |
| Кофе өтө күчтүү. | Too many coffee grounds; fine grind setting; too little water. | Reduce coffee amount; select coarser grind; use more water. |
| Майдалагыч иштебейт. | Bean container empty; grinder clogged; grinder deactivated. | Fill bean container; clean grinder (refer to maintenance); ensure grinder is activated. |
| Машинадан суу агып жатат. | Суу багы туура эмес орнотулган; чыпка кармагычы ашып-ташып турат. | Ensure water tank is correctly placed; do not overfill filter. |
9. Техникалык шарттар
- Бренд: Domo
- Модель номери: DOS721K (also DO721K)
- Түсү: Кара
- Өлчөмдөрү (L x W x Y): 34 x 26 x 46 см
- Сыйымдуулугу: 1.5 литр (12 стаканга чейин)
- Материал: Пластик, дат баспас болоттон жасалган
- Өзгөчөлүктөр: Integrated Conical Grinder, 24-Hour Timer, Keep Warm Function (40 minutes), Anti-drip System, Permanent Filter, Adjustable Grind Settings, Adjustable Coffee Strength
- Кофенин түрү: Whole Beans, Ground Coffee
10. Кепилдик жана колдоо
For warranty information and customer support, please refer to the documentation included with your product packaging or visit the official Domo webсайт. Кепилдик дооматтар үчүн сатып алганыңыздын далилин сактаңыз.


