1. Киришүү
This manual provides comprehensive instructions for the setup, operation, and maintenance of your Pknight CR011R-3pin ArtNet DMX Ethernet Lighting Controller Interface. This device facilitates bi-directional conversion between Art-Net and DMX512 protocols, offering a robust solution for professional lighting control applications.
2. Продукт бүтүп калдыview
The Pknight CR011R-3pin is a compact and durable ArtNet DMX node designed for reliable performance in various lighting environments. It features an OLED display for direct configuration and supports versatile power options.

1-сүрөт: Pknight CR011R-3pin ArtNet DMX Ethernet Lighting Controller Interface.
2.1 Негизги өзгөчөлүктөрү
- Bi-directional ArtNet/DMX Conversion: Supports both Art-Net to DMX and DMX to Art-Net modes.
- OLED Control System: Onboard display and buttons for direct device configuration.
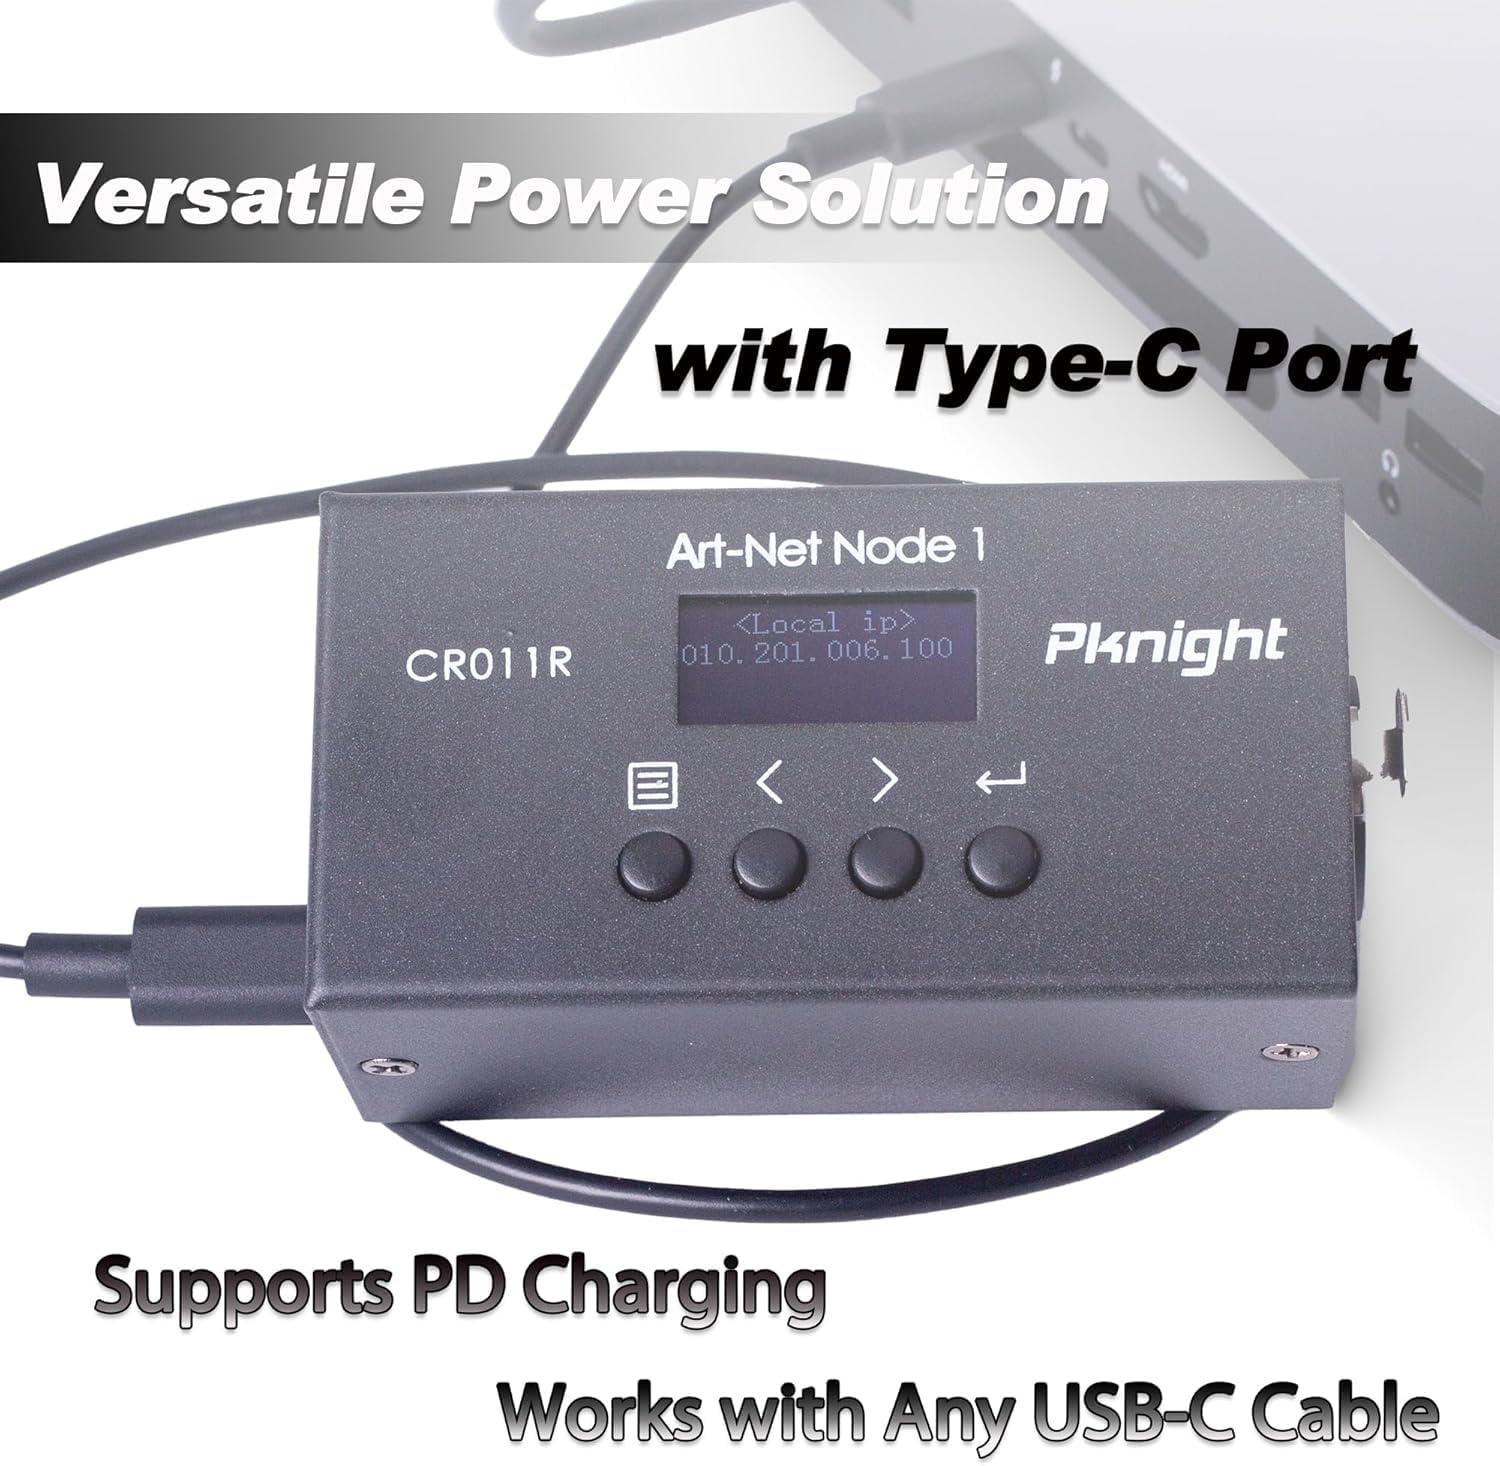
- Versatile Power Solution: Compatible with 5V DC input and USB Power Delivery (PD) via USB-C.
- Алыскы конфигурация: Settings can be adjusted remotely using DMX Workshop software.
- Туруктуу курулуш: Housed in a sturdy all-metal casing.
2.2 Аппараттын компоненттери

2-сүрөт: Арткы view of the CR011R-3pin showing DMX In/Out, Ethernet, and DC5V ports.
- Көк LED көрсөткүч:
- Stays off: Standby mode, waiting for DMX (in/out).
- Stays on (no blinking): DMX-out mode, converts ArtNet to DMX output.
- Blinks continuously: DMX-in mode, converts DMX input to ArtNet.
- Female XLR Port (3-Pin): DMX input/output connection.
- RJ45 Port (ArtNet In/Out): Ethernet connection for Art-Net data.
- Green LED (left): Link LED.
- Green LED (right): Activity LED (blinks fast for data activity, off for no data).
- Кубат порту (C түрү): 5V DC power input. Compatible with USB PD and third-party USB-C cables.
3. Орнотуу
3.1 Кубат туташтыруу
Connect the device to a 5V DC power source using the provided USB-C cable. The device supports USB Power Delivery (PD) and can be powered by 5V adapters, PC USB ports, or power banks.
3-сүрөт: Powering the CR011R-3pin via its USB-C port.
3.2 Тармактык туташуу
Connect the RJ45 Ethernet port to your network switch or directly to a computer using a standard Ethernet cable. Ensure your network settings are configured to allow Art-Net communication.
3.3 DMX туташуу
Connect your DMX lighting fixtures or DMX controller to the 3-pin XLR DMX In/Out port. The device will automatically detect the DMX signal direction based on its configured transmit mode.
4. Configuration (OLED Control System)
The CR011R-3pin features an OLED display and four function buttons for direct configuration without external software.

4-сүрөт: OLED display and control buttons.
- OLED экраны: Displays current settings and menu options.
- Меню баскычы: Used to switch between menu options.
- Backward or Minus Button: Navigates backward or decreases a selected parameter.
- Forward or Plus Button: Navigates forward or increases a selected parameter.
- Кирүү баскычы: Clicks to choose a function or parameter. Press and hold for 3 seconds to submit changes.
4.1 Remote Configuration and Naming
You can remotely configure network parameters (IP address, subnet mask, net address, subnet address, port universe) and customize the startup display text using the DMX Workshop application.

5-сүрөт: Customizing the device name using DMX Workshop.

6-сүрөт: Diagram illustrating the configuration flow for network and Art-Net parameters.
5. Иштөө режимдери
The CR011R-3pin supports bi-directional operation, allowing it to function as both an ArtNet to DMX converter and a DMX to ArtNet converter.
5.1 ArtNet to DMX (DMX Output Mode)
In this mode, the device receives Art-Net data over Ethernet and converts it into DMX512 signals, which are then output through the 3-pin XLR port to control DMX-compatible lighting fixtures. The blue LED indicator will stay on (no blinking).
5.2 DMX to ArtNet (DMX Input Mode)
When configured for DMX input, the device receives DMX512 signals from a DMX controller via the 3-pin XLR port and converts them into Art-Net data, which is then transmitted over Ethernet. This allows DMX consoles to control Art-Net compatible software or devices. The blue LED indicator will blink continuously.
To switch to DMX input mode, set the 'Transmit mode' to 'artnet <- dmx' via the OLED display or DMX Workshop.

7-сүрөт: Diagram illustrating DMX input mode, converting DMX to ArtNet for software control.
6. Тиркемелер
The Pknight CR011R-3pin is suitable for a variety of professional lighting applications, including:
- Stage жарык башкаруу
- Pixel LED installations
- Architectural decoration lighting
- Fixed lighting installations

8-сүрөт: Визуалдык эксamples of the CR011R-3pin in various lighting applications.
7. Техникалык шарттар
| Өзгөчөлүк | Спецификация |
|---|---|
| Модель номери | CR011R-3pin |
| Элемент Салмагы | 13.4 унция |
| Продукциянын өлчөмдөрү | 4.53 x 2.76 x 2.36 дюйм |
| DMX порттору | 1 (3-pin XLR, bi-directional) |
| Ethernet порттору | 1 (RJ45, ArtNet In/Out) |
| Power Input | 5V DC via USB-C (supports USB PD) |
| Control Interface | OLED display and 4 function buttons |
| Турак жай материалы | Толугу менен металлдан жасалган |
8. Кыйынчылыктарды
- No DMX Output/Input:
- Verify the 'Transmit mode' setting on the device or via DMX Workshop. Ensure it matches your intended operation (ArtNet to DMX or DMX to ArtNet).
- DMX кабелдик туташууларын текшерип, алардын коопсуз экенине ынаныңыз.
- Confirm that the DMX universe setting on the device matches your lighting control software. Note that some software may label the first universe as '1' while the device may internally refer to it as '0'. Adjust accordingly.
- Тармакка туташуу жок:
- Ensure the Ethernet cable is properly connected and the green Link LED on the RJ45 port is illuminated.
- Check the IP address, subnet mask, and other network parameters configured on the device and your computer/network. Art-Net typically uses a specific IP range (e.g., 2.x.x.x or 10.x.x.x) and subnet mask (e.g., 255.0.0.0).
- If connecting directly to a computer, manually configure your computer's network adapter to be in the same IP range as the device.
- Confirm that your network allows UDP traffic on Art-Net's default port (6454).
- Түзмөк күйбөй жатат:
- Ensure the USB-C power cable is securely connected to both the device and a functional 5V power source.
- Try a different USB-C cable and power adapter to rule out faulty accessories.
9. Техникалык тейлөө
To ensure the longevity and optimal performance of your Pknight CR011R-3pin, follow these maintenance guidelines:
- Тазалоо: Түзмөктүн сыртын тазалоо үчүн жумшак, кургак чүпүрөктү колдонуңуз. Суюк тазалоочу каражаттарды же эриткичтерди колдонуудан алыс болуңуз, анткени алар капталына же ички компоненттерине зыян келтириши мүмкүн.
- Сактагыч: Колдонулбаганда, аспапты түз күн нурунан жана өтө температурадан алыс салкын, кургак жерде сактаңыз.
- Кабелдик башкаруу: Ensure all cables are routed properly to prevent strain on the connectors and accidental disconnections.
- Программалык камсыздоонун жаңыртуулары: Мезгил-мезгили менен өндүрүүчүнүн текшерүү website for any available firmware updates to ensure the device has the latest features and bug fixes.
10. Кепилдик жана колдоо
Pknight products are designed for reliability and performance. For specific warranty information, please refer to the warranty card included with your product or visit the official Pknight website. If you encounter any issues or require technical assistance, please contact Pknight customer support through their official channels.