Introduction
This manual provides comprehensive instructions for the operation and maintenance of your AbergBest Mini Digital Camera. Designed for ease of use, this compact camera is ideal for capturing everyday moments with its 21-megapixel sensor and HD 720P video recording capabilities. Please read this manual thoroughly to ensure proper usage and to maximize your camera's potential.
Кутуда эмне бар
Upon unboxing your AbergBest Mini Digital Camera, please verify that all the following components are included:
- AbergBest Mini Digital Camera (Model: New2022ABDC5100)
- 2 x Lithium Batteries
- Charging Brick (USB Wall Adapter)
- USB кабели (заряддоо жана маалыматтарды өткөрүү үчүн)
- Билек боо
- Driver Disk (CD)
- User Manual
- Carrying Satchel

Image: All components included in the AbergBest Mini Digital Camera package.
Жайгашуу
1. Батареяны орнотуу
The camera comes with two rechargeable lithium batteries. To install a battery:
- Батарея бөлүмүнүн эшигин камеранын астыңкы жагына жайгаштырыңыз.
- Бөлүктү ачуу үчүн бекиткичти жылдырыңыз.
- Контакттарды туура тегиздөө менен батареяны салыңыз.
- Батарея бөлүмүнүн эшигин чыкылдаган үн чыкканча бекем жабыңыз.

Image: Visual guide for inserting the battery into the camera.
2. SD Card Installation (Not Included)
An SD memory card is required to store photos and videos. The camera supports up to a 64GB SD memory card. For optimal performance, use a certified brand SD card with a Class 4 speed or above.
- SD карта уячасын, адатта, батарея бөлүмүнүн жанына же камеранын капталына жайгаштырыңыз.
- SD картаны металл контакттарын ылдый каратып, ордуна чыкылдаганча салыңыз.
- Чыгаруу үчүн картаны сыртка чыкканга чейин акырын түртүңүз.

Image: Recommended SD card types and capacity for the camera.
3. Камераны заряддоо
Use the provided USB cable and charging brick to charge the camera. A fully charged battery can support the camera for over 60 minutes of use.
- USB кабелинин кичинекей учун камеранын USB портуна туташтырыңыз.
- Connect the large end of the USB cable to the charging brick.
- Plug the charging brick into a wall outlet.
- The charging indicator light will illuminate during charging and turn off when complete.
Иштөө нускамалары
1. Күйгүзүү / Өчүрүү
Press and hold the Power button (usually located on the top or side of the camera) to turn the camera on or off.
2. Using the LCD Screen
The camera features a 2.7-inch TFT LCD screen for framing shots, reviewing photos, and navigating menus.
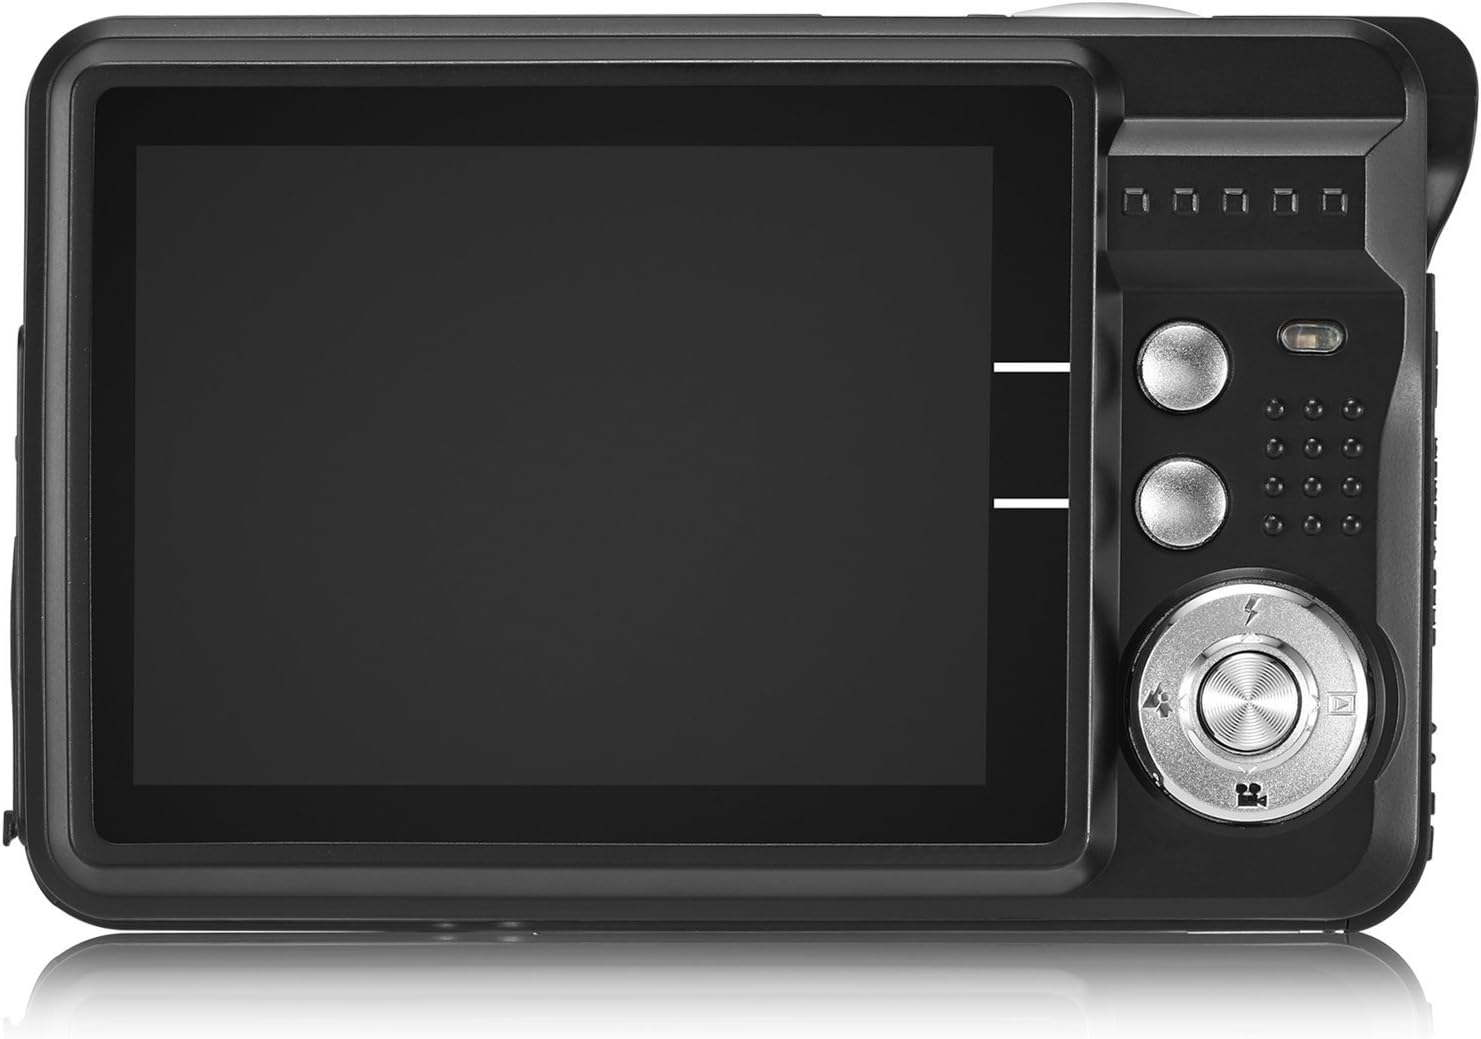
Image: The camera's 2.7-inch LCD screen and rear controls.
3. Сүрөт тартуу
To capture a still image:
- Frame your subject using the LCD screen.
- Фокустоо үчүн Жапкыч баскычын жарымына басыңыз.
- Press the Shutter button fully to take the picture.
The camera captures images at 21 megapixels in JPEG format.
4. Видеолорду жаздыруу
Видео жаздыруу үчүн:
- Switch the camera to video mode (refer to the on-screen icons or user manual for specific button).
- Жазууну баштоо үчүн жапкычты басыңыз.
- Жазууну токтотуу үчүн Жабуу баскычын дагы бир жолу басыңыз.
Videos are recorded in HD 720P resolution in AVI format.

Image: The camera displaying video recording functionality.
5. Чоңойтуу функциясы
The camera features 8X digital zoom. Use the zoom buttons (often labeled with a magnifying glass icon or 'W' for Wide and 'T' for Telephoto) to adjust the zoom level.

Image: Demonstrating the camera's 8X digital zoom capability.
6. Scene Modes and Settings
Access the camera's menu to select various scene modes and adjust settings for different shooting conditions. Available modes include:
- Night Portrait: For clear portraits in low light.
- Night Scenery: Optimizes for landscapes at night.
- Спорт: Reduces blur for fast-moving subjects.
- Scenery: Enhances outdoor landscape shots.
- Тарап: Ideal for indoor events with mixed lighting.
- Пляж: Adjusts for bright, reflective environments.
- Жогорку сезгичтик: Improves performance in very low light.
Other adjustable settings include ISO (Auto, 100, 200, 400), Anti-Shake for stable images, and Flash options (Auto, On, Off, Red-eye Reduction). The camera also features Face Detection, Smile Capture, and a 2-second Self-Timer.

Image: The camera's 2.7-inch screen highlighting the face detection feature.

Image: Illustrating the effect of the built-in flash in low-light conditions.
Компьютерге туташуу
Сүрөттөрдү жана видеолорду компьютериңизге өткөрүп берүү үчүн:
- Камера өчүк экенин текшериңиз.
- Камераны компьютериңизге берилген USB кабели аркылуу туташтырыңыз.
- Turn on the camera. It should appear as a removable disk drive on your computer.
- Alternatively, you can remove the SD card and insert it into a compatible card reader connected to your computer.
The camera is compatible with Windows XP/VISTA/7/8/10 and Mac operating systems. A driver disk is included for older systems or specific software needs, though most modern operating systems will recognize the camera automatically.

Image: Connecting the camera to a personal computer for data transfer.
Техникалык тейлөө
Proper care will extend the life of your camera:
- Тазалоо: Use a soft, lint-free cloth to clean the camera body and screen. For the lens, use a specialized lens cleaning cloth and solution. Avoid harsh chemicals.
- Сактагыч: Камераны салкын, кургак жерде күндүн тике тийген нурунан жана экстремалдык температурадан алыс сактаңыз. Узак мөөнөткө сактасаңыз, батареяны алып салыңыз.
- Батареяга кам көрүү: Батареяларды биринчи жолу колдонуудан мурун толук заряддаңыз. Батареянын иштөө мөөнөтүн узартуу үчүн аны тез-тез ашыкча заряддоодон же толугу менен бошотуп коюудан алыс болуңуз.
Проблемаларды чечүү
If you encounter issues with your camera, try the following common troubleshooting steps:
- Камера күйбөй жатат: Ensure the battery is correctly installed and fully charged. Try using the second provided battery.
- Сүрөттүн сапаты начар: Check lighting conditions. Ensure the lens is clean. Adjust scene modes or ISO settings as needed.
- Эстутум картасынын катасы: Ensure the SD card is properly inserted and not full. Try formatting the card (this will erase all data, so back up first). Use a compatible SD card (Class 4 or above, up to 64GB).
- Камера тоңуп калат: Камераны баштапкы абалга келтирүү үчүн батареяны чыгарып, кайра салыңыз.
If problems persist, please refer to the detailed user manual or contact customer support.
Техникалык шарттар
| Өзгөчөлүк | Деталь |
|---|---|
| Бренд | AbergBest |
| Модель аты | ABCAM218UPDATED |
| Модель номери | New2022ABDC5100 |
| Максималдуу Webcam Image Resolution | 21 депутат |
| Фото сенсор технологиясы | CMOS |
| Video Resolution | 720p |
| Колдоого алынган File Формат | AVI (Video), JPEG (Photo) |
| Image Stabilization | Санарип |
| Screen Size | 2.7 дюймдук TFT LCD |
| Digital Zoom | 8x |
| Flash эс тутум түрү | SD (up to 64GB, Class 4+) |
| Батарея түрү | Литий Полимер (2 камтылган) |
| Байланыш технологиясы | USB |
| Шайкеш түзмөктөр | Windows XP/VISTA/7/8/10/MAC |
| Өзгөчө өзгөчөлүк | Face Detection, Smile Capture, Anti-Shake, Self-Timer |
| Элемент Салмагы | 309 грамм |
| Элементтин өлчөмдөрү (D x W x Y) | 3.74"D x 2.4"W x 0.94"H |
Кепилдик жана колдоо
Your AbergBest Mini Digital Camera comes with a 1 жылдык өндүрүүчү кепилдик. For warranty claims, technical support, or any questions regarding your product, please refer to the contact information provided in the included user manual or visit the official AbergBest webсайт.
Сураныч, кепилдик максаттары үчүн сатып алганыңыздын далилин сактап коюңуз.