1. Бүттүview
The BIGTREETECH 5-inch HDMI Touch Screen Display is a versatile monitor designed for various applications, offering an 800x480 resolution with a 160° IPS viewing angle. It features 5-point capacitive touch functionality and includes audio output capabilities. This display is compatible with devices such as Raspberry Pi, Sovol-SV08 3D printers, and Windows PCs.

Figure 1: BIGTREETECH 5-inch HDMI Touch Screen Display
Бул сүрөт алдыңкы жагын көрсөтөт view of the BIGTREETECH 5-inch HDMI Touch Screen Display, highlighting its compact design and touch interface.

2-сүрөт: Кең Viewing Angle Demonstration
This image illustrates the 160-degree wide viewing angle of the IPS display, showing consistent image quality from various perspectives.
2. Продукттун спецификациялары
| Параметр | Нарк |
|---|---|
| Продукт өлчөмү | 121 x 76 мм |
| Power Input | DC 5V |
| Logic Voltage | DC 3.3V |
| Screen Size | 5 дюймдук IPS дисплей |
| Screen Resolution | 800x480 |
| Экран Viewбурч | 160° |
| Типти басыңыз | Capacitive, 5-point touch |
| Аудио чыгаруу | 3.5mm earphone/speaker jack |
3. Пакеттин мазмуну
Пакет, адатта, төмөнкү нерселерди камтыйт:
- BIGTREETECH 5-inch HDMI Touch Screen Display
- HDMI кабели
- USB Cable (for touch and power)
- Mounting hardware (e.g., screws, standoffs, brackets)
4. Орнотуу жана орнотуу
4.1 Connecting to a Display Output Device (e.g., Raspberry Pi, Sovol-SV08, PC)
- Connect the display to your device using the provided HDMI cable. Ensure a secure connection.
- Connect the display to your device using the Type-C data cable. This cable provides power and enables touch functionality.
- For PC connections, the operating system will typically load the necessary drivers automatically. Once drivers are loaded, the touch device should be recognized.
- After connecting the HDMI cable, the LCD should display content within approximately 5 seconds.
Video 1: Hosyond 5-inch Touchscreen IPS Display Driver-Free Interface
This video demonstrates the physical connection of the 5-inch display to a Raspberry Pi board, including securing it with screws and connecting the DSI ribbon cable (if applicable, though the product description mentions HDMI and Type-C for this model). It shows the display booting up with the Raspberry Pi desktop and basic touch interaction.
Video 2: ELECROW 5-inch Raspberry Pi Screen 800x480 LCD Display Setup
This video illustrates the connection process of a 5-inch 800x480 LCD display to a Raspberry Pi, demonstrating how to connect the HDMI and USB cables for display and touch functionality. It also shows the display working with a Raspberry Pi operating system.
4.2 Аудио чыгаруу
To enable audio output, plug a 3.5mm earphone or speaker into the AUDIO interface located on the display.

Figure 3: Audio Output Interface
This image highlights the 3.5mm audio jack on the display, indicating where to connect external headphones or speakers for audio output.
5. Иштөө нускамалары
5.1 Индикатор жарыктары
- D6 (Red Light): The power indicator. Lights up when the motherboard is powered on, indicating normal power supply.
- D7 (Green Light): The working status indicator. Flashes when the screen is operating normally.
5.2 Экран жарыктыгын жөндөө
The BIGTREETECH HDMI5 V1.0 supports brightness adjustment:
- басыңыз Ks1 button жарыктыгын жогорулатуу үчүн.
- басыңыз Ks3 button жарыктыгын азайтуу үчүн.

Figure 4: Brightness Adjustment Feature
This image visually represents the adjustable brightness feature of the display, showing a slider for control.
5.3 Дисплей багытын тууралоо
The BIGTREETECH HDMI5 V1.0 supports horizontal display direction adjustment:
- басыңыз Ks2 button to adjust the display orientation horizontally.
5.4 Сенсордук функция
The display features a 5-point capacitive touch screen, allowing for intuitive interaction with compatible operating systems.
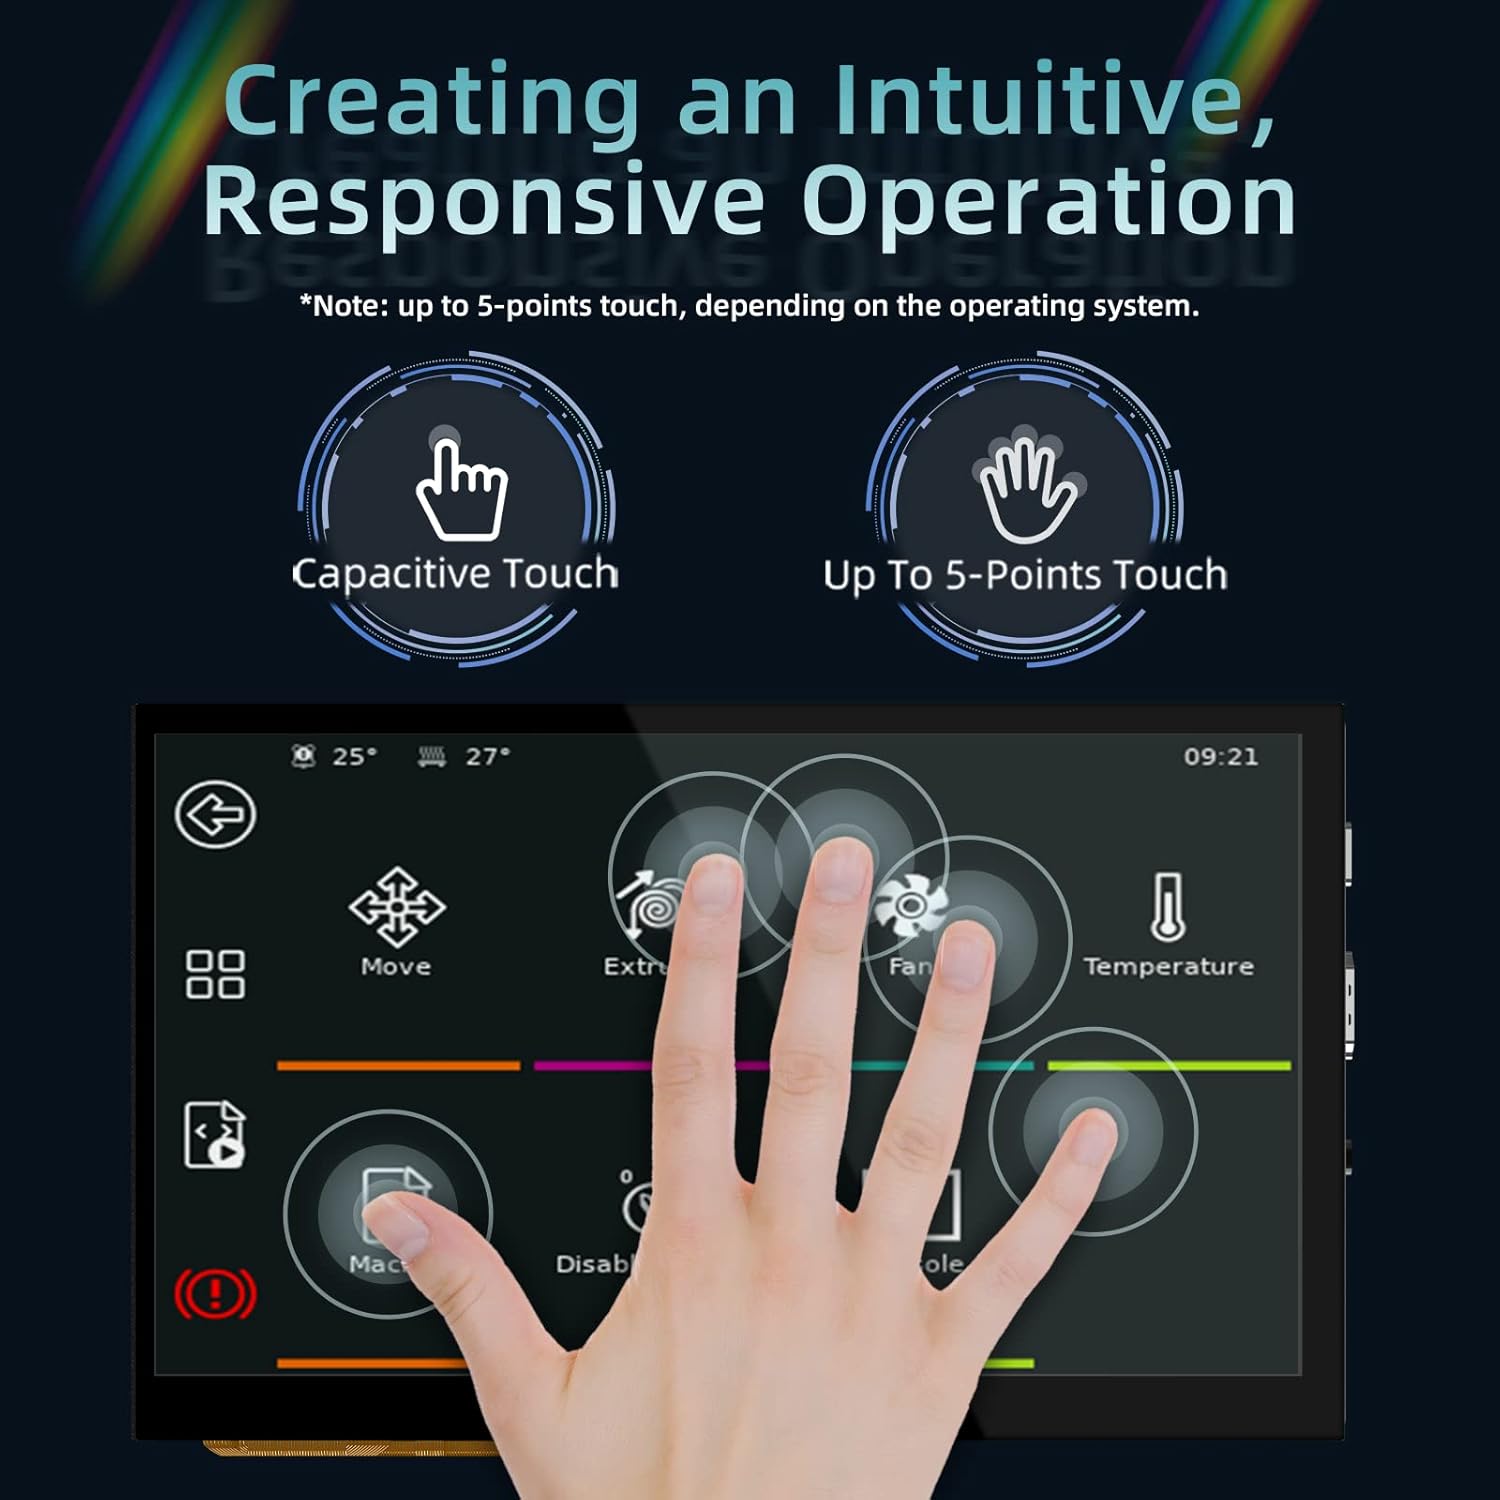
Figure 5: 5-Point Capacitive Touch
This image demonstrates the 5-point capacitive touch capability of the display, showing multiple finger touches recognized simultaneously.
Video 3: LESOWN 5-inch IPS Small HDMI LCD Screen Portable Monitor Usage
This video showcases the 5-inch display connected to a computer, demonstrating its use as a secondary screen and highlighting the touch functionality for navigating the operating system interface.
6. Кыйынчылыктарды
- Дисплей жок: Ensure both the HDMI cable and the Type-C data cable are securely connected. Verify that the power indicator (D6 red light) is on.
- Тийүүгө жооп жок: For PC connections, confirm that the operating system has successfully loaded the touch screen drivers. Reconnect the Type-C data cable.
- Incorrect Display Orientation: Use the Ks2 button to adjust the display direction.
- Күңүрт дисплей: Adjust the brightness using the Ks1 and Ks3 buttons.
7. Техникалык тейлөө
- Экранды жумшак, түксүз чүпүрөк менен таза кармаңыз. Абразивдүү тазалагычтардан алыс болуңуз.
- Дисплейди өтө жогорку температурадан жана нымдуулуктан коргоңуз.
- Avoid applying excessive force to the screen or connections.
8. Кепилдик жана колдоо
For warranty information and technical support, please refer to the official BIGTREETECH webсайтка же түздөн-түз кардарларды тейлөөгө кайрылыңыз. Кепилдик дооматтар үчүн сатып алуу дүмүрчөгүңүздү сактаңыз.
Официалдуу Webсайт: Amazon'догу BIGTREETECH дүкөнү


