1. Киришүү
This manual provides detailed instructions for the installation, operation, and maintenance of the SilverStone Technology RM44 4U Rackmount Server Chassis. The RM44 is designed for versatility, supporting both industrial rackmount and high-end home system configurations. It features enhanced cooling capabilities, extensive storage options, and compatibility with various motherboard form factors and large graphics cards.

Figure 1.1: The SilverStone RM44 chassis demonstrating its dual-purpose design for both horizontal rackmount and vertical tower placements.
2. Өзгөчөлүктөрү
The SilverStone RM44 chassis incorporates several key features designed for high-performance server and workstation builds:
- Өркүндөтүлгөн муздатуу колдоо: Accommodates liquid cooling radiators up to 360mm for efficient thermal management.
- Motherboard шайкештиги: Supports SSI-EEB / Extended ATX motherboards, providing flexibility for various system architectures.
- Кеңейтүү уячалары: Features 8 PCIe / PCI expansion slots for multiple add-in cards.
- Рак орнотуу: Includes sliding rail mounting holes for simplified rack integration (rails sold separately).
- Алдыңкы панелдин туташуусу: Equipped with a USB Type-C interface for modern peripheral connectivity.
- Ар тараптуу сактоо: Offers mounting options for multiple 2.5" and 3.5" drives.
- Коопсуздук: Front panel features an anti-theft lock.

Figure 2.1: Illustration of the internal cooling capabilities, showing a 360mm liquid cooling radiator and multiple fans for optimal airflow.
3. Орнотуу жана орнотуу
Follow these steps for proper assembly and installation of components within your RM44 chassis.
3.1. Chassis Overview
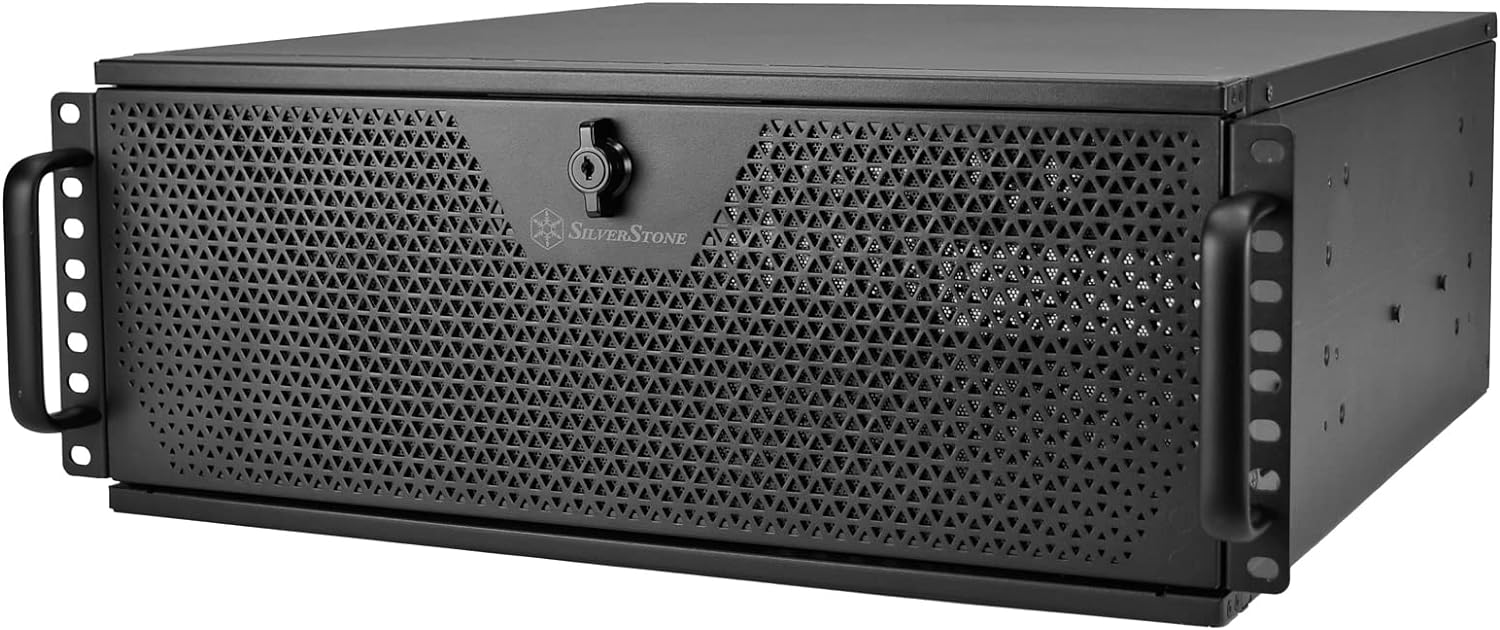
Сүрөт 3.1: Алдыңкы view of the RM44 chassis, highlighting the perforated front panel and integrated handles.

3.2-сүрөт: Арткы view of the RM44 chassis, showing the power supply cutout, fan mounts, and PCIe expansion slots.
3.2. Motherboard орнотуу
- Remove the top cover of the chassis.
- Install the I/O shield into the rear panel cutout.
- Align your SSI-EEB, E-ATX, ATX, Micro-ATX, or Mini-ITX motherboard with the standoffs inside the chassis.
- Берилген бурамалар менен энелик тактаны бекитиңиз.
3.3. Дискти орнотуу
The RM44 supports various drive configurations. Refer to the internal layout diagram for specific mounting points.

Figure 3.3: Internal layout diagram detailing motherboard compatibility, GPU length, and drive bay locations.

3.4-сүрөт: Ички view illustrating the mounting points for 3.5-inch or 2.5-inch storage drives.
- Identify the desired drive bays (e.g., 3.5" or 2.5" bays).
- Mount your hard drives or SSDs using the provided screws and trays.
- Connect necessary power and data cables.
3.4. Муздатуу системасын орнотуу
The chassis supports various cooling configurations, including large liquid cooling radiators.
- For front radiator installation, ensure adequate clearance. The chassis supports up to 360mm radiators.
- Install case fans in designated mounting points (e.g., front, rear).
- Connect fan power cables to the motherboard or a fan controller.
3.5. Кеңейтүү картасын орнотуу
The RM44 provides 8 PCIe expansion slots and an expansion card retainer for secure installation.

Figure 3.5: Close-up of the expansion card retainer, designed to secure graphics cards and other PCIe devices.
- Remove the necessary slot covers from the rear of the chassis.
- Insert your expansion card (e.g., graphics card, network card) into the motherboard's PCIe slot.
- Secure the card using the chassis's screwless retention mechanism or screws.
- Utilize the expansion card retainer for additional support, especially for heavy graphics cards.
3.6. Электр энергиясы менен жабдууну орнотуу
- Mount your ATX power supply in the designated rear bottom area.
- Кубат булагын шассинин арткы жагынан бурамалар менен бекитиңиз.
- Connect all necessary power cables to your motherboard and components.
3.7. Front Panel Connections
The front panel provides convenient access to I/O ports and controls.

Figure 3.6: The front panel door opened, revealing the power button, reset button, and front I/O ports.

3.7-сүрөт: Детальдуу view of the front I/O panel, featuring one USB Type-C port and two USB 3.0 ports.
- Connect the front panel cables (USB, audio, power switch, reset switch, LED indicators) to the corresponding headers on your motherboard.
- The front panel also features a lock for security.

Figure 3.8: Close-up of the key lock on the front panel, providing security for internal components.
4. Шассиди иштетүү
Once all components are installed and secured, the RM44 chassis functions as a protective enclosure for your server or workstation hardware. Ensure proper airflow by not obstructing the front and rear ventilation areas.
4.1. Rackmount Installation
The chassis is designed for standard 4U rackmount environments. Utilize the integrated sliding rail mounting holes for quick and secure installation into a server rack (sliding rails are sold separately).
4.2. Vertical Placement
For non-rackmount applications, the RM44 can be placed vertically using optional feet (included or sold separately) for a tower-style setup.
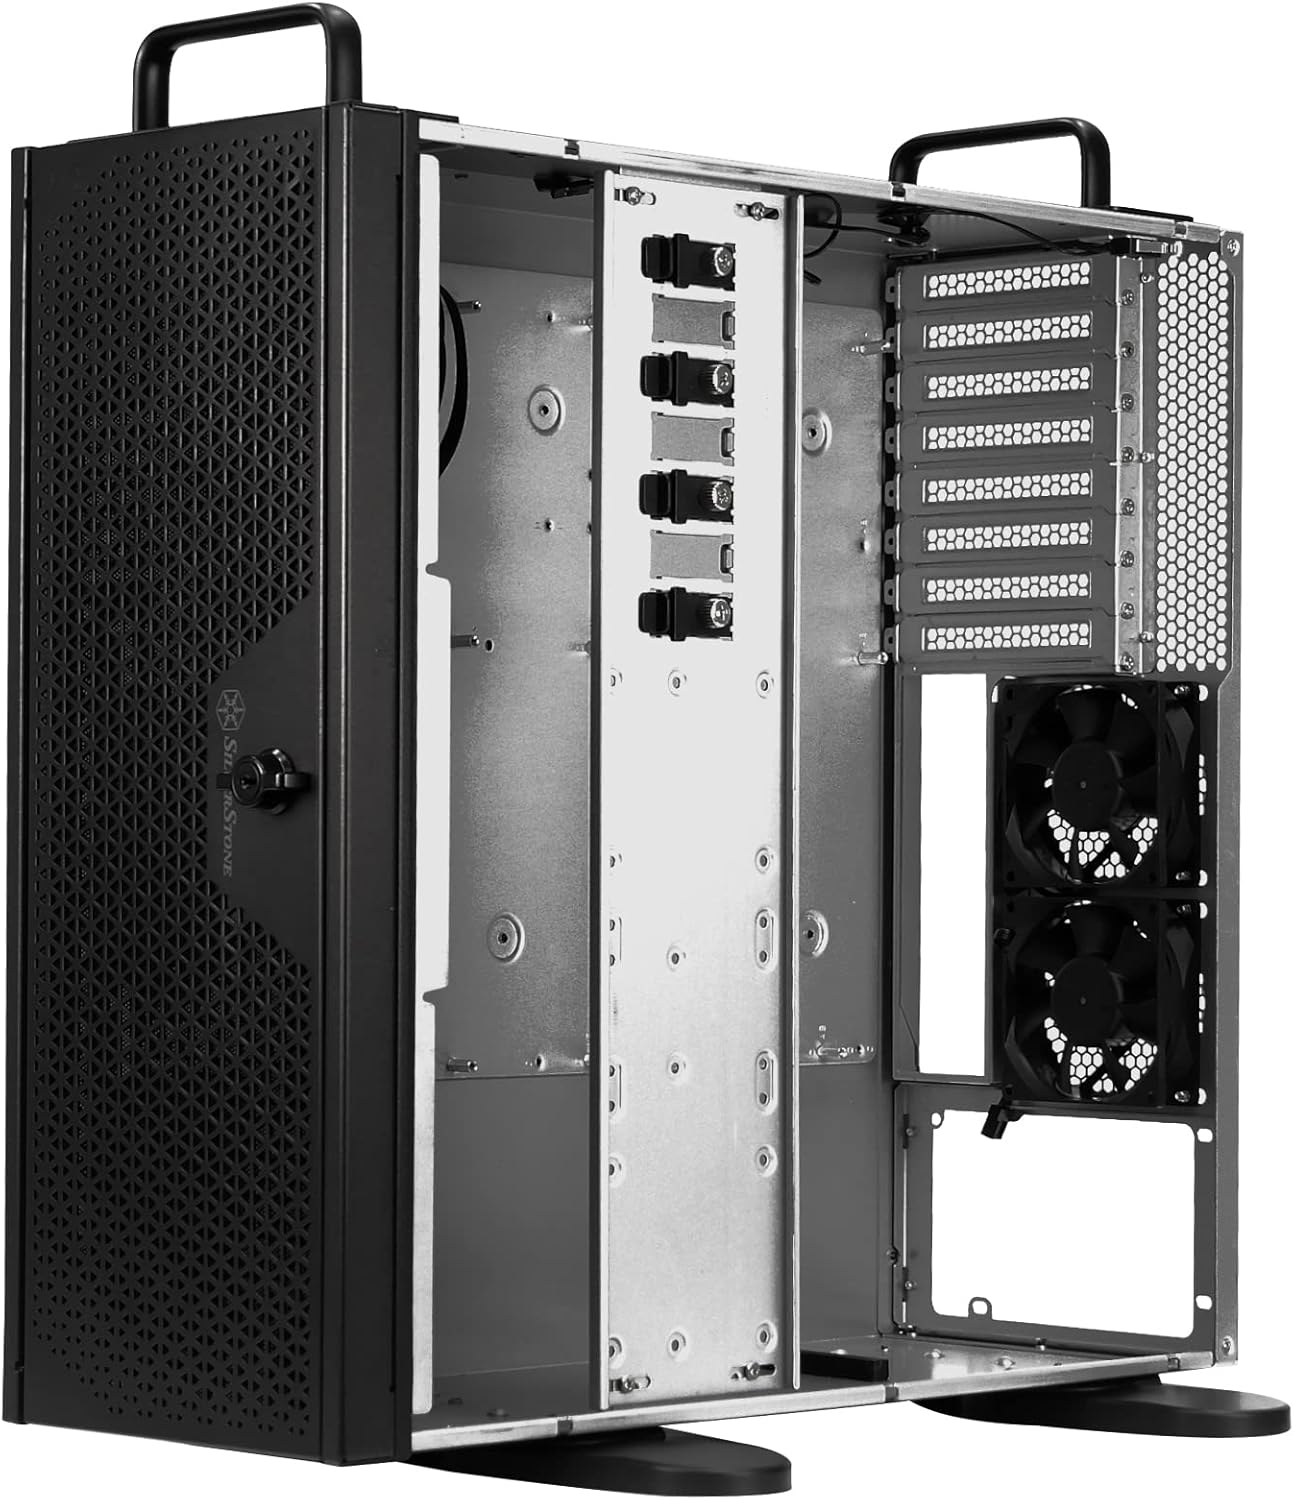
Figure 4.1: The RM44 chassis configured for vertical placement, showcasinанын адаптацияланышы.
5. Техникалык тейлөө
Regular maintenance helps ensure optimal performance and longevity of your chassis and its components.
- Чаңды тазалоо: Мезгил-мезгили менен чаң чыпкаларын (эгер бар болсо) жана ички тетиктерин кысылган абаны колдонуп тазалаңыз.
- Кабелдик башкаруу: Ensure internal cables are neatly routed to prevent obstruction of airflow.
- желдеткич текшерүү: Check fans for dust buildup and ensure they are operating correctly.
- Физикалык текшерүү: Regularly inspect the chassis for any loose screws or physical damage.
6. Кыйынчылыктарды
This section addresses common issues that may arise with a server chassis.
6.1. Ысып кетүү көйгөйлөрү
- Аба агымын текшерүү: Ensure front and rear panels are unobstructed. Verify that fans are installed correctly and spinning.
- Чаңдын пайда болушу: Clean dust from fans, radiators, and internal components.
- Желдетүүчү конфигурация: Confirm fans are configured for optimal front-to-back airflow.
6.2. Component Fit Issues
- Motherboard: Ensure the correct motherboard form factor is used and properly aligned with standoffs.
- Кеңейтүү карталары: Verify cards are fully seated in PCIe slots and secured with the retainer.
- Электр камсыздоо: Confirm power supply dimensions are compatible with the chassis.
6.3. Front Panel Connectivity Problems
- Кабелдик байланыштар: Double-check that all front panel cables (USB, power, reset, audio) are securely connected to the correct headers on the motherboard.
- Драйверди орнотуу: Ensure necessary drivers for USB ports are installed on your operating system.
7. Техникалык шарттар
Detailed technical specifications for the SilverStone RM44 4U Rackmount Server Chassis.
| Өзгөчөлүк | Спецификация |
|---|---|
| Бренд | SilverStone |
| Сериялар | SST-RM44 |
| Элемент моделинин номери | SST-RM44 |
| Элемент Салмагы | 29.9 фунт |
| Продукциянын өлчөмдөрү (LxWxH) | 0.73 x 0.27 x 0.68 inches (Note: These dimensions appear to be incorrect and likely refer to packaging or a component. Refer to manufacturer's official product page for chassis dimensions.) |
| Түс | Кара |
| Материал | Металл |
| Motherboard шайкештиги | Extended ATX (SSI-EEB, E-ATX, ATX, Micro-ATX, Mini-ITX) |
| Иштин түрү | Integrated (Rackmount / Tower) |
| Сунушталган Колдонуулар | Server |
| Кубат менен камсыздоону орнотуу түрү | Bottom Mount (Standard ATX) |
| Муздатуу ыкмасы | Күйөрман |
| Fan Size Колдоо | Up to 360mm Radiators |
| USB 2.0 порттору | 1 |
| USB 3.0 порттору | 1 (USB түрү-C) |
| PCIe кеңейтүү уячалары | 8 |
8. Кепилдик жана колдоо
Кепилдик жөнүндө маалымат жана техникалык колдоо алуу үчүн, расмий SilverStone Technology компаниясына кайрылыңыз webсайтка же түздөн-түз кардарларды тейлөөгө кайрылыңыз. Кепилдиктин шарттары аймакка жана сатуучуга жараша өзгөрүшү мүмкүн.
SilverStone Technology компаниясынын расмий өкүлү Webсайт: www.silverstonetek.com


