1. Киришүү
Thank you for choosing the Geevon 14.3" Atomic Digital Wall Clock. This clock features a large, easy-to-read display, atomic time synchronization, indoor temperature, and date display. Designed for clarity and convenience, it is suitable for various indoor environments.

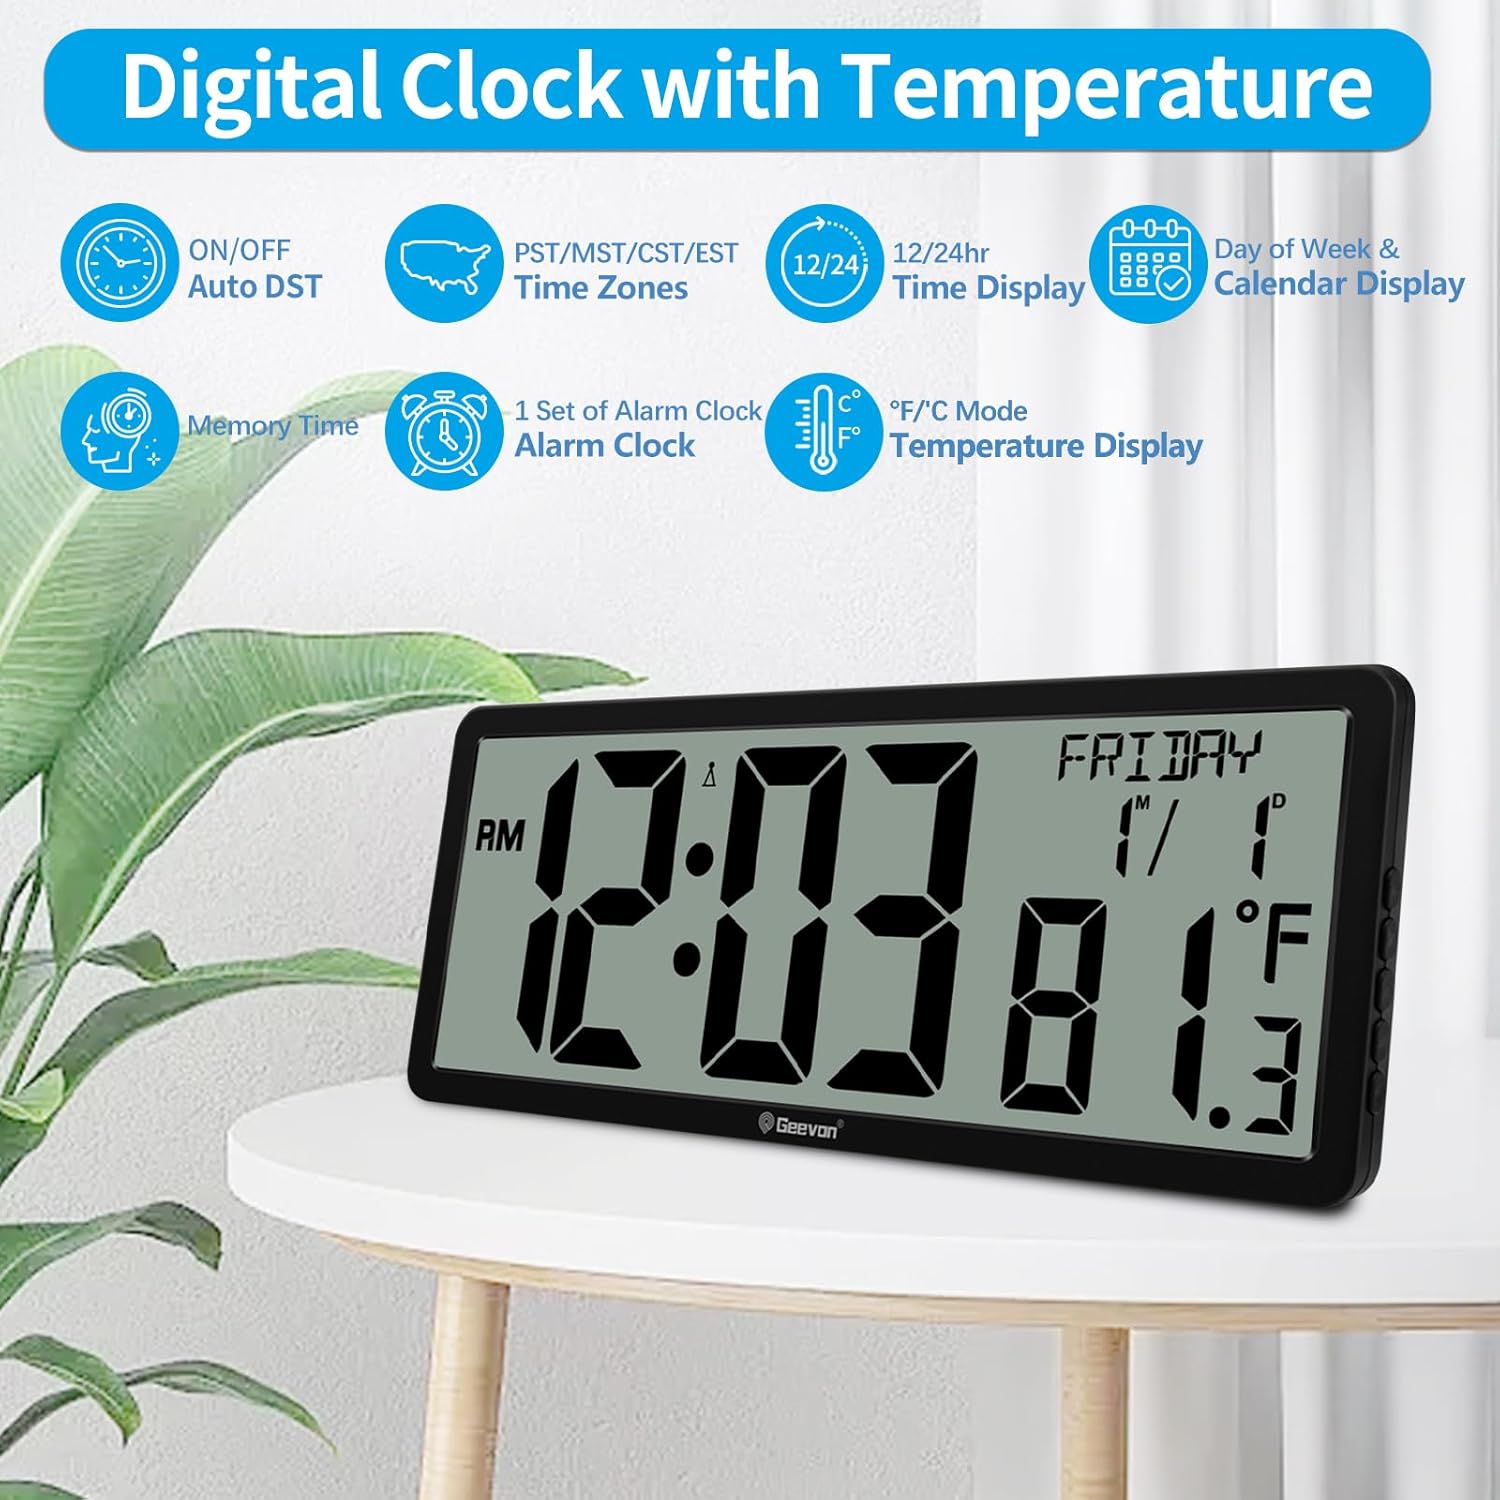
Сүрөт 1.1: Алдыңкы view of the Geevon 14.3" Atomic Digital Wall Clock displaying time, date, and indoor temperature.

Image 1.2: The clock displayed on a wall, demonstrating its large, readable digits for users with varying vision.
2. Пакеттин мазмуну
Сураныч, пакеттин мазмунун текшерип, бардык буюмдар бар экенин текшериңиз:
- 1 x Geevon 14.3" Atomic Digital Wall Clock
- 1 x Tabletop Stand
- 1 х Колдонуучунун колдонмосу (бул документ)
3. Орнотуу
3.1. Батареяны орнотуу
- Сааттын артындагы батарея отсегин табыңыз.
- Батарея уясынын капкагын ачыңыз.
- Insert 4 new AA batteries (not included) according to the polarity markings (+ and -) inside the compartment.
- Батарея уясынын капкагын бекем жабыңыз.
3.2. Баштапкы күйгүзүү жана атомдук убакыт синхрондоштуруу
Upon battery installation, the clock will automatically begin searching for the WWVB atomic time signal. This process may take several minutes to several hours, depending on your location and environmental conditions. For best reception, place the clock near a window and away from electronic devices that may cause interference.

Image 3.1: The clock receiving the atomic time signal, ensuring accurate timekeeping.
3.3. Time Zone and DST Setting
Once the atomic signal is received, the clock will set itself to the correct time. You may need to manually select your time zone and enable or disable Daylight Saving Time (DST) if applicable.
- Locate the control buttons on the side or back of the clock.
- Press the 'TIME ZONE' button (or similar, refer to button labels) to cycle through available time zones (PST, MST, CST, EST).
- Press the 'DST' button (or similar) to toggle Daylight Saving Time ON or OFF. The clock will automatically adjust for DST if enabled and the atomic signal is received.
4. Саатты иштетүү
Сүрөт 4.1: Бүттүview of the clock's display features and settings.
4.1. Time Display (12/24 Hour Format)
The clock can display time in either 12-hour (with AM/PM indicator) or 24-hour format.
- Press the '12/24H' button (or similar) to switch between the 12-hour and 24-hour time formats.
4.2. Date and Day of Week Display
The clock automatically displays the current date (Month/Day) and day of the week once synchronized.
4.3. Үйдүн ичиндеги температураны көрсөтүүчү дисплей
The clock features an integrated sensor to display the indoor temperature.
- Press the '°C/°F' button (or similar) to switch between Celsius and Fahrenheit temperature units.
4.4. Manual Time Setting (If Atomic Sync Fails)
In areas where the atomic signal is weak or unavailable, you can manually set the time.
- Press and hold the 'SET' button (or similar) until the time display begins to flash.
- Use the 'UP' or 'DOWN' buttons to adjust the hour, then press 'SET' to confirm and move to minutes.
- Мүнөт, жыл, ай жана күн үчүн кайталаңыз.
- Press 'SET' again to exit manual setting mode.
5. Placement Methods
The Geevon Atomic Digital Wall Clock offers versatile placement options to suit your needs.

Image 5.1: The clock can be either wall-mounted or placed on a tabletop.
5.1. Дубалга орнотуу
The clock features a keyhole slot on the back for easy wall mounting.
- Choose a suitable location on a wall, preferably near a window for optimal atomic signal reception.
- Install a screw (not included) into the wall, leaving a small portion protruding.
- Align the keyhole slot on the back of the clock with the screw head and slide the clock down to secure it.
5.2. Үстөлдүн үстүнө коюу
Use the included tabletop stand for stable placement on any flat surface.
- Locate the foldable stand on the back of the clock.
- Extend the stand to its open position.
- Place the clock on a desk, shelf, or table.
6. Техникалык тейлөө
6.1. Батареяны алмаштыруу
When the display dims or the clock stops functioning, it is time to replace the batteries. Always replace all 4 AA batteries simultaneously with new ones to ensure optimal performance.
6.2. Тазалоо
To clean the clock, use a soft, dry cloth. Do not use abrasive cleaners or chemicals, as these may damage the display or casing.
7. Кыйынчылыктарды
| Көйгөй | Мүмкүн себеп | Чечим |
|---|---|---|
| Clock not displaying time/date. | Батареялар өлүп калган же туура эмес орнотулган. | Туура полярдуулукту камсыз кылуу менен батарейкаларды жаңысына алмаштырыңыз. |
| Убакыт туура эмес же синхрондоштурулбай жатат. | Weak atomic signal reception; incorrect time zone/DST setting. | Move the clock closer to a window, away from electronics. Ensure correct time zone and DST settings. Allow up to 24 hours for synchronization. Manually set time if necessary. |
| Температураны окуу туура эмес көрүнөт. | Жылуулук булагынын же желдеткичтин жанына коюлган саат. | Саатты туруктуу температурадагы жерге жылдырыңыз. |
| Дисплей күңүрт же бүлбүлдөп турат. | Батареянын кубаттуулугу төмөн. | Бардык батарейкаларды жаңыларына алмаштырыңыз. |
8. Техникалык шарттар

Image 8.1: Product dimensions and time format options.
| Өзгөчөлүк | Деталь |
|---|---|
| Бренд | Geevon |
| Модель номери | 22126-Б |
| Дисплей түрү | Санарип |
| Иштөө режими | Атомдук |
| Продукциянын өлчөмдөрү | 14.3"W x 6.5"H |
| Цифранын өлчөмү | 4.4 inches (Time) |
| Power Source | 4 AA батарейкалар (киргизилген эмес) |
| Ички/тышкы колдонуу | Indoor |
| Материал | Акрилонитрил бутадиен стирол (ABS), Пластмасса |
| Монтаж түрү | Дубалга монтаждоо, стол |
| Өзгөчө өзгөчөлүк | Cordless, Atomic Time, Indoor Temperature, Date, Large Display |
9. Кепилдик маалыматы
This Geevon product comes with a Lifetime Warranty. For details regarding warranty claims or service, please refer to the manufacturer's official support channels.
10. Кардарларды колдоо кызматы
If you encounter any issues or have questions not covered in this manual, please contact Geevon customer support for assistance. Refer to the product packaging or the official Geevon webбайланыш маалыматы үчүн сайт.


