1. Киришүү
This manual provides instructions for the PDP REMATCH Enhanced Wired Nintendo Switch Pro Controller, model 500-134-HLBL (Hyrule Blue). This controller is designed for use with Nintendo Switch, Switch Lite, and Switch OLED consoles, offering enhanced features for an improved gaming experience. Please read this manual thoroughly before using your controller.

Сүрөт 1: Алдыңкы view of the PDP REMATCH Enhanced Wired Nintendo Switch Pro Controller.
2. Орнотуу
2.1 Connecting the Controller to Your Nintendo Switch
- Nintendo Switch консолуңуз күйгүзүлүп, системанын эң акыркы программалык камсыздоосуна жаңыртылганын текшериңиз.
- Locate an available USB port on your Nintendo Switch dock or console (if using a USB-C to USB-A adapter for Switch Lite/OLED handheld mode).
- Plug the USB-A end of the controller's 10-foot cable into the USB port on your Nintendo Switch dock or console.
- The controller will automatically connect and be ready for use. No additional drivers or pairing are required.
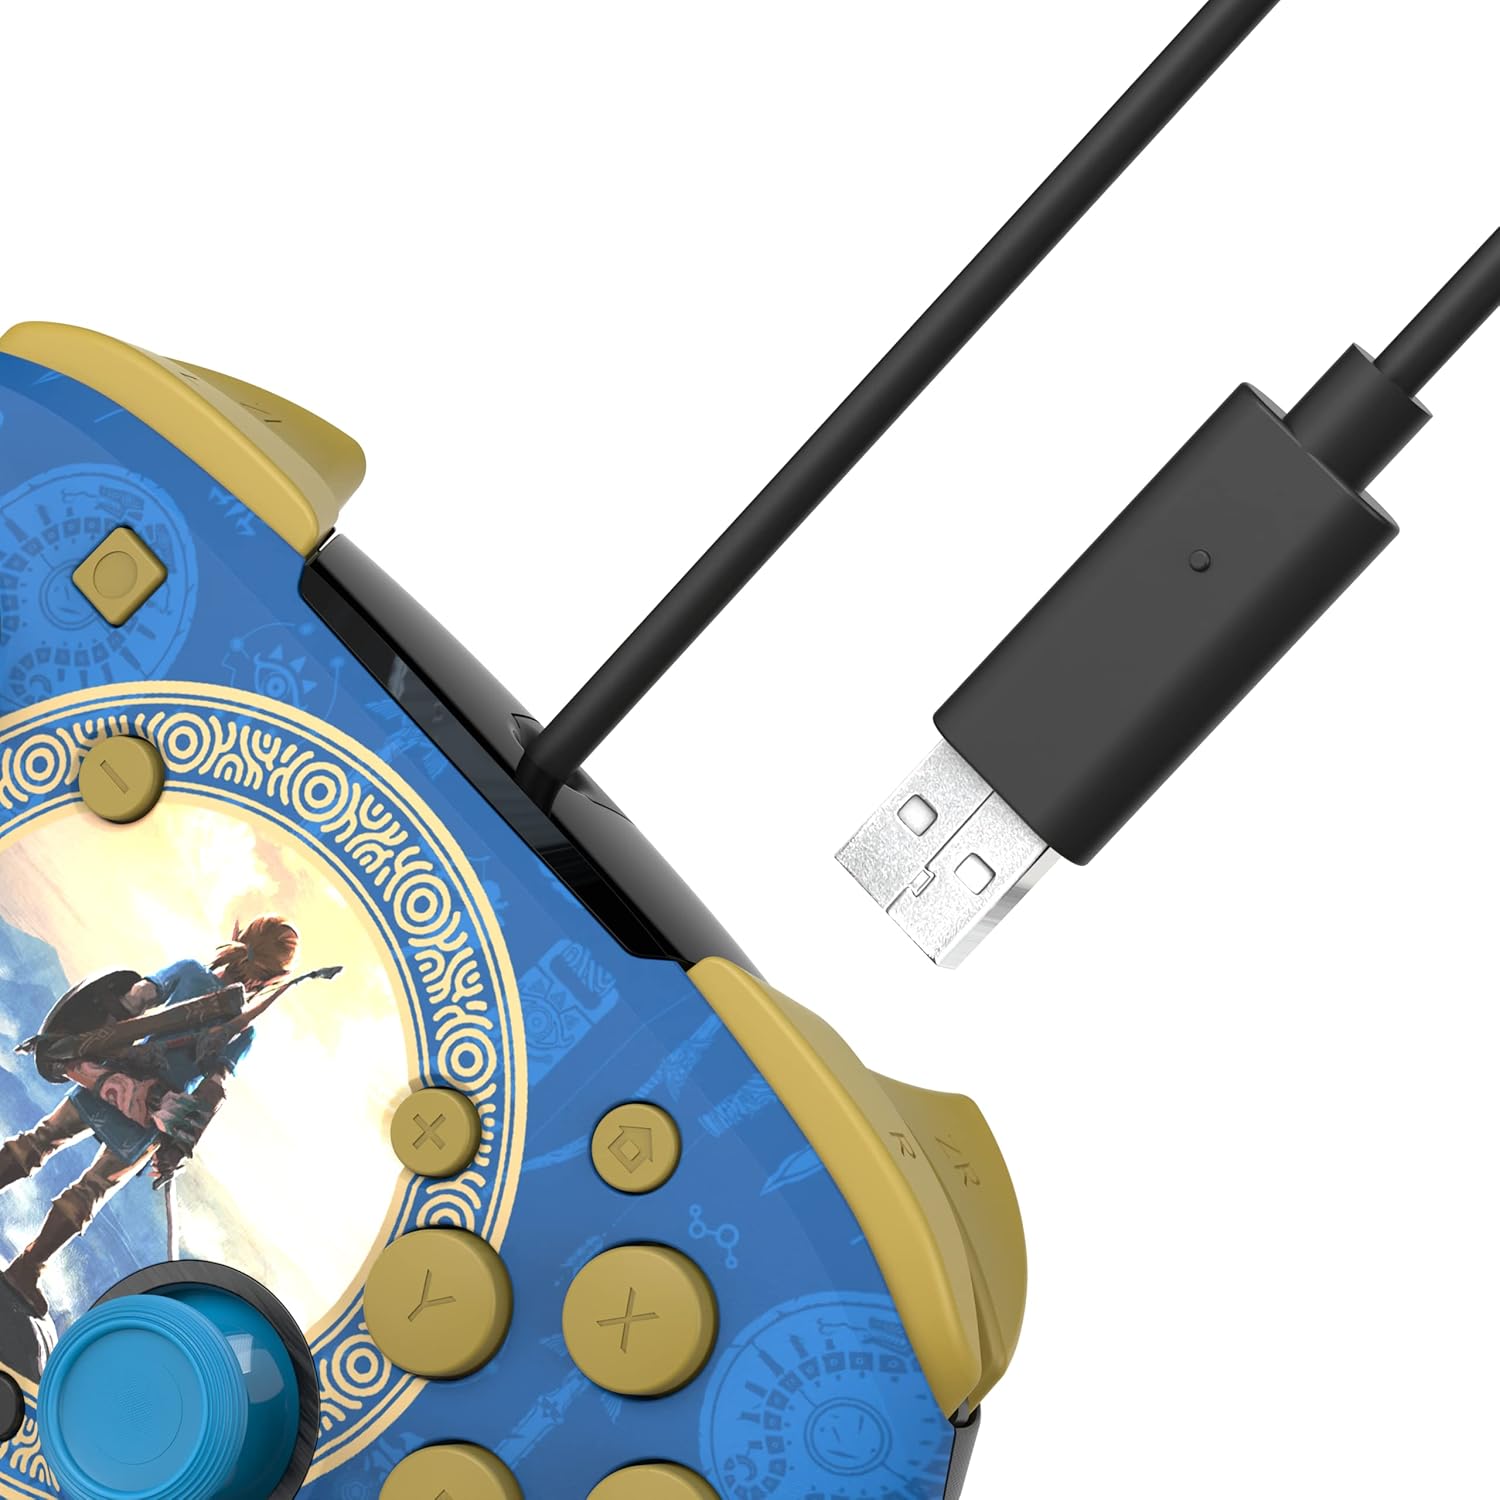
Figure 2: USB-A connector for console connection.
2.2 Connecting a Headset
- Locate the 3.5mm audio jack at the bottom of the controller.
- Plug your compatible headset into the 3.5mm audio jack.
- Audio from your game will now be routed through your headset. For USB-chat in compatible titles, ensure your headset's microphone is enabled and configured within the game or system settings.

Figure 3: Controller with 3.5mm audio jack for headset connection.
3. Иштөө нускамалары
3.1 Негизги башкаруу каражаттары
The PDP REMATCH controller features standard Nintendo Switch button layouts, including A, B, X, Y buttons, L/R and ZL/ZR shoulder buttons, a D-pad, Left/Right analog sticks, Home, Capture, Plus (+), and Minus (-) buttons.

Сүрөт 4: Алдыңкы view of the controller with labeled buttons.
3.2 Adjusting Game Volume
You can adjust the game volume directly from the controller using the D-pad. While holding the Функция баскычы (located near the right analog stick), press D-pad Up to increase volume or D-pad Down to decrease volume. This allows for quick audio adjustments without pausing gameplay.

Figure 5: D-pad and Function button for volume control.
3.3 Programming Back Buttons
The controller features dual programmable back buttons for custom assignments. These buttons are located on the underside of the controller.
- басып, кармап туруңуз Программа баскычы (small button on the back, usually near the center) until the LED indicator begins to flash.
- басыңыз артка баскычы (P1 же P2) программалагыңыз келет.
- басыңыз стандарттуу баскыч (A, B, X, Y, L, R, ZL, ZR, D-pad directions, or analog stick clicks) you want to assign to the back button.
- The LED indicator will flash rapidly, then return to solid, indicating successful programming.
- Repeat the process for the other back button if desired.
- To clear a programmed button, press and hold the Program button until the LED flashes, then press the back button you wish to clear twice. The LED will confirm the clear.

6-сүрөт: Арткы view showing programmable back buttons.
4. Техникалык тейлөө
4.1 Тазалоо
- Disconnect the controller from your console before cleaning.
- Контроллердин бетин сүртүү үчүн жумшак, кургак чүпүрөктү колдонуңуз.
- өжөр кир үчүн, жеңил гampчүпүрөктү суу менен. Катуу химиялык заттарды же абразивдүү тазалагычтарды колдонуудан алыс болуңуз.
- Суюктуктардын контроллердин тешиктерине киришине жол бербеңиз.
4.2 Сактоо
- Контроллерди түз күн нурунан жана экстремалдык температурадан алыс салкын, кургак жерде сактаңыз.
- Avoid wrapping the cable tightly around the controller to prevent damage.
5. Кыйынчылыктарды
5.1 Контроллер жооп бербей жатат
- USB кабелинин контроллерге жана Nintendo Switch док/консолуна бекем сайылганын текшериңиз.
- Try plugging the controller into a different USB port on your Switch dock/console.
- Nintendo Switch консолуңузду өчүрүп-күйгүзүңүз.
- Verify that your Nintendo Switch system software is up to date.
5.2 No Audio Through Headset
- Гарнитураңыз контроллердин 3.5 мм уячасына толук сайылганын текшериңиз.
- Check your headset's volume controls and mute switch.
- Verify audio settings on your Nintendo Switch console.
- Гарнитуранын туура иштеп жатканын текшерүү үчүн аны башка түзмөк менен сынап көрүңүз.
5.3 Programmable Buttons Not Working
- Ensure you have followed the programming steps correctly (Section 3.3).
- Try clearing the programmed button and reprogramming it.
- Note that programmed button assignments may need to be re-applied after disconnecting the controller or restarting the console, depending on the game or system state.
6. Техникалык шарттар
| Өзгөчөлүк | Деталь |
|---|---|
| Модель номери | 500-134-HLBL |
| Шайкештик | Nintendo Switch, Switch Lite, Switch OLED |
| Байланыш | Зымдуу USB-A |
| Кабелдин узундугу | 10 фут (болжол менен 3 метр) |
| Аудио Jack | 3.5mm for audio and USB-chat (where supported) |
| Программалануучу баскычтар | Dual back buttons |
| Салмагы | 11.3 унция (болжол менен 320 грамм) |
| Өндүрүүчү | PDP |
7. Кепилдик жана колдоо
Кепилдик маалыматы жана техникалык колдоо үчүн расмий PDPке кайрылыңыз webсайтка же түздөн-түз кардарларды тейлөөгө кайрылыңыз. Кепилдик дооматтар үчүн сатып алганыңыздын далилин сактаңыз.
PDP Customer Support: www.pdp.com/support